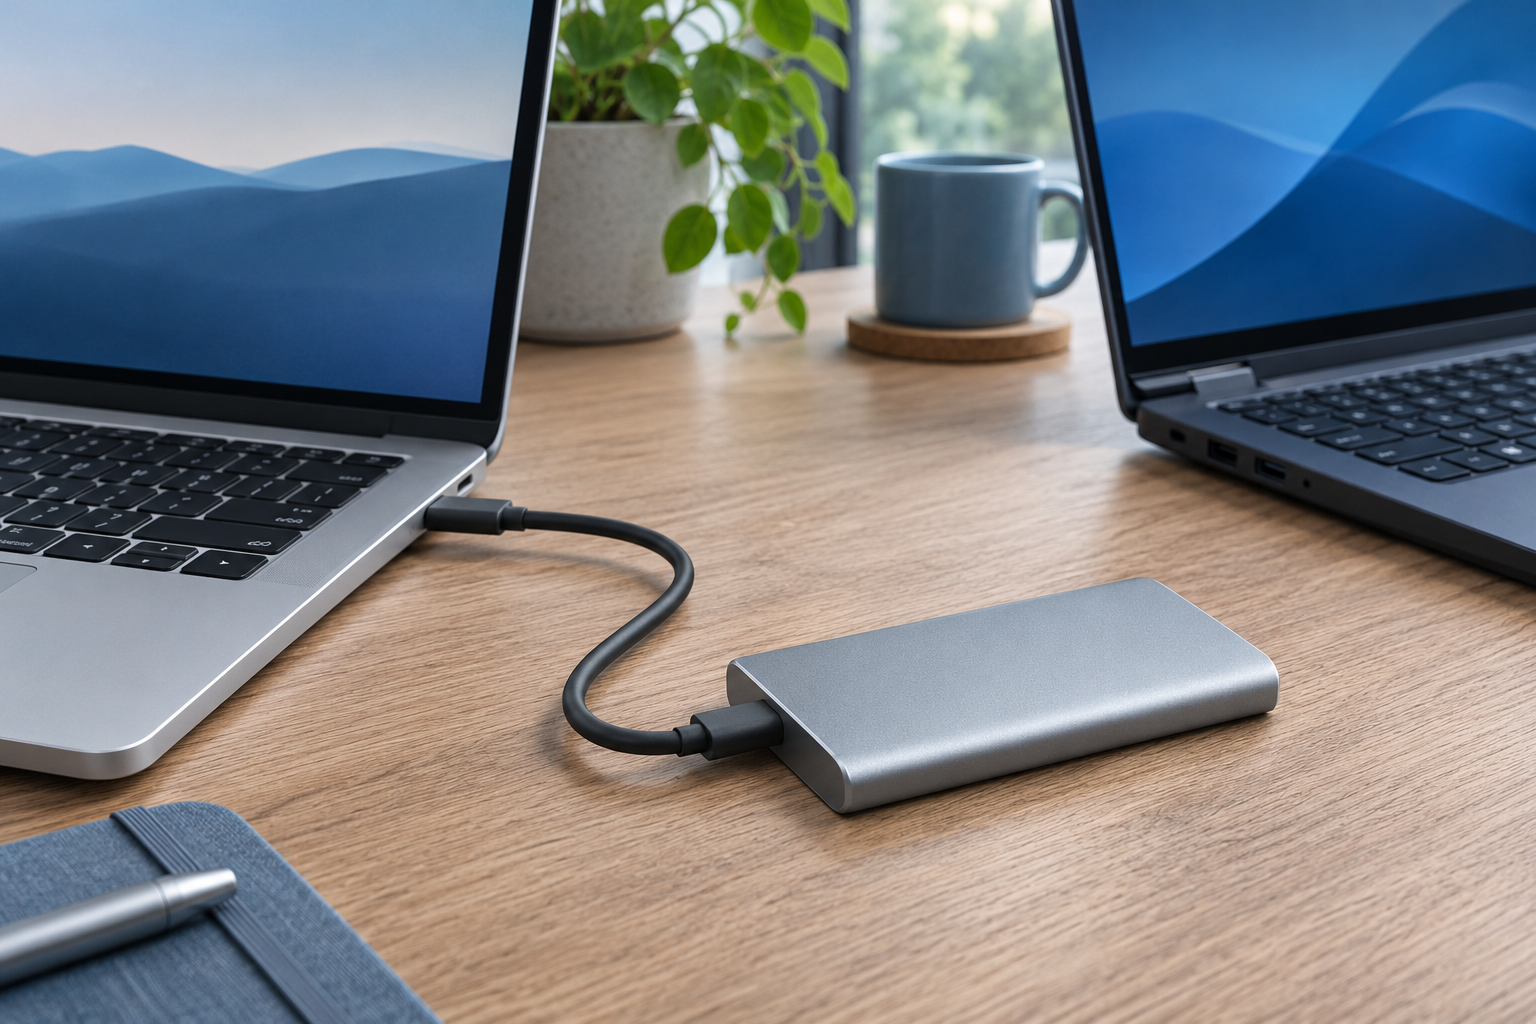
Use exFAT for an external drive that must let both a Windows PC and a Mac read and change ordinary files. Use NTFS for a drive that stays with Windows. Use APFS for a modern Mac-only drive, especially an SSD, or when the Mac application or backup system calls for it.
Before changing anything, check the drive you already have. Formatting erases the selected volume; erasing the whole device can remove every volume on it. Copy anything important elsewhere and verify that copy before opening a formatting tool. A compatibility problem is not a reason to erase the only copy of your files.
The useful choice depends on what will connect to the drive, what you will store and whether it is a transfer disk, a working disk or a backup destination. The connector does not decide this: a USB-C drive can use any of these filesystems.
What the drive format actually changes
#A filesystem is the way a volume organises files, folders and the information needed to find them. The same physical SSD could hold an exFAT volume today and an APFS volume after being erased and reformatted. That does not turn the SSD into different hardware.
There are three separate compatibility questions:
- Can the computer recognise the volume?
- Can it read the files already there?
- Can it create, rename, change and delete files there?
A Mac reading an NTFS drive answers only the second question. It does not prove the Mac can save a changed document back onto that drive. Likewise, a drive mounting successfully does not prove that a particular editing application supports keeping its working library there.
The file itself has another format. A video can sit on exFAT or NTFS, but your computer still needs an application that understands that video's encoding. Reformatting the drive will not make an unsupported video playable.
exFAT, NTFS and APFS at a glance
#The table describes ordinary built-in support for a directly attached data drive, without extra filesystem drivers. Network storage and specialist software can behave differently.
| Question | exFAT | NTFS | APFS |
|---|---|---|---|
| Windows data-drive use | Native read and write | Native read and write | Not a built-in Windows interchange choice |
| Modern Mac data-drive use | Native read and write | Readable; native writing is not supported | Native read and write on macOS 10.13 and later |
| Main reason to choose it | Move ordinary files between Mac and Windows | Keep a Windows-focused data drive | Keep a modern Mac-focused drive |
| Large individual files | Supports files beyond FAT32's limit | Supports large files | Supports large files |
| Important features or limits | No NTFS-style permissions or metadata journaling | Permissions and metadata journaling | Mac features including snapshots, space sharing and encrypted variants |
| New local Time Machine destination | Not the format to choose | Not the format to choose | APFS or APFS Encrypted is Apple's preferred choice |
For a Mac from before macOS 10.13, do not assume APFS compatibility. Older computers, televisions, cameras and consoles also need their own compatibility check. “Works with Windows and Mac” says nothing definite about those devices.
Choose exFAT for ordinary Mac and Windows transfers
#exFAT is useful when the drive's job is to carry files between computers: a folder of photos, a video export, a large archive or documents you want to edit on either system. It avoids the common NTFS problem where the Mac can open files but cannot save changes to the drive.
For example, imagine a student exporting a 12 GB video on a Windows laptop and carrying it to a Mac. This is a hypothetical transfer, not a speed test. exFAT fits the need to write on both computers and carry one large file. FAT32 would not fit that single file, even if the drive had plenty of free space.
Keep the original export until the destination computer has opened the transferred copy. A completed copy dialog is useful evidence, but checking the actual file gives you a better practical confirmation.
exFAT is less suitable when you need filesystem features rather than simple interchange. Microsoft's comparison lists NTFS features such as access-control lists and metadata journaling that exFAT lacks. That matters when a Windows workflow expects permissions or when deciding whether convenience is worth giving up the native format's features.
It also does not make exFAT a universal working-disk format. An application can have stricter requirements than the operating system. Apple recommends APFS for storage used with Final Cut Pro, Motion and Compressor, and warns that Windows-formatted storage may not behave as expected. Carrying a finished movie between computers is different from keeping an editing library on the drive.
Choose NTFS for a Windows-focused drive
#NTFS makes sense when a drive stays with Windows and you have no requirement to write to it directly from a Mac. It supports Windows file permissions and metadata journaling, alongside other features absent from exFAT.
Metadata journaling helps the filesystem keep track of structural changes. It is not a backup of your documents and cannot promise that a file being written during an interruption will survive intact. A journal also cannot restore a drive that has been stolen or physically failed.
The main tradeoff is Mac writing. If you connect an NTFS drive to a Mac and can view its folders but cannot add a file, that can be the expected format limitation. It is not, by itself, evidence that the drive is broken.
Do not immediately install an unfamiliar driver or erase the disk. First decide whether you actually need ongoing Mac writing. For a one-time move, copying the files off the NTFS drive onto suitable destination storage may be enough. For regular two-way transfers, a separately backed-up exFAT drive can be simpler.
Third-party NTFS drivers change the support picture, but they introduce their own version, licensing and reliability questions. A guide to native formats cannot guarantee them. If a managed work computer is involved, use its approved storage method rather than assuming you can install a driver.
Choose APFS for a modern Mac-only drive
#APFS is Apple's filesystem for macOS 10.13 and later. Apple describes it as optimised for flash and SSD storage, while also supporting traditional hard drives and external directly attached storage. It is not restricted to the Mac's internal disk.
For a drive that stays in a modern Mac workflow, APFS lets you use Mac features instead of choosing exFAT solely because the drive happened to arrive that way. Check the application's storage requirements before moving a photo, audio or video library.
Disk Utility offers several APFS variants. Standard APFS is a sensible starting point if you do not need encryption or case-sensitive names. APFS Encrypted adds volume encryption. Keep its password somewhere secure and separate from the drive; a password you cannot recover can stop you accessing your own files.
Case-sensitive APFS treats differently capitalised names as different names. That can be useful for a specific technical requirement, but it is not an upgrade every reader needs. Select it deliberately rather than assuming a longer option name means better protection.
APFS volumes can share the free space inside a container. This is useful for organising Mac storage, but two volumes on one SSD still share one physical device. A second volume does not provide protection against losing that SSD.
Why FAT32 still appears in the menu
#FAT32 remains relevant because some older or specialised devices require it. Its important constraint here is the maximum individual file size: just under 4 GiB. A drive can have hundreds of gigabytes free and still reject a single file that exceeds that limit.
That is different from total drive capacity. It is also different from how much space a particular formatting tool offers to format. Avoid treating every “32 GB” instruction as a statement of the filesystem's maximum possible volume size.
For ordinary transfers between current Macs and Windows PCs, exFAT removes the small individual-file ceiling without requiring NTFS writing on the Mac. If a camera, car stereo or television specifically requires FAT32, follow that device's manual instead. Check supported drive capacities and partition schemes as well as the filesystem name.
Do not reformat a camera card casually on a computer just to match a general comparison. The device that uses the card may have its own formatting procedure and requirements.
Separate transfer storage from backup storage
#A shared drive solves access. It does not automatically solve backup. If you move all your photos from a laptop to an external drive and delete the laptop copies, you still have only one copy.
For a local Time Machine disk, Apple prefers APFS or APFS Encrypted. Time Machine cannot use a Windows-formatted disk as its local backup destination without reformatting it to a suitable Mac format. That erase prompt deserves the same care as any other formatting operation.
Apple also reserves the entire APFS backup volume for Time Machine. Other files can use an additional APFS volume on the same physical disk, but this is an organisation choice, not a second independent backup. Existing supported Mac OS Extended Time Machine backups are a separate case; do not erase a working historical backup just because a new-disk recommendation says APFS.
For Windows backup software, check the destination requirements of the tool you actually use. An ordinary file-copy destination and a system-recovery backup destination are different promises. Choosing NTFS does not configure a backup schedule or prove that a restoration will work.
If you need both a shared transfer disk and dependable backups, keeping those jobs on separate physical drives is often easier to understand. It also reduces the chance of erasing a backup while changing a transfer disk's format.
A backup-first plan before formatting
#First identify the drive by more than its name. Check the capacity, connection and contents. Names such as Untitled or New Volume are easy to confuse. Disconnect unrelated external drives if that helps you identify the target, and leave the computer's system disk alone.
Copy every file you need to storage that will not be erased. Include hidden or less obvious folders you recognise as part of your own archive or application data. If you do not understand what is on a drive, pause and investigate rather than assuming the visible folder is everything.
Then verify the copied data. Compare the expected folders and file counts, inspect sizes and open representative important files from the destination. For an irreplaceable collection, use a trusted verification tool or a checked backup workflow rather than relying only on a few samples. Spot checks reduce uncertainty; they do not prove every byte matches.
Cloud placeholders need particular care. Seeing a filename on the computer does not necessarily mean its full contents are downloaded. Confirm that your important copies are actually available before erasing the source.
Keep the verified copy disconnected or otherwise outside the erase operation. Write down the intended format and target device before proceeding. If there is not enough spare storage to hold what you need, postpone formatting. “I will recover it afterwards” is not a safe substitute for a copy.
Formatting on Windows or Mac
#On Windows
#For an existing visible removable data volume, File Explorer's Format option offers a straightforward interface. Confirm the drive letter and capacity, select NTFS or exFAT for the intended use, and leave allocation unit size at its default unless a documented workflow requires otherwise. Read the final warning before starting.
Disk Management is the built-in alternative for inspecting disks and volumes. Open it by right-clicking Start and selecting Disk Management. For an existing volume, its context menu includes Format. Do not delete partitions, initialise a disk containing wanted files or change another volume just because the expected choice is missing.
A quick format creates new filesystem structures without fully overwriting the volume. It still removes normal access to the old contents and must be treated as destructive. It is not a privacy guarantee for selling a drive, and it is not a reason to skip the backup.
On Mac
#Open Disk Utility, choose View, then Show All Devices, and carefully identify the external device. Apple's whole-device erase procedure selects the device at the top of the hierarchy. This is broader than selecting a volume beneath it: make sure all its contents are already protected elsewhere.
Choose Erase, enter a short recognisable name and select APFS for the appropriate Mac workflow or ExFAT for ordinary Mac–Windows sharing. The partition scheme is a separate setting. Apple's Mac erase instructions use GUID Partition Map; older equipment may require another scheme. Check that equipment's instructions before erasing.
If the Scheme menu is missing, check what you selected rather than clicking through blindly. Once the target, format and scheme are confirmed, start the erase and wait for completion. Do not unplug the drive during the operation.
Test the result before trusting it
#Start with disposable test files. For a shared exFAT disk, create a folder on Windows, copy a document onto it, then safely eject. On the Mac, open that copy, add a different file and rename the test folder. Eject again, reconnect to Windows and confirm the new file and folder name are visible.
If large files are part of the plan, test a representative large file as well. Keep its original. Test the actual computers and applications you will use; a successful test on one laptop cannot establish compatibility with a television or an editing package.
When a copy fails, read the error before blaming the format. Check free space, the individual file size, write permissions, the cable and whether the drive keeps disconnecting. An APFS disk not opening in Windows and an NTFS disk refusing Mac writes are different from a drive dropping out on both systems.
If a drive with wanted files suddenly asks to be formatted, cancel. Do not repeatedly erase, initialise or run repair commands to make the prompt disappear. For unique data, stop using the drive and seek appropriate recovery help before further writes.
Finally, close files and eject through the operating system before unplugging. On Windows, use Safely Remove Hardware and wait for confirmation; on Mac, use Finder's eject control and wait for the volume to disappear. If it reports that the drive is busy, close the applications using it and try again. The right format helps compatibility, but careful copying, verification and separate backups are what make the workflow dependable.