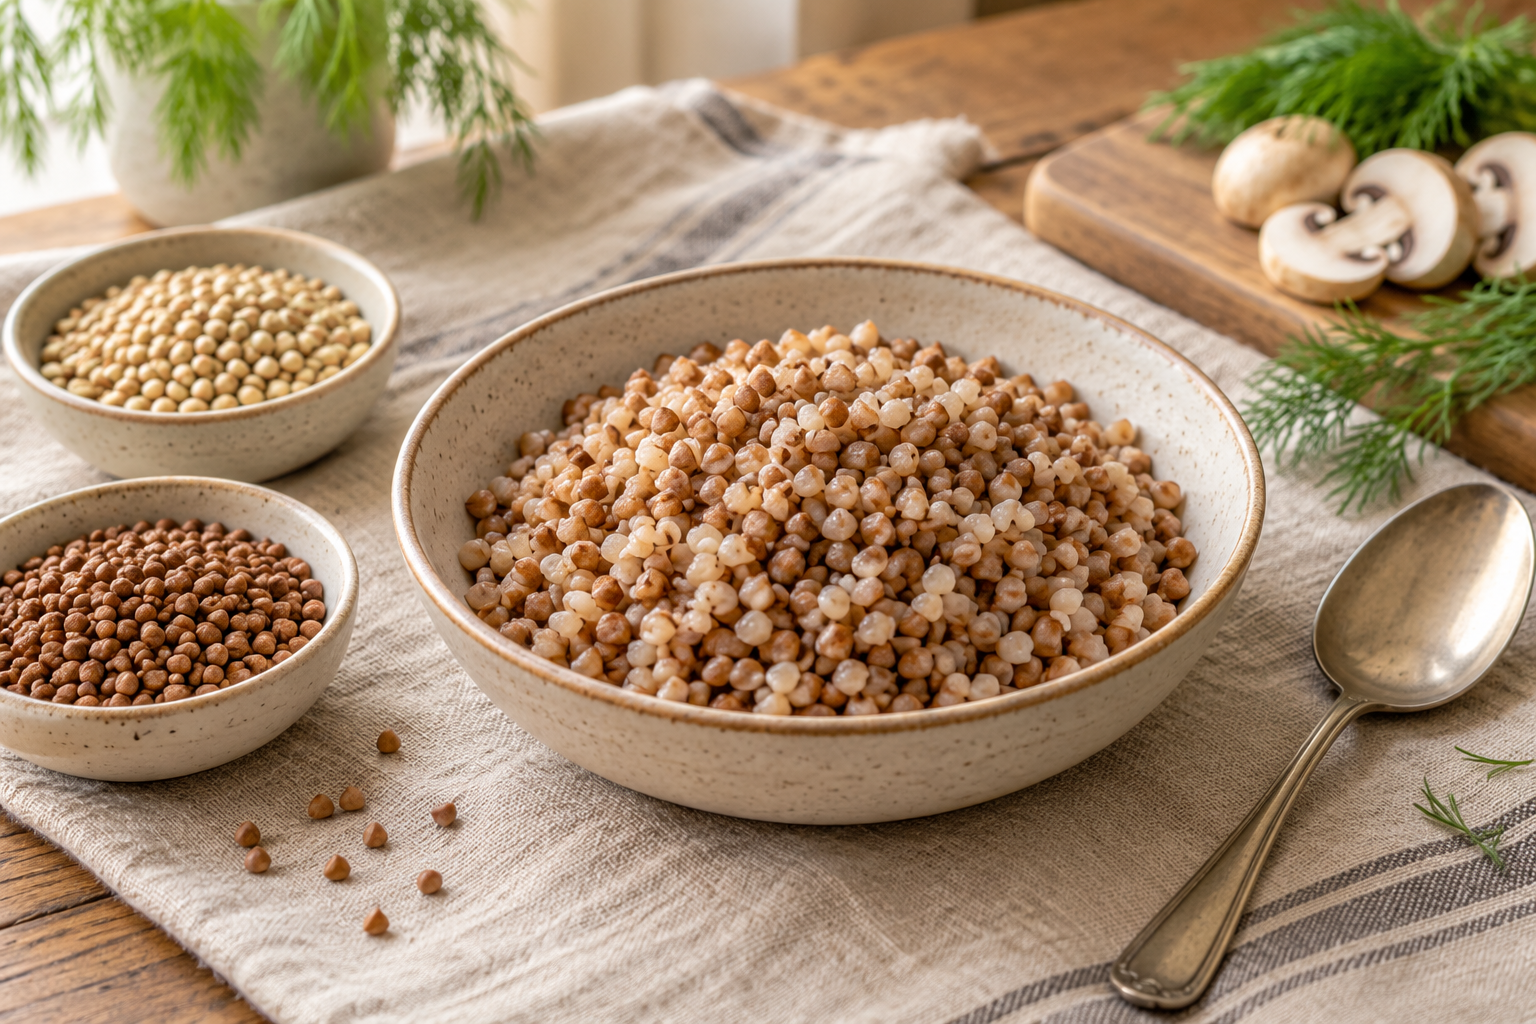
If a packet says buckwheat groats, first check whether the grains are raw and pale or already roasted and brown. That difference changes the method: raw groats can be lightly toasted before simmering, while kasha is already roasted and generally needs less added fat and a shorter cook. There is no single water ratio or time that fits every product, so start with the package directions when they are clear.
For a dependable starting point with raw groats, Utah State University Extension uses 1 cup groats to 2 cups liquid, with a brief toast and a covered 12–15 minute simmer. Its method makes about 3½ cups. Roasted kasha instructions vary by product; one commercial example uses 1 cup kasha to 1½ cups water and cooks it for 7–10 minutes. Those are two different starting points, not interchangeable rules.
Raw groats, toasted groats and kasha
#Buckwheat is a seed used like a grain. Whole buckwheat groats are the hulled kernels. They are not the same as buckwheat flour, and a bag of groats is not the same product as noodles made with buckwheat flour.
Raw groats are usually pale cream to light green and have not been roasted. Their flavor is relatively mild. You can cook them as they are, or toast them in the pan as part of the cooking method for a deeper, nuttier aroma.
Kasha commonly means roasted buckwheat groats, particularly in Eastern European food contexts. However, package naming varies. Some manufacturers use “buckwheat groats” broadly and state elsewhere whether the contents are roasted. Check the ingredient description, color, and cooking directions. If the grains are already brown and the package says roasted, do not repeat a long dry toast; warm them briefly in fat only if your recipe calls for it.
| What you have | Usual appearance | Practical starting point |
|---|---|---|
| Raw whole groats | Pale cream, greenish or light tan | Follow a raw-groat method, such as the 1:2 liquid method below |
| Roasted groats or kasha | Brown to deep tan, with a roasted aroma | Use the package method; a commercial example below uses 1:1.5 liquid |
| Buckwheat flour | Powder, not whole kernels | Use a flour recipe; groat ratios do not apply |
Color is a clue, not a guarantee. Packaging and processing differ, so the label takes priority over appearance when it gives specific instructions.
What does “whole” mean here?
#Whole groats keep the kernel intact apart from the outer hull being removed. They cook into distinct kernels when handled gently. Cracked buckwheat cooks faster and tends toward a softer texture, so whole-groat instructions may overcook it. If a bag says cracked, kasha cereal, or buckwheat porridge, look for directions for that cut rather than assuming it behaves like intact kernels.
Also check whether the ingredient list is simply buckwheat or includes added salt or other ingredients. Plain groats let you season the cooking liquid yourself. A seasoned mix or instant product may have a different absorption method. Package directions are especially useful for products that are cracked, pre-cooked, or mixed with other ingredients.
Rinse or not?
#The cited extension recipe does not require rinsing, and the basic method below does not add that step. If your package recommends rinsing, use a fine-mesh sieve and drain thoroughly so you do not accidentally add unmeasured water. Rinsing can also remove surface dust, but it does not replace checking the product type or following its cooking directions.
A reliable stovetop method for raw groats
#The recipe card gives a simple raw-groat method adapted from Utah State University Extension. The brief toast helps coat the kernels with fat and brings out a more rounded flavor. The liquid amount and cook time are the source’s stated starting point; pan shape, heat, and the particular groats can change the finish.
Use a heavy saucepan with a close-fitting lid. Bring the liquid to a boil after adding the groats, then reduce the heat to a low simmer. Keep the lid on so steam remains in the pan. At 12 minutes, check whether the liquid has been absorbed and whether the kernels are tender. If they are still firm and the pan is dry, add a small splash of hot water, cover, and continue cooking briefly. If the grains are tender but a little liquid remains, drain it rather than stirring hard.
After cooking, leave the pan covered off the heat for 5 minutes. Then loosen the groats gently with a fork. This rest lets moisture settle through the grains. Stirring repeatedly while they simmer can break kernels and make the result heavier.
The recipe card is for raw groats. It does not claim to be a universal kasha recipe. If your packet is already roasted, use the package directions or the separate example below.
How roasted kasha differs
#Roasted kasha has already had the dry-toasting step applied during processing. A useful product-specific reference is Bob’s Red Mill’s basic preparation for its kasha: 1 cup kasha, 1½ cups water, and ½ teaspoon salt; bring to a boil, cover, simmer 7–10 minutes, then drain any excess water. Treat that as guidance for that product, not as a rule for every brand.
Other references show why the numbers vary. The Whole Grains Council’s general chart lists buckwheat at 1 cup grain to 2 cups liquid and about 20 minutes. Utah State Extension’s raw-groat recipe uses the same liquid ratio but a 12–15 minute simmer plus a covered rest. A commercial roasted-kasha product calls for less liquid and less time. Differences in roasting, grain size, age, pan, and desired texture all matter.
When the label is unclear, cook a small amount first and note the package name and result. Start checking before the longest time listed in a general chart. Tender grains that still hold their shape are done; they do not need to wait for every drop of liquid to disappear if the texture is already right. Drain excess liquid, or add a little hot water and continue if the kernels remain firm.
If you are scaling a recipe, scale the grain and liquid together but keep the pan and heat in mind. A deeper pot may retain steam differently from a wide skillet, and a larger batch can take longer to return to a simmer. Use the original time range as a point to begin checking, not a promise that a doubled batch finishes at exactly the same minute. A small test batch is a practical way to learn how the particular product behaves before serving it to a group.
How to keep the grains separate
#Several small choices help prevent a gummy or broken batch:
- Measure the grain and liquid consistently. Use the same cup for both. If the package gives a tested ratio for that exact product, begin there.
- Simmer gently. A hard boil can agitate the kernels and evaporate liquid faster than expected. Once boiling, turn the heat down and keep the pot covered.
- Avoid frequent stirring. Check near the end of the stated range, then leave the pot alone unless you need to correct the liquid.
- Rest before fluffing. A short covered rest gives the remaining steam time to distribute.
- Drain rather than mash. If the groats are tender but wet, pour off excess liquid. Stir gently with a fork instead of beating them with a spoon.
For a softer breakfast porridge, more liquid and stirring may be appropriate, but that is a different target from separate, fluffy kernels. Choose the texture before changing the ratio: a bowl meant to be spoonable should not be judged by the same standard as a grain side.
Choose the finish before the liquid
#For a side dish or salad, the aim is tender kernels that still hold their shape. Start with the product’s absorption directions and avoid extra stirring. For porridge, deliberately use more liquid and stir as needed to reach a softer consistency. For a stuffing or filling, consider the other ingredients: a wet sauce added later can make an already-soft batch feel pasty, so cook the groats toward the firmer end of the range.
Salt in the cooking liquid seasons the interior more evenly, but broth may already contain salt. If using broth or a seasoned package, taste before adding more. Butter or oil contributes flavor and helps coat the raw kernels in the extension method; it is optional in other methods and does not need to be added again if the kasha is already prepared with fat.
Common problems and practical fixes
#The groats are still hard but the pan is dry
#The heat may have been too high, the lid may not have fitted tightly, or the product may need more time. Add a small splash of hot water, cover again, and simmer gently until the center is tender. Next time, lower the heat sooner and check the lid. If you used roasted kasha, verify that you followed the directions for roasted rather than raw groats.
The groats are soft and wet
#If they are tender, drain the extra liquid and let them stand uncovered for a minute or two. If they are still intact, fluff gently. For the next batch, use the package’s ratio and check earlier; a wide pan or lively boil can change how quickly water evaporates.
The result is mushy
#The groats may have cooked too long, been stirred repeatedly, or absorbed too much liquid for the intended texture. There is no reliable way to turn fully broken kernels back into separate grains. Use the softer batch in soup, porridge, or a thick filling if it suits the dish. For a separate-grain result next time, begin checking at the early end of the product’s time range and stop as soon as the kernels are tender.
The flavor is too mild
#For raw groats, a brief toast in butter or oil before adding liquid deepens the flavor. For groats already roasted into kasha, they already have a toasted profile; season the finished dish with salt, herbs, sautéed onion, or a bright dressing according to how you plan to serve it. These are serving options, not required ingredients in the basic method.
The bottom catches
#The heat may be too high or the pan too thin. Use a heavy-bottomed saucepan, reduce the burner to a gentle simmer, and avoid leaving an uncovered pan unattended. A diffuser can help on a burner that runs hot. If the bottom has scorched, transfer the unburnt top layer to another dish without scraping the stuck part into it.
Ways to serve cooked buckwheat
#Separate cooked groats can stand in for rice or another grain-like side. Serve them with stewed vegetables, mushrooms, beans, eggs, or a saucy main dish. For a cold salad, cool the grains and fold them gently with crisp vegetables, herbs, and a dressing; make sure the groats are fully cool before adding delicate greens.
For breakfast, use a softer porridge-style method and top the cooked buckwheat with fruit, nuts, yogurt, or another topping you enjoy. If you want a grain bowl with distinct kernels, keep the cooking liquid closer to the package’s absorption method and add dressing after cooking. These serving ideas do not change the core distinction: begin by identifying raw groats versus kasha.
Cooked groats can be refrigerated promptly in a covered container and used within a few days as part of normal leftovers handling. Cool them in a shallow container rather than leaving a large hot pot at room temperature. Reheat until steaming hot, adding a splash of water if they have dried out. Follow local food-safety guidance for storage times and temperatures.
Is buckwheat gluten-free?
#Buckwheat is naturally gluten-free despite the word “wheat” in its English name. The Celiac Disease Foundation notes that naturally gluten-free grains and seeds can still be exposed to gluten through harvesting or processing. If you need to avoid gluten for celiac disease or another medical reason, choose a product with an appropriate gluten-free claim or certification for your needs, and check the package for cross-contact information. Groats, flour, and noodles can have different ingredients and handling, so check each product rather than assuming all buckwheat-labelled foods are equivalent.
The short decision guide
#- Read the label and identify whether the groats are raw or already roasted.
- For raw groats, the cited extension method is 1 cup groats to 2 cups liquid, with a brief toast, 12–15 minutes at a gentle covered simmer, and a 5-minute rest.
- For roasted kasha, follow that product’s directions; one commercial example uses 1 cup kasha to 1½ cups water and 7–10 minutes.
- Judge the kernels by tenderness and the texture you want. Drain a little extra liquid or add a little hot water as needed.
That approach explains why seemingly conflicting recipes can all be reasonable: they may describe different buckwheat products and different finished textures.