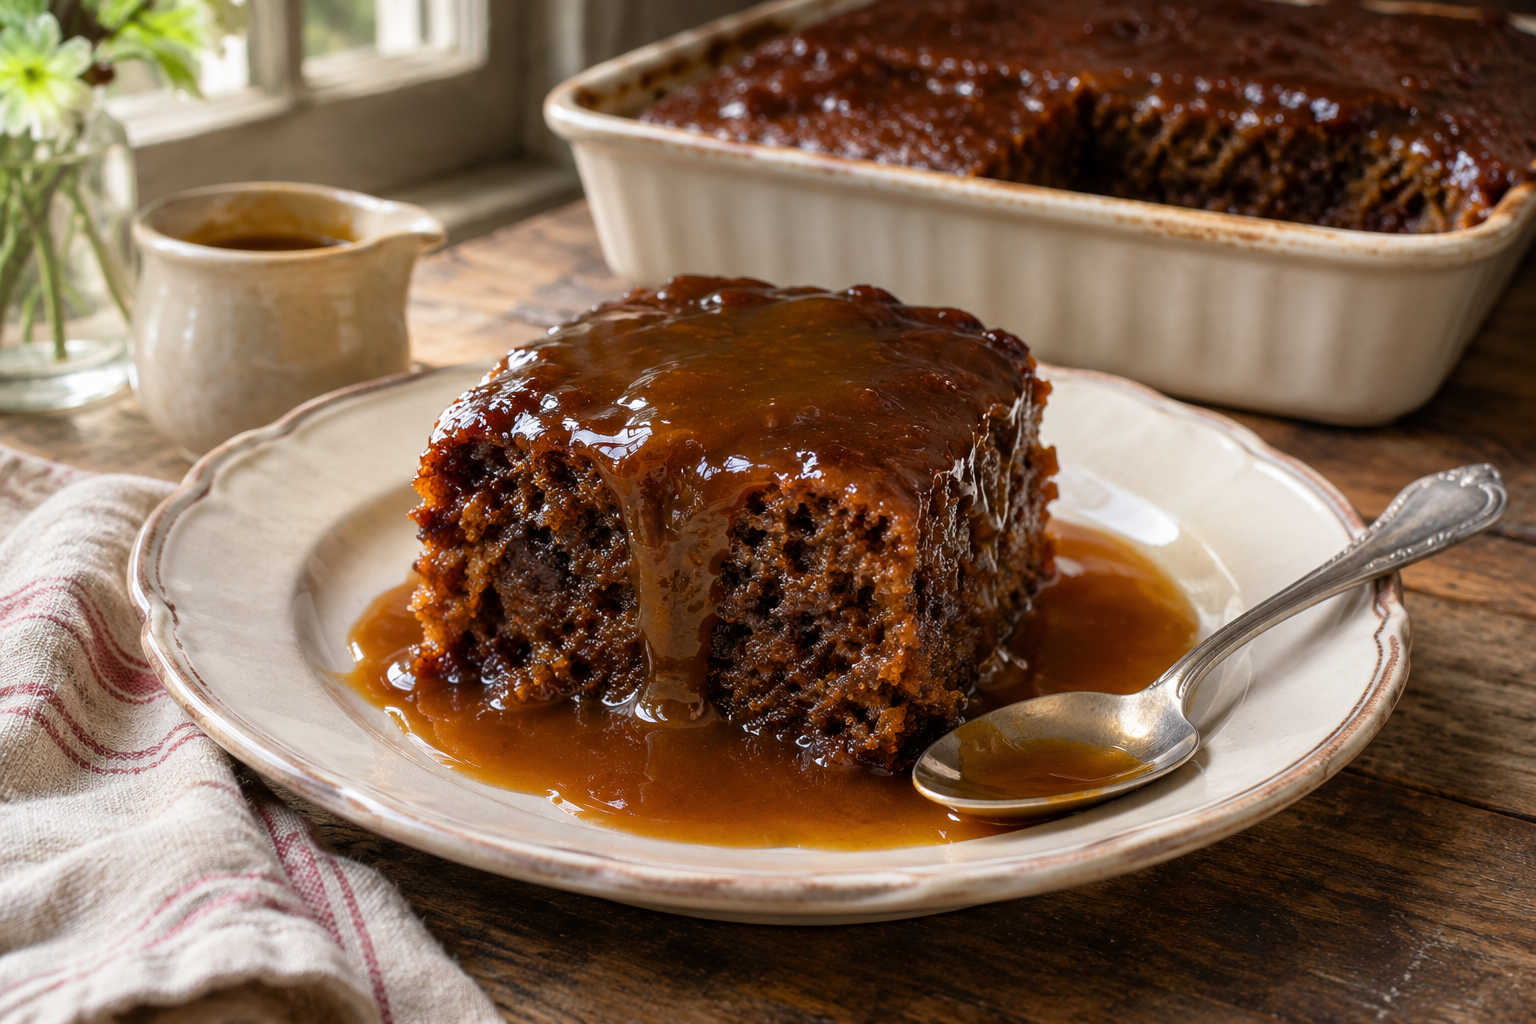
Soak the dates before you mix the batter, and make the toffee sauce in a separate pan while the sponge bakes. For this sticky toffee pudding, a skewer through the middle tells you more than the colour of the top. Add the first portion of sauce near the end and keep the rest warm for serving.
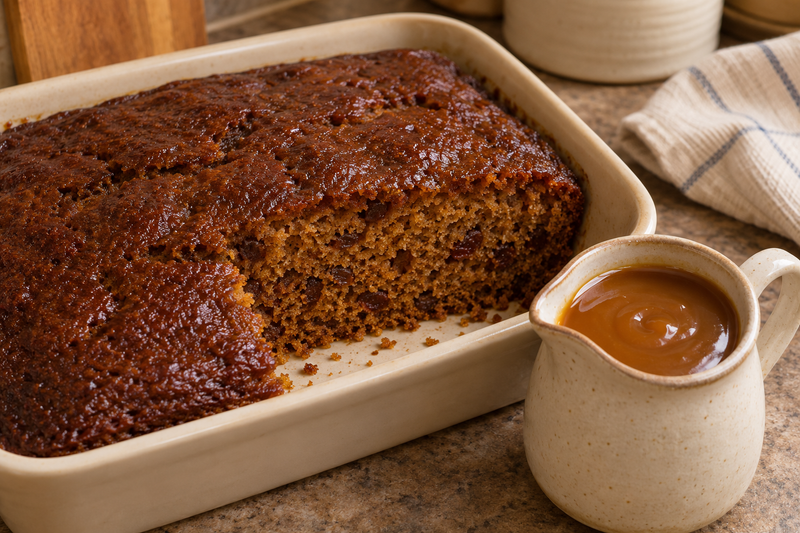
A tray works well when you’ve got people coming for dinner. You can cut the portions to suit the table and bring extra sauce out in a jug. The recipe card uses Barney Desmazery’s traybake method, with dates in the batter and a cream-based sauce. It makes enough for 10 to 12, so decide what you’ll serve tonight and where the rest will go before you start.
Weigh the dates after you remove the stones
#If you buy whole dates, cut each one open and check it before it goes into the bowl. Weigh the prepared fruit after taking out the stones. You want the fruit weight called for in the card. Leaving the stones in for the weigh-in gives you less fruit than the recipe expects, and a missed stone can end up in the processor.
The dates soak with bicarbonate of soda and vanilla. The soak softens them enough to break up easily, so give it the full time even if you’re moving quickly with everything else. Use a heatproof bowl and water from the kettle. You can make the card without rum by using the full water amount given there. If you use rum, keep to the corresponding smaller amount of water.
This recipe uses the soaking liquid too. When you move the dates to the processor, take the liquid with them. Draining it off and then adding water by eye changes the batter. You’d have to guess at the texture right when you should be checking that it’s mixed properly.
Leave a few pieces in the date mixture
#Pulse the softened dates until they break up, then set aside roughly half of that mixture. Blend the rest until smooth and bring the two parts back together. The smooth portion spreads through the batter. The rougher portion leaves small bits of fruit in the slice.
If you’re expecting the mix to look like a bowl of finely chopped dates, the soaking liquid will surprise you. Look for a soft mixture that drops off the spoon, with bits you can see in the portion you pulsed. Keep the parts in separate bowls until you can tell them apart. Once they’re back together you’ll see both textures.
Blend in a processor suitable for the temperature of the mixture, following its fill limits and instructions. A jug or attachment designed only for cool liquids needs the dates to cool first. The bowl still belongs near the batter so it doesn’t get mistaken for something to discard while you’re clearing the worktop.
Set up the baking tin before mixing
#Use the rectangular tin specified in the card. Check its depth as well as its length and width. A shallow tray may look close from above and leave too little room once the sponge rises. Butter and line it before you start on the butter and sugar, while you still have a clean pair of hands.
Think about a 30 by 20 centimetre tin and a 20 by 20 centimetre one. Their bases are about 600 and 400 square centimetres respectively. Put the same batter into the smaller tin and the layer starts roughly half again as deep, assuming straight sides. That change makes the original baking window a poor guide. For the first batch I’d use the specified size, then make any pan experiment another day.
Get the butter soft enough to beat with the sugar. You should be able to press into it without it feeling hard from the fridge. If you melted it trying to get there, give it time to return to a soft state suited to creaming. The bowl and whisk are for beating softened butter with sugar before the eggs go in.
Mix until the flour disappears
#Beat the sugar and butter until the mixture looks fluffy, then beat in the eggs one at a time. It helps to crack them into a separate bowl so you can remove a bit of shell before it reaches the batter.
Fold in the flour, spices and a pinch of salt. This card uses self-raising flour and a measured amount of bicarbonate in the date soak. Keep those parts of the recipe together. A recipe made with plain flour can have a different set of raising agents. Borrowing its flour amount without the rest of the formula can change how your sponge rises.
Add the dates and toasted pecans and fold until they spread through the batter. Scrape the bottom as you turn the mixture over. A pocket of flour can sit there even when the top looks mixed. Then move the batter to the lined tin and level it so the middle has about the same depth as the edges.
Pecans are part of this version. Tell guests if you’re serving it to a group. If you need a pudding that avoids an ingredient for allergy reasons, use a recipe suited to that requirement and check the labels and kitchen setup. Picking out the visible nuts from a finished slice leaves the rest of that slice exposed to them.
Check the sponge before the sauce covers it
#Look first at the centre of the tray. The edges get more heat and can look set while the middle is still soft. Check with a skewer in the centre. When you see wet batter, give the sponge more time and check again. If you hit a bit of date and can’t tell what you’re looking at, try a nearby spot.
Keep the oven door closed until you’re ready to make that check. The card gives you an estimated first bake and a shorter sauced finish. Your tin and oven can move the timing a little. The centre matters more than the minute on the timer.
When the sponge reaches the point described in the card, spread the first portion of sauce over it and return it to the oven for the short finish. This part gives the top time to bubble with the sauce. Set the remaining sauce aside to serve at the table. If you have a jug ready, you can make that split before anyone reaches for a spoon.
Get the sauce ready while the tray bakes
#Measure the sauce ingredients separately from the batter ingredients. There’s butter and sugar on both lists, and the amounts differ. Two small bowls on the counter make it hard to use the sauce portion by mistake while you’re mixing the sponge.
Put the sugar, butter and treacle into the saucepan and warm them together as the card directs. Stir as the butter melts and the sugar dissolves, including around the edge. Then let the mixture bubble for the short period in the card. Add the cream and simmer while stirring. Watch the pan as you do this. The sauce can bubble up and it’s hot enough to burn.
Judge the texture while it’s warm. A sauce that flows slowly off a spoon can thicken as it cools. If it’s been sitting while you serve dinner, warm it gently and check the flow again before you decide it needs a change. For one test portion, pour a little onto a small plate and see how it settles. That gives you a better idea of what will happen on the pudding.
| What you see | What to check |
|---|---|
| Brown edges and wet batter on the skewer | Check the centre again after more oven time before adding sauce. |
| A dry patch when you fold | Scrape to the bottom and fold until the flour is evenly incorporated. |
| A thick sauce after it sits | Warm it gently and judge the texture again while warm. |
| A very dark sauce smell or visible scorching | Stop heating and check the pan. Start the sauce again if it tastes burnt. |
| Soft slices just out of the oven | Give the tray a short rest and use a spatula wide enough to lift a piece. |
Plan when it goes on the table
#Suppose dinner is at seven and you want warm pudding afterwards. You can weigh the dry ingredients and line the tin ahead. Begin the date soak while there’s still room on the counter. Mix and bake when you’re ready, then use the time in the oven to make the sauce. The helpful part of this plan is that you can see which steps need you at the counter and which give you time to clear up.
If you need to finish the dessert before guests arrive, bake it earlier and chill it once it has cooled. Cover and chill the extra sauce separately. That way you can warm only the portion you need, with the ice cream still in the freezer until you’re ready to scoop.
I’d put the jug of extra sauce on the table so everyone can choose how much they want. A piece from the middle shows the soft crumb well. One from the edge gives you more of the sauced top and rim. If you’re adding ice cream, scoop it at the last moment so people get to eat it cold against the warm cake.
Divide the tray with the sauce in mind
#Use a wide serving spatula and start at the edge. After the first portion comes out, you have room to slide the spatula under the next one. If you’re dividing the tray for ten, make the cuts before adding the extra sauce on the plates. You’ll see the portions more easily and can offer some smaller pieces without having to scrape sauce off a slice.
When a guest wants to take some home, give them the sauce in a separate container if it’s practical. You can cool and store the portion without standing it in another pool of sauce. Check whether the guest can refrigerate it promptly. If it’s going to spend the evening travelling, keep the dessert ready for a different time.
Put away what you aren’t serving
#Cool spare portions promptly and refrigerate in covered containers. Don’t hold the baked pudding and cream sauce on the counter overnight. For a conservative plan, the UK Food Standards Agency advises eating refrigerated leftovers within 48 hours or freezing them. Divide them before chilling so you can lift out what you need without warming the whole batch.
Reheat a portion until steaming hot throughout, following the instructions for your appliance. A hot edge on a microwave-heated slice can sit beside a cool centre, so check the middle. Under the same UK guidance, reheat leftovers once. Keeping the sauce apart helps you warm each part as it needs and decide how much to put over the slice.
Cover the last piece before you clear the table, and save a spoonful of sauce with it. That’s enough to give tomorrow’s pudding the same soft middle and warm finish without bringing out the whole tray again.