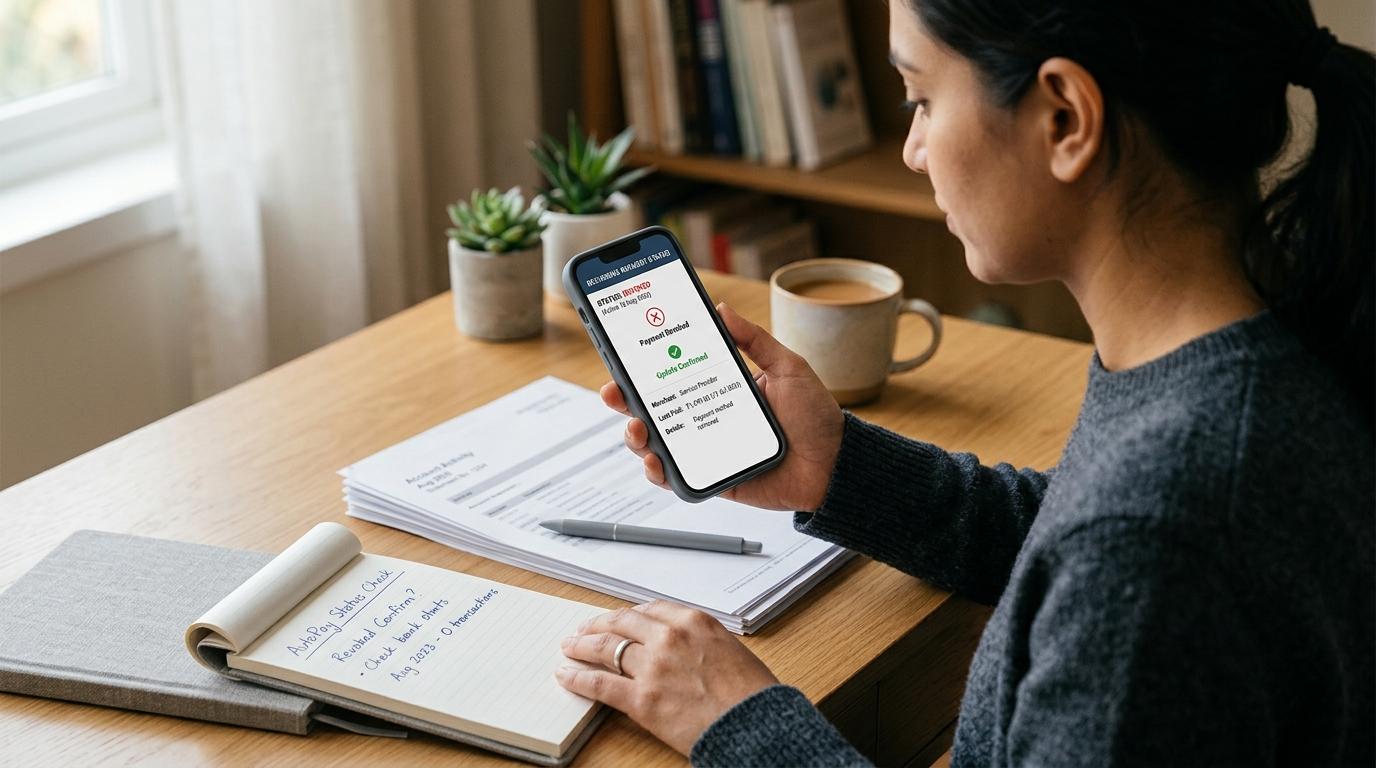
UPI AutoPay revoked meaning: the permission you gave for a recurring UPI payment has been withdrawn. In simple words, that AutoPay mandate is no longer active, so it should not continue deducting money from your bank account for that specific payment.
So if your UPI app shows “revoked”, it usually means the automatic payment has been stopped.
That said, it is still worth checking properly. Sometimes a deduction may happen because of another active mandate, a payment already in process, a billing overlap, or a technical issue. If money is deducted even after revocation, collect proof and contact your UPI app, bank, and the merchant.
Seeing the word “revoked” can feel confusing, especially when it is linked to a subscription, EMI, insurance premium, utility bill, app purchase, or any other recurring payment. But in most cases, it is a good sign. It means the AutoPay permission for that mandate has been removed.
Still, don’t just assume everything is done. Open the mandate details, check the status, save screenshots, and watch your next bank statement. A quick check now can save trouble later.
What Does “UPI AutoPay Revoked” Mean?
#When a UPI AutoPay mandate shows revoked, it means the authorization you gave to a merchant or service provider to collect recurring payments through UPI has been withdrawn.
In everyday language, AutoPay revoked means the automatic payment permission has been stopped.
For that specific mandate:
- The merchant should not be able to auto-debit your bank account again.
- The mandate should no longer appear under active AutoPay mandates.
- If you want to use AutoPay again for the same service, you will usually need to approve a new mandate.
- Revoking AutoPay stops the payment instruction, but it may not cancel the actual subscription or service.
That last point is important. If you revoke AutoPay for a streaming app, insurance premium, loan EMI, or utility bill, the payment permission may stop. But the merchant may still treat your subscription, policy, loan, or service as active unless you cancel it separately.
So if you do not want the service anymore, cancel it from the merchant side too.
Revoked vs Paused vs Cancelled vs Failed
#Different UPI apps may use slightly different words. But in most cases, these terms mean the following.
Revoked
#A UPI mandate revoked status means the recurring payment permission has been withdrawn. This is usually treated as a permanent stop for that mandate.
If the merchant wants to collect money again through UPI AutoPay, you would normally need to approve a fresh mandate yourself.
Cancelled
#In many UPI apps, cancelled and revoked are used in a similar way. Both usually mean the AutoPay mandate is no longer active.
So if you tried to stop AutoPay and it now shows cancelled, your UPI AutoPay mandate cancellation has most likely been completed.
Still, open the mandate details and check carefully. Make sure it is not showing as active, pending, paused, or processing.
Paused
#Paused is not the same as revoked. A paused mandate is usually stopped only for a temporary period. It may become active again later, depending on the pause duration or app settings.
If you do not want any future auto-debits from that mandate, pausing may not be enough. You should revoke or cancel it.
Failed
#Failed does not always mean the mandate is cancelled. A recurring payment can fail because of low balance, bank downtime, UPI limits, network problems, or another technical issue. But the AutoPay mandate may still remain active.
So if one AutoPay transaction fails, do not assume the payment has stopped forever. Open your UPI app and check the mandate status.
NPCI UPI AutoPay and RBI E-Mandate Context
#UPI AutoPay works within the UPI system operated through the NPCI framework. It allows users to approve recurring payments through UPI mandates.
The broader regulatory background also includes RBI’s digital payment e-mandate framework. The practical idea is simple: recurring digital payments should happen only with user consent, and users should be able to view and manage those permissions.
In practical terms, users should generally be able to:
- View UPI AutoPay mandates in their payment app.
- Approve new mandates with proper consent.
- Receive payment-related alerts or notifications, wherever applicable.
- Pause, revoke, or cancel supported mandates.
- Raise disputes through the bank, payment app, or merchant if something goes wrong.
For exact rules, limits, timelines, and complaint processes, always check official information from NPCI, RBI, your bank, your UPI app, or the merchant. App screens and wording can change over time.
How to Check UPI AutoPay Mandate Status in Your App
#If you want to confirm that a recurring UPI payment has stopped, check the mandate inside your UPI app. Do not rely only on an SMS or notification.
The menu names may be different in each app, but the general process is usually similar.
- Open your UPI payment app.
- Go to your profile, settings, payments, or bank account section.
- Look for AutoPay, UPI AutoPay, Mandates, Automatic Payments, or Recurring Payments.
- Open the merchant or subscription name.
- Check the mandate status.
- If it is still active and you want to stop it, tap Cancel, Revoke, Remove, or a similar option.
- Confirm the action inside the app. You may need to enter your UPI PIN.
- After completion, check that the status shows Revoked, Cancelled, or something similar.
Never share your UPI PIN with anyone. Enter it only inside your official UPI app when you are taking the action yourself.
How to Check or Cancel UPI AutoPay in Common Apps
#The exact steps may change after app updates, so treat these as general guidance. If you cannot find the option, check the app’s official help section.
Google Pay
#- Open Google Pay.
- Tap your profile picture.
- Look for AutoPay or a similar recurring payments section.
- Open the mandate you want to check.
- See whether it is active, pending, completed, cancelled, or revoked.
- If it is active, choose the option to cancel or revoke it.
- Confirm the action inside the app.
Paytm
#- Open Paytm.
- Go to your profile or payment settings.
- Look for UPI & Payment Settings, UPI Automatic Payments, or a similar option.
- Select the active mandate.
- Tap Cancel, Revoke, or the stop option shown in the app.
- Confirm the action.
PhonePe
#- Open PhonePe.
- Tap your profile picture.
- Look for AutoPay Settings, Mandates, or payment management options.
- Select the mandate.
- Tap Remove, Cancel, or Revoke.
- Confirm the action inside the app.
If you cannot find the mandate, it may have been created through another UPI app or another UPI ID linked to the same bank account.
What Proof Should You Save After Revoking UPI AutoPay?
#Once the mandate shows revoked or cancelled, save proof immediately. This can help if there is a later deduction or if the merchant claims the mandate was still active.
Screenshot of the Revoked Mandate
#Take a screenshot that clearly shows:
- Status as Revoked or Cancelled
- Merchant name
- UPI mandate details
- Date and time, if visible
- Unique Mandate Number, if shown
- Bank account or UPI ID reference, if safely visible
Avoid sharing full bank details publicly or with unknown support numbers.
SMS or Email Confirmation
#Your bank, UPI app, or merchant may send an SMS, email, or app notification confirming the cancellation or revocation.
If available, save the SMS screenshot, email copy, in-app notification screenshot, and transaction or mandate reference number.
Bank Statement or Transaction History
#Check your bank statement or UPI transaction history after the next billing date.
If no debit happens, it helps confirm that the recurring payment has stopped.
If a debit does happen, the statement helps you identify the date of debit, amount, merchant name, UPI reference number, and mandate reference if available.
Merchant Cancellation Proof
#If you also cancelled the actual service or subscription with the merchant, save that confirmation separately.
Remember, cancelling AutoPay and cancelling the subscription are not always the same thing.
What to Do If Money Is Deducted After UPI AutoPay Is Revoked
#If money is deducted even after the mandate shows revoked, do not panic. But do act quickly.
Step 1: Check Whether It Is the Same Mandate
#Open the transaction details in your UPI app or bank statement.
Compare merchant name, amount, date, UPI transaction ID, and mandate reference or UMN if visible.
Sometimes people have more than one mandate for the same merchant. This can happen if you changed UPI apps, used another UPI ID, changed bank accounts, or reactivated the service earlier.
Step 2: Check the Timing
#If you revoked the mandate very close to the billing date, there may have been a processing overlap or pending debit.
This does not mean you should ignore the issue. It simply helps you explain the case clearly while raising a complaint.
Step 3: Contact the Merchant
#Use the merchant’s official app, website, or verified support channel.
Share the screenshot of the revoked mandate, debit transaction details, date and amount, mandate reference if available, and refund or reversal request if the debit was unauthorized.
Do not call random customer-care numbers found through search results, social media comments, or forwarded messages.
Step 4: Raise a Dispute With Your Bank or UPI App
#If the merchant does not resolve the issue, raise a dispute through your bank or UPI app.
Use only official channels:
- Your bank’s official mobile banking app
- Your UPI app’s help or support section
- Your bank’s official website
- The merchant’s verified support page
Clearly explain that the debit happened after the UPI AutoPay mandate was revoked. Attach screenshots and transaction proof.
Step 5: Keep a Record of Every Complaint
#Save complaint ticket numbers, dates, support chat screenshots, email replies, bank or app acknowledgements, and merchant responses. This makes follow-up easier if the issue takes time to resolve.
Safety Tips Before You Cancel UPI AutoPay
#A few simple habits can prevent most AutoPay issues.
- Review your active mandates once a month.
- Cancel unused subscriptions well before the billing date.
- Do not approve a mandate unless you recognize the merchant.
- Do not enter your UPI PIN to “receive a refund” or “cancel a complaint”.
- Use only official app, bank, or merchant support channels.
- Save screenshots after cancellation.
- Check your bank statement after the next expected billing date.
A genuine support person should not ask for your UPI PIN, OTP, screen-sharing access, full card details, or bank login details.
Quick Checklist: Has Your UPI AutoPay Really Stopped?
#Use this quick checklist:
- The mandate status shows Revoked or Cancelled.
- It no longer appears under active mandates.
- You saved a screenshot of the status.
- You saved SMS, email, or in-app confirmation, if available.
- You checked whether the merchant subscription needs separate cancellation.
- You checked your bank statement after the next billing date.
- No new debit appeared from the same mandate.
If all of these are true, the UPI AutoPay revoked meaning is straightforward: that recurring UPI payment has most likely stopped for that mandate.
Related AllBlogs Guides
#- UPI AutoPay Not Cancelling? Stop Recurring Payments
- UPI AutoPay Safety Checklist
- UPI Help AI Assistant: Failed Payments, Complaints and AutoPay
General Education Disclaimer
#This article is for general educational purposes only. It is not financial, legal, tax, investment, loan, or personalized advice. UPI app menus, mandate labels, bank processes, and official rules may change. Always verify important payment information through NPCI, RBI, your bank, your UPI app, or the merchant’s official support channels.