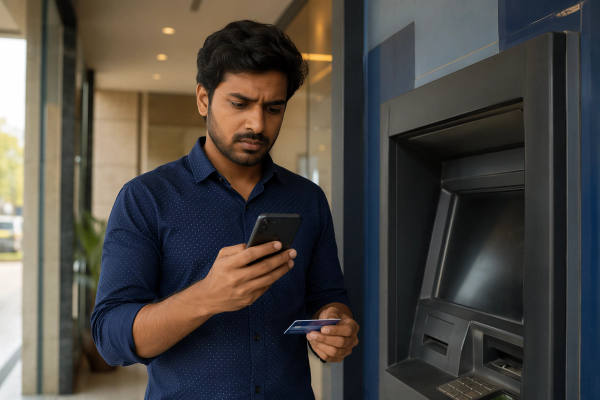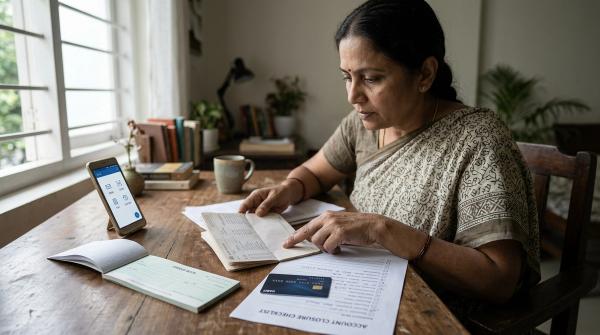
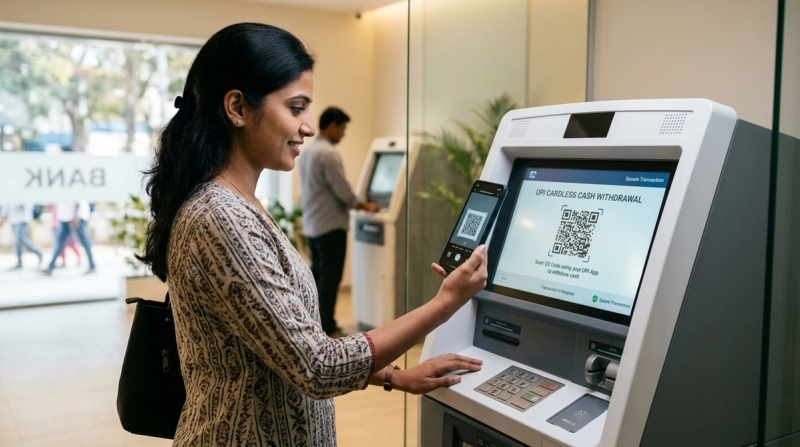
Forgot your debit card? You may still be able to withdraw cash from an ATM using UPI.
With UPI ATM cash withdrawal, you select the UPI or cardless withdrawal option on a supported ATM, enter the amount, scan the QR code shown on the ATM screen, and approve the transaction in your UPI app using your UPI PIN. Once the payment is authorised, the ATM dispenses the cash.
It’s simple and useful, especially when you don’t have your debit card with you or you’d rather avoid inserting your card into an ATM. But there’s one important catch: the ATM, your bank, and your UPI app must all support the feature.
This service is also known as cardless cash withdrawal using UPI or Interoperable Cardless Cash Withdrawal, often shortened to ICCW. Since you don’t insert a physical card, it helps avoid risks like card skimming. Still, it is a banking transaction, so you should use it carefully.
Before approving anything, always check the QR code, the amount, the account being debited, and the screen where you enter your UPI PIN.
Note: This article is for general information only. It is not financial or legal advice. Always follow your bank’s official instructions.
What is UPI ATM cash withdrawal?
#UPI ATM cash withdrawal allows you to withdraw money from a supported ATM without using a debit card. Instead of inserting a card, you scan a QR code using your UPI app.
Here’s how it usually works:
- You choose the UPI cash withdrawal option on the ATM.
- You enter the amount you want to withdraw.
- The ATM shows a QR code for that transaction.
- You scan the QR code using a UPI app such as Google Pay, PhonePe, Paytm, BHIM, or another supported app.
- You select the bank account linked to UPI.
- You enter your UPI PIN on your phone.
- Once approved, the ATM gives you the cash.
The most important rule is simple: enter your UPI PIN only inside your UPI app on your own phone.
Do not enter your UPI PIN on the ATM keypad. Do not tell it to anyone. Do not let anyone “help” you enter it.
How to withdraw cash using UPI at an ATM
#The exact wording may differ from one ATM to another, but the process is usually similar.
1. Find an ATM that supports UPI withdrawal
#Look for options on the ATM screen such as:
- UPI Cash Withdrawal
- UPI ATM
- Cardless Cash Withdrawal
- QR Cash Withdrawal
Not every ATM supports this feature yet. Even if you see the option, the transaction may still fail if your bank account or UPI app is not supported.
2. Select the UPI cash withdrawal option
#Choose the UPI or cardless withdrawal option on the ATM screen.
If you are using UPI ATM withdrawal, you do not need to insert your debit card. This method works through QR code approval on your phone.
3. Enter the withdrawal amount
#Enter or select the amount you want to withdraw.
The QR code generated by the ATM should be linked to that exact amount. For example, if you choose ₹2,000, your UPI app should also show ₹2,000 before you approve it.
4. Scan the QR code shown on the ATM screen
#Open your UPI app and use its QR scanner.
Scan only the QR code displayed on the ATM screen after you have selected the UPI withdrawal option and entered the amount.
Do not scan:
- QR stickers pasted on the ATM
- QR codes pasted on nearby walls
- QR codes shown by strangers
- QR codes sent through WhatsApp, SMS, or email
A genuine UPI ATM QR code should appear on the ATM screen for your specific transaction.
5. Check the details in your UPI app
#Before entering your UPI PIN, take a few seconds to check the transaction details.
Look at:
- The amount
- The bank account being debited
- The payee or ATM transaction details
- Whether it looks like a cash withdrawal request
- Any warning or unusual message in the app
If anything looks wrong, cancel the transaction. Don’t continue just because someone is waiting behind you.
6. Enter your UPI PIN on your phone
#Enter your UPI PIN only in your UPI app.
Never enter your UPI PIN on the ATM keypad. If the ATM screen, a stranger, or anyone claiming to help you asks for your UPI PIN, cancel the transaction and leave.
7. Wait for the ATM to process the transaction
#After approving the transaction on your phone, don’t walk away immediately.
Wait for the ATM screen to update. It may take a few seconds for the machine to process the request and dispense the cash.
8. Collect your cash and receipt
#Collect the cash only after it is fully dispensed.
If the ATM prints a receipt, keep it until you confirm that the transaction appears correctly in your bank account and UPI app.
UPI ATM withdrawal limits
#UPI ATM withdrawals come with limits. These limits are one reason a transaction may fail even when everything else looks fine.
Per transaction limit
#UPI ATM cash withdrawal is generally limited to ₹10,000 per transaction.
If you need more than that, you may have to do another transaction. However, that will depend on your bank, UPI limits, ATM rules, available balance, and security checks.
Daily UPI limit
#A UPI ATM withdrawal is still a UPI transaction.
That means it may count toward your daily UPI transaction limit. If you have already made several UPI payments during the day, your UPI ATM withdrawal may fail even if the ATM supports the service.
Bank and ATM limits
#Your bank may also apply its own ATM withdrawal rules.
These can depend on:
- Your bank
- Your account type
- Available balance
- ATM network
- Daily withdrawal limit
- Number of free ATM transactions already used
- Bank security checks
So, don’t assume every ATM will allow the same amount every time.
Fees and support issues
#UPI ATM withdrawal may feel different because there is no card involved, but it is still an ATM cash withdrawal.
Charges may be similar to regular ATM withdrawals
#Your bank may count UPI ATM withdrawal as a normal ATM transaction.
If you have already used your free monthly ATM transactions, standard ATM charges may apply as per your bank’s rules.
To avoid surprises, check your bank’s official fee schedule. Don’t rely on WhatsApp forwards, social media posts, or advice from people near the ATM.
Not all ATMs support UPI withdrawal
#If the ATM does not show a UPI cash withdrawal option, you cannot use this feature on that machine.
You’ll need to find another ATM that supports UPI ATM withdrawal.
Not all banks and UPI apps support it equally
#You may use UPI every day and still find that this particular feature does not work with your bank account or app.
If the transaction fails repeatedly, it does not always mean something is wrong with your account. It could simply be a compatibility issue between the ATM, your bank, and your UPI app.
Your phone is essential
#Unlike a normal debit card withdrawal, UPI ATM withdrawal depends on your phone.
You need:
- A working smartphone
- Active internet connection
- Access to your UPI app
- Enough battery
- Your UPI PIN
If your phone has no network or battery, the ATM cannot complete the withdrawal through UPI.
Safety checklist before using UPI ATM withdrawal
#UPI ATM withdrawal is convenient, but you should still be alert. Use this checklist before approving the transaction.
1. Scan only the QR code on the ATM screen
#The QR code should appear on the ATM screen after you choose UPI withdrawal and enter the amount.
Do not scan:
- QR stickers pasted on the ATM
- QR codes displayed nearby
- QR codes shown by another person
- QR codes received on WhatsApp, SMS, or email
If the QR code looks suspicious, cancel the transaction.
2. Remember what your UPI PIN does
#Your UPI PIN authorises money to leave your bank account.
You do not need your UPI PIN to receive money. You do not need it for account verification. You should not share it with bank staff, app support, ATM guards, friends, family members, or anyone else.
For UPI ATM withdrawal, enter the PIN only inside your UPI app on your phone.
3. Check the amount carefully
#The amount shown in your UPI app should match the amount you selected on the ATM.
If you selected ₹2,000 on the ATM but your app shows ₹5,000, cancel the transaction immediately.
4. Keep your phone screen private
#Stand in a way that others cannot see your phone screen or UPI PIN.
Do not let anyone help you scan the QR code or enter the PIN. If the ATM area feels crowded or uncomfortable, cancel the transaction and use another ATM.
5. Look around before starting
#Take a quick look at the ATM area before you begin.
Be careful if you notice:
- Suspicious QR stickers
- Loose attachments near the screen or keypad
- Someone standing too close
- People trying to guide you unnecessarily
- Anything that feels unusual
If the place does not feel safe, leave and use another ATM.
6. Wait until the ATM finishes
#Your phone may show that the transaction is successful, but that does not mean you should leave right away.
Wait for the ATM to either dispense the cash or show a final message. If the cash does not come out, you will need the transaction details to raise a complaint.
7. Do not share transaction screenshots publicly
#If the transaction fails, screenshots may be useful as proof. But keep them private.
Screenshots can contain UTR, RRN, account details, or other transaction information. Share them only through your bank’s or UPI app’s official support channel.
What to do if money is debited but cash is not dispensed
#This is the situation most people worry about: your bank account is debited, but the ATM does not give you cash.
If this happens, don’t panic. First, collect the details you’ll need for a complaint.
1. Wait for the ATM to complete the process
#Do not leave immediately.
Give the ATM some time to process the transaction or show a failure message. Watch the screen carefully until the transaction clearly ends.
2. Keep the ATM slip
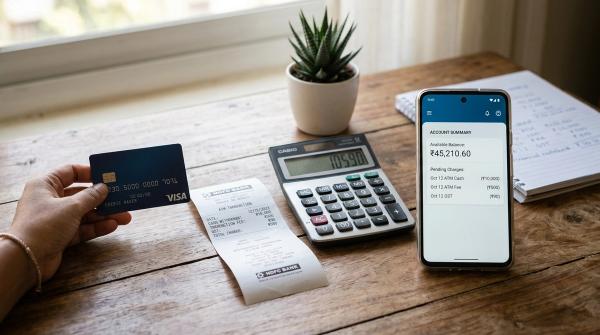
#If the ATM prints a receipt or slip, keep it.
It may include:
- Transaction status
- Date and time
- ATM ID
- Location
- Amount
- Error code or failure message
Even if the slip says the transaction failed, keep it. It may still help during the complaint process.
3. Check the transaction status in your UPI app
#Open the UPI app you used for the withdrawal.
Check whether the transaction is marked as:
- Successful
- Failed
- Pending
- Processing
Take a screenshot of the transaction details.
4. Note the UTR or RRN
#Look for the UTR or RRN in your UPI transaction details.
- UTR means Unique Transaction Reference
- RRN means Retrieval Reference Number
Banks and UPI support teams often use these numbers to trace the transaction.
5. Record the ATM details
#Write down or photograph the ATM details if it is safe to do so.
Note:
- ATM ID
- Bank name on the ATM
- Location
- Date and time
- Amount requested
- Whether cash was dispensed or not
Do not block the ATM for too long. Once the transaction is clearly over, step aside and note the details safely.
6. Raise a complaint through official support
#Use your UPI app’s help section or your bank’s official support channel.
Do not search for random customer care numbers online. Fake bank helpline numbers are common, and many frauds start that way.
Use contact details from:
- Your bank’s app
- Your bank’s official website
- Your passbook
- Your debit card
- Official SMS or email from the bank
- The UPI app’s help section
7. Contact your bank if the reversal does not happen
#Some failed ATM transactions reverse automatically. But if your account remains debited and cash was not dispensed, contact your bank with all available proof.
Share:
- ATM slip, if available
- UPI app screenshot
- UTR or RRN
- ATM ID and location
- Date, time, and amount
- A clear statement that cash was not dispensed
Do not delete messages, screenshots, or transaction history until the issue is resolved.
UPI ATM withdrawal vs debit card ATM withdrawal
#Both methods let you withdraw cash, but the experience is different.
UPI ATM withdrawal is useful, but it is not always the better choice. If your phone battery is low, internet is weak, or you are not comfortable scanning QR codes at an ATM, using a debit card may be easier.
When should you contact your bank?
#Contact your bank or UPI app support if:
- Your account was debited but cash was not dispensed
- The transaction is pending for too long
- The ATM showed failure but money was deducted
- You entered the correct UPI PIN but the transaction failed repeatedly
- You think you scanned the wrong QR code
- You see a debit you did not authorise
- You cannot find the UTR or RRN
- Your bank balance does not match the transaction status
When raising a complaint, be specific. Instead of saying, “UPI ATM is not working,” say something like:
I tried a UPI ATM cash withdrawal of ₹____ at ____ ATM on ____ at ____ time. My account was debited, but cash was not dispensed. The UTR/RRN is ____.
Clear details help the bank trace the transaction faster.
Common mistakes to avoid
#Scanning a pasted QR code
#A real UPI ATM QR code should appear on the ATM screen during your transaction. Do not scan random QR stickers.
Entering the UPI PIN too quickly
#Always check the amount, account, and transaction details before entering your PIN.
Leaving as soon as the phone shows success
#Wait for the ATM screen and cash dispensing result. A success message on your phone alone is not enough.
Not keeping proof after a failed transaction
#If cash is not dispensed, keep the ATM slip, take screenshots, and note the UTR or RRN.
Calling unofficial support numbers
#Use only official support channels. Do not call numbers from random websites, posters, messages, or social media posts.
Related AllBlogs guides
#- ATM Transaction Failed but Money Debited? India Refund Checklist
- UPI Transaction ID vs UTR vs Complaint Reference Number: What to Save
- UPI QR Code Scam Checklist: What to Check Before You Scan and Pay
- UPI PIN Change vs Reset: Forgot It or Suspect Risk?