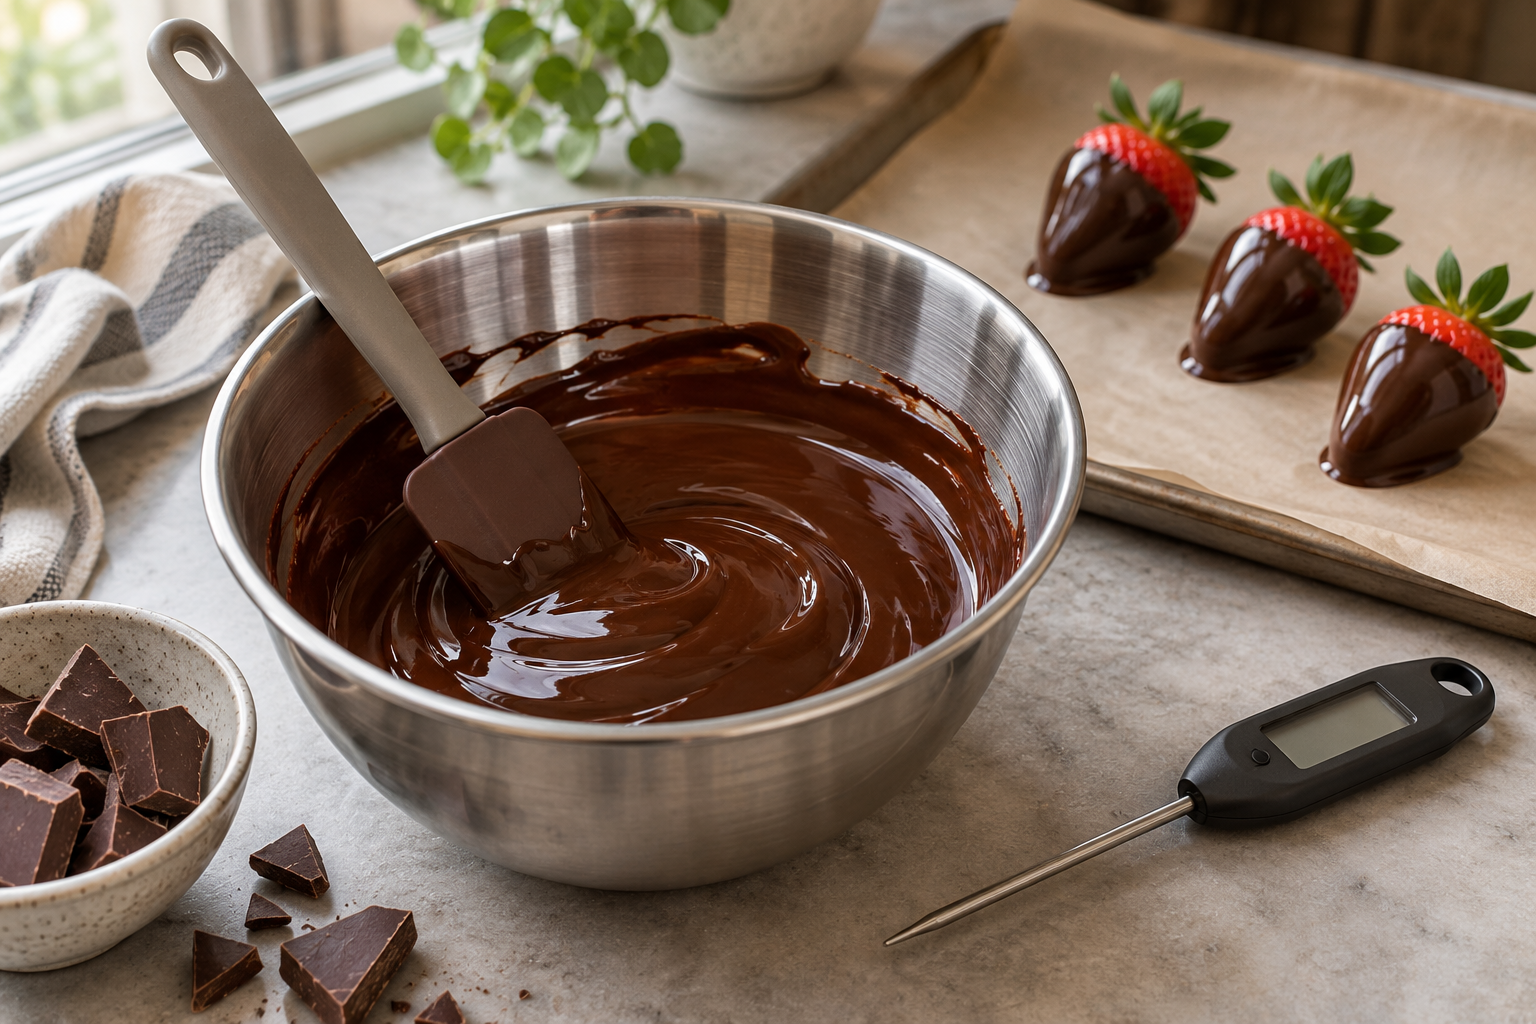
To temper chocolate at home, melt suitable chocolate, stir in already tempered chocolate as seed, and bring the mixture to the working temperature specified for that product. Test a thin smear before dipping or moulding. A thermometer reading helps you control the process; the way that smear sets tells you whether the chocolate is ready.
The seeding method suits a home kitchen because it needs no marble slab or tempering machine. The important choice comes before heating: use one complete method matched to your chocolate. Manufacturers give different melting temperatures, seed quantities and working ranges. Combining parts of several instructions creates a process that none of them describes.
Decide whether your project needs tempering
#Tempering controls the way cocoa butter crystallises as chocolate sets. Good temper helps a coating become firm, glossy and pleasantly snappy. It also helps chocolate contract away from a mould. Simply melting chocolate and waiting for it to solidify does not reliably produce those qualities.
Use tempering when the chocolate itself forms the finished surface: dipped biscuits, thin decorations, solid shapes or a shell around a filling. The goal is a chocolate layer that behaves well after it has cooled, rather than a bowl that merely looks smooth while warm.
If the chocolate will be mixed into a mousse, cake batter or sauce, follow that recipe's melting instructions instead. Those preparations have other ingredients controlling their final texture. Tempering the chocolate first usually adds work without serving the same purpose.
Consider the result you actually need. A spoonful of chocolate sauce over a dessert and a freestanding chocolate decoration may start with the same bar, but they have different jobs. Choosing the job first makes the rest of the decisions clearer.
Choose chocolate that matches the method
#Start with plain chocolate whose manufacturer provides melting and tempering guidance. Couverture is made for chocolate work and is a useful option for coating and moulding. Plain bars can also work. Avoid beginning with filled bars or a mixture of several unfamiliar products, since you lose a clear reference for the process.
Read the product description as well as the cocoa percentage. A percentage does not supply the working temperature or tell you how freely the melted chocolate will flow. A very fluid chocolate suits a thin coating differently from a thicker product, even when both are properly tempered.
Keep the seed and the melted portion the same product for your first attempt. That removes a variable when you are learning what the manufacturer's instructions look like in your bowl. There is no need to make the first batch a comparison between brands and chocolate types.
The seed must already be in good temper. Use well-kept chocolate with an even appearance, rather than assuming any leftover lump will do. A piece from a failed batch can be melted again, but it is not automatically a reliable source of the crystals you need for seeding.
Chocolate and compound coating are different choices
#Some confectionery coatings use other fats and are designed to melt and set according to their own instructions. Follow their label rather than applying a cocoa-butter tempering curve. Do not combine compound coating and ordinary chocolate in an attempt to make the process easier; their fats may behave poorly together.
If you want the convenience of a coating, choose it deliberately. If you want to learn to temper chocolate, buy a clearly identified chocolate and keep that process separate. The word “melting” on a packet is not enough information to decide between them.
Set up before the chocolate is warm
#Prepare a dry heatproof bowl suitable for your heating method, a flexible spatula, a thermometer, chopped chocolate or wafers, and a small piece of parchment or a clean metal utensil for testing. Have the tray or mould ready too. Once the bowl passes its test, you should be able to use it without stopping to find equipment.
Choose a thermometer that can read the temperatures in your selected method. Stir before measuring and position the probe in the chocolate, following the thermometer's instructions, rather than pressing it against the bowl. The number should represent the chocolate you are about to use.
Check every tool for water. A damp spatula or steam entering the bowl can turn fluid chocolate into a grainy mass. This is a different problem from an unsuccessful temper. Dry equipment is a small preparation step that prevents a much bigger interruption.
A microwave avoids a pan of steaming water, although it still requires careful heating and stirring. If using a water bath, keep water out of the bowl and dry its outside before setting it on the work surface. Follow the chosen method's heating instructions; fierce heat does not make this stage more controlled.
Work in a comfortably cool space, away from an oven or strong sun. A hot kitchen makes setting and temperature control harder. If the room itself is the problem, moving to a cooler workspace can be more useful than repeatedly changing the bowl temperature.
Read the temperature instructions as a complete process
#There is no single temperature chart that overrides the packet for every dark, milk and white chocolate. For example, Guittard's published seeding technique uses a dark-couverture working range of 31–32°C, while its milk and white range is 30–31°C. Callebaut's Callets method gives approximately 31°C for dark and 29°C for milk and white. These are product-method examples, not interchangeable household rules.
Write down three things from the instructions you will actually follow: the melting target, when and how much seed to add, and the working range. Check whether the method moves directly toward working temperature or includes a lower cooling stage followed by reheating.
Seeding instructions can differ here. Callebaut describes a direct seeding approach, while other published home methods include a cool-and-rewarm stage. Neither observation gives permission to skip a stage in a different method. Keep the chocolate, quantities and temperature sequence together.
Use one unit throughout if switching between Celsius and Fahrenheit is distracting. Copy the manufacturer's stated figures accurately before starting. A small kitchen note is easier to use with a warm bowl in front of you than several open instructions giving different numbers.
One documented seeding example, with quantities
#Callebaut describes a method for its already tempered Callets using a chocolate melter. For a reader using those products and that equipment, its sequence is specific: melt with the melter set to 45°C, then lower the setting to about 31°C for dark chocolate, or about 29°C for milk or white. Add 5% Callets at an ambient temperature of 15–20°C, and stir well. Its guidance also describes adding the seed when the melted chocolate is around 40°C.
For illustration, 5% of 500g melted chocolate is 25g of seed. That is arithmetic for this manufacturer's approach, not a universal seed ratio. Check the exact product packaging and its curve before using the example. A different method can reserve a much larger portion, and a different room temperature changes what the seed is doing.
Callebaut says that seed disappearing too quickly indicates chocolate that is still too hot; its correction is to add more Callets and continue stirring. The mixture becomes slightly thicker and workable. Its direct seeding method does not require adding an unrelated low-temperature cooling stage from a tabling tutorial.
A home microwave has no chocolate-melter thermostat, so copying “set to 45°C” onto the microwave controls would make no sense. Use a documented heating procedure for your equipment and measure the chocolate itself. This distinction between a machine setting and the actual bowl temperature is one reason a thermometer remains useful even when the appliance has a display.
The seeding workflow, from melting to first test
#Melt the portion specified by your method
#Separate the seed before heating so you do not accidentally melt your entire supply. Chop bars into manageable pieces if the method calls for it. Keep the reserved seed dry and away from the heat source.
Heat the main portion gradually, stirring and measuring as directed until it reaches the specified melting target. A bowl can look liquid before every existing cocoa-butter crystal has melted. Conversely, heating far beyond the target is not extra insurance. The purpose is to establish the starting condition the method requires.
Move the bowl away from active heat when the instructions tell you to seed. Leaving it over heat while trying to cool it makes the next stage harder to manage.
Add the reserved seed and keep it moving
#Add the specified seed in the stages your method describes, stirring so the pieces and the cooling are distributed through the bowl. The seed introduces an existing stable crystal structure into the melted chocolate. It also changes the temperature, which is why both its quantity and the condition of the melted portion matter.
Watch how quickly the pieces disappear. If they melt immediately while the bowl remains too hot, do not assume that adding seed has completed the job. Follow the method's correction instructions and keep checking the temperature. Adding an arbitrary handful whenever you feel uncertain makes the batch difficult to track.
As the chocolate approaches its working range, it may become a little thicker. That can be expected. It should still suit the task you have chosen. A coating that falls in heavy lumps cannot make a thin, even shell merely because its thermometer reading looks right.
Deal with remaining pieces carefully
#If pieces remain at the working stage, follow the method's directions for stirring, removing an unmelted seed piece or gentle warming. Do not apply a large blast of heat to make the last lump disappear. That can also melt the stable crystals you have been trying to preserve.
When a little warmth is needed, use it cautiously, stir, and measure again. Keep within the product's working guidance. The aim is a uniform, workable bowl, not the thinnest possible liquid.
Test before coating the whole batch
#Spread or dip a thin film onto the dry test surface and leave it in the cool workspace. Look for even setting and a consistent surface rather than streaks or a film that remains tacky. Guittard says its test should begin setting within about two minutes; that is a starting observation, not a guarantee that every thickness and chocolate will be fully hard then.
Let the test tell you something before committing all the biscuits or moulds. Chocolate that is cool enough to feel thicker is not automatically in temper. If the sample fails, you still have an uncomplicated bowl to correct rather than a tray of coated food to untangle.
A practical first-batch plan
#Imagine you want to dip one end of a tray of plain biscuits. This is a planning example, not a tested recipe or a promise about how many biscuits a particular weight will coat.
Choose one chocolate with a documented seeding method. Weigh the amount your method or dipping recipe requests, and reserve the stated seed. Arrange the dry biscuits and lined tray within reach. Write the temperature sequence on a note beside the thermometer.
Melt, seed and test. Dip one biscuit only after the sample looks ready, then let that coating set while you check its thickness and finish. This first piece is a useful checkpoint: it shows how your actual biscuit and chocolate behave together, rather than only how chocolate sets on a scraper.
If the coating is much thicker than you want, stop and check the bowl temperature and the product's fluidity guidance. Do not immediately add butter or oil. You would be changing the chocolate mixture as well as its flow, so the original tempering instructions would no longer describe exactly what is in the bowl.
Continue in a manageable rhythm, stirring and checking temperature between groups. If you need a long pause, stop treating the earlier successful test as permanent approval. Check the bowl again before restarting. Keep simple notes on the chocolate used, method followed, test result and any correction made.
Diagnose the bowl before trying a fix
#| What you observe | What to check first | Useful response |
|---|---|---|
| Thin test stays soft or streaky | Working temperature, seed condition and room conditions | Return to the matched method and retest before dipping |
| Bowl thickens as you work | Temperature and crystal buildup | Stir and apply only the gentle warming the method permits |
| Sudden grainy paste after a splash | Water or steam entering the bowl | Stop treating it as a temper-only problem |
| White haze after setting or storage | Tempering history and exposure to heat or moisture | Separate fat-related bloom from moisture-related damage |
Too thick does not always mean too cold
#Chocolate can accumulate too many crystals as work continues. This is often called over-crystallisation or over-tempering. It may thicken even while you are trying to hold a useful working temperature. More seed is not the default answer to every difficult bowl.
Check the temperature, stir, and follow the manufacturer's guidance for gently restoring flow. If you cannot bring it back within that method's limits, restarting a clean batch through the full melting and seeding process can be clearer than stacking several improvised corrections.
Moisture needs a different decision
#A little water can make melted chocolate seize. Adding enough liquid may turn it into a smooth mixture for a suitable icing or filling, but that does not restore ordinary tempered coating chocolate. Choose a separate recipe designed for that mixture rather than expecting it to set into the original shell.
Do not confuse this with ordinary thickening during tempering. Ask what changed immediately before the texture changed: a cooling bowl, another addition of seed, or a damp utensil? That short history is more useful than the word “ruined.”
Setting, storage and chocolate bloom
#Give finished pieces the cooling conditions their method requires. Do not move a thin-test expectation directly onto a thick bar or filled confection. Thickness and conditions change how a piece sets, and fillings introduce their own storage needs.
Fat bloom is associated with changes in the chocolate's fat structure, including poor temper or unsuitable temperature exposure. Sugar bloom involves moisture dissolving surface sugar, which recrystallises when that moisture leaves. A pale surface therefore does not identify one single mistake in your seeding process.
Protect finished chocolate from heat, moisture and repeated temperature changes according to its maker's storage guidance. A refrigerator is not a substitute for a correct temper test: cold can make chocolate feel firm without proving the coating will have the desired finish in its intended setting.
Keep the safety question separate from the appearance question. This technique guide does not establish the shelf life of a filled chocolate, fresh-fruit coating or homemade gift. Follow an appropriate recipe and storage instructions for the complete food, including its filling. Tempering improves chocolate's structure; it does not make perishable ingredients shelf-stable.
For the next attempt, keep the variables simple: one chocolate, one complete method, dry tools, accurate measurements and a test before the full batch. Those checks make it easier to understand what happened and choose a sensible correction.