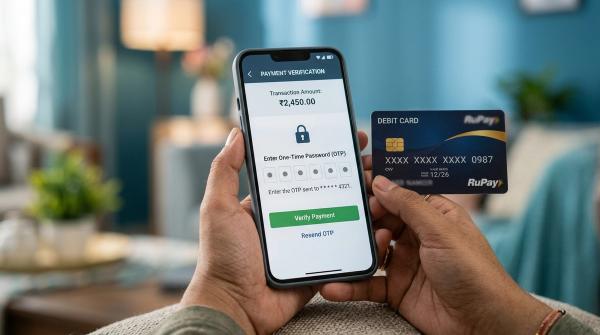

If you want to check your UPI complaint status, start with the payment app you used for that transaction. Open the transaction, go to Help, Support, Dispute, Raise Complaint or UPI Help, and check whether a complaint has already been registered.
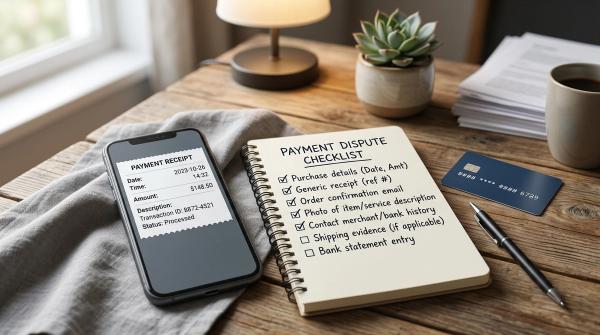
Keep these details ready before you track or escalate anything: UTR number, transaction ID, RRN if available, complaint reference number, screenshots, bank statement proof and any merchant receipt.
If the app does not resolve the issue, contact your bank through official channels. If the matter still remains unresolved, use the official NPCI complaint status route. If you have already followed the proper complaint process but still do not get a satisfactory resolution, escalate through RBI CMS Ombudsman.
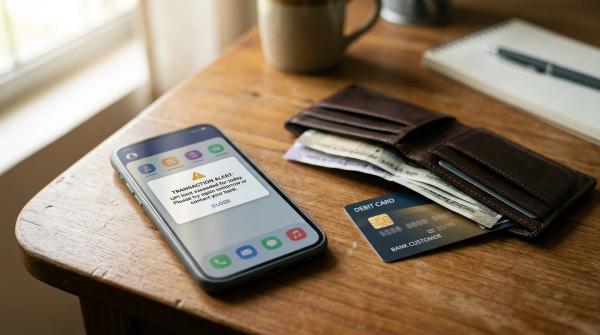
A failed UPI payment can be stressful. Money gets debited from your account, but the receiver says they have not received it. Or a merchant order still shows unpaid. Sometimes it is a wrong transfer, delayed refund or suspected fraud case.
The first rule is simple: do not panic.
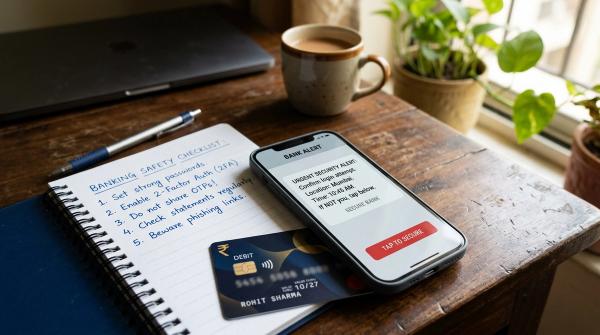
The second rule matters even more: do not search for random “UPI customer care” numbers online and call the first number you see. Many people lose more money this way. Always use the payment app, your bank’s official channels, NPCI’s official website and RBI’s official complaint portal when needed.
This guide explains how to track UPI complaint status safely, without sharing your OTP, UPI PIN, card PIN, passwords or screen-sharing access with anyone.
What UPI Complaint Status Means
#Your UPI complaint status tells you where your complaint currently stands after you have raised an issue for a UPI transaction.
Different apps and banks may use slightly different words, but you will usually see statuses like:
- Registered: Your complaint has been recorded.
- Pending: The app, bank or concerned institution is still checking the issue.
- In process: Your complaint is being reviewed.
- Resolved: A decision or action has been taken.
- Refund initiated: The refund process has started, if applicable.
- Closed: The complaint has been closed, sometimes with remarks.
Read the remarks carefully. “Closed” does not always mean money has already returned to your account. It may only mean the app or bank has completed its review from its side. Always check your bank statement before assuming the issue is fully resolved.
Where You Should Check First
#For most UPI complaints, follow this order:
- The payment app used for the transaction
- Your bank
- NPCI complaint status page
- RBI Complaint Management System, if the issue remains unresolved after the proper escalation process
Start where the transaction happened. If you paid through PhonePe, Google Pay, Paytm, BHIM or another UPI app, open that app first. Go to the exact transaction and look for options like Help, Support, Dispute, Raise Complaint or UPI Help.
NPCI’s official complaint status information indicates that complaints are made available to the relevant member banks or institutions and to the user. In practical terms, NPCI can help with visibility, but your app and bank still play a key role in resolution.
UPI Complaint Status Checklist
#Before you track or escalate a UPI transaction complaint, gather proof in one place. It saves time later.
- UTR number: Unique Transaction Reference number for the UPI transaction.
- Transaction ID: The ID shown inside your payment app.
- RRN: Retrieval Reference Number, often visible in transaction details or bank records.
- CRN: Complaint Reference Number given by the app, bank or portal.
- Screenshots: Transaction screen, failed status, pending status, complaint screen and support replies.
- Bank statement: Entry showing the debit or credit.
- Merchant receipt: Useful for shop payments, bill payments, recharges or merchant disputes.
- Date and time: Note when the payment was made and when the complaint was raised.
- Receiver details: UPI ID, mobile number or merchant name shown in the transaction, if visible.
Do not edit screenshots. Also, do not delete the original SMS, app notification or email if you still have it.
Proof to Save for Any UPI Refund Complaint
#If your money was debited but not credited to the receiver, save:
- UTR
- Transaction ID
- RRN
- Bank statement screenshot or PDF
- Screenshot showing failed, pending or processing status
- Complaint Reference Number, if already raised
If it is a merchant dispute, also save:
- Merchant receipt
- Order ID or invoice number
- Screenshot of the merchant’s payment page or order page
- Any message from the merchant saying payment was not received
If it is a suspected fraud complaint, save these too:
- Transaction screenshots
- Beneficiary details visible in the app
- Chat, call log or message proof, if any
- Bank complaint number
- Cybercrime complaint acknowledgement, if filed through the official portal
Step-by-Step Workflow to Track UPI Complaint Status
#Step 1: Check the Transaction Inside Your UPI App
#Open the app you used for the payment.
Then follow these steps:
- Go to Transaction History.
- Select the failed, pending, wrong or disputed UPI transaction.
- Tap Help, Support, Raise a Complaint, Dispute or UPI Help, depending on your app.
- Check whether a complaint is already registered.
- Note the complaint reference number if it is shown.
- Take a screenshot or download the complaint status page, if the app allows it.
This is usually the quickest place to check because the app already has the transaction details linked.
If the status says pending, do not immediately raise the same complaint in five different places. First save the complaint number and wait for the app’s update or instructions.
Step 2: Track Through Your Bank
#If the app does not resolve the issue, or if money was debited from your bank account, contact your bank through official channels.
Use only:
- Your bank’s mobile banking app
- Net banking
- Official bank website
- Official branch support
- Official customer care number listed on your bank’s own website or documents
Look for sections such as:
- Service requests
- Complaints
- Grievance redressal
- Dispute transaction
- UPI dispute
- Track complaint
Your bank may ask for UTR, RRN, transaction ID, debit account number, date, amount and bank complaint reference number.
The bank complaint reference number is important. Save it properly. If you later approach NPCI or RBI Ombudsman, this number helps show that you first complained to your bank.
Step 3: Check NPCI Complaint Status
#If the issue is not resolved through the app or bank, use the official NPCI complaint status route.
Use only the official NPCI website. Do not trust random phone numbers, social media replies, WhatsApp “refund agents” or unknown links.
On the NPCI complaint status page, you may need details such as:
- UTR
- RRN
- Transaction ID
- Complaint Reference Number
- Bank name
- App used
- Transaction amount
- Date of transaction
NPCI’s complaint status page says that complaints are made available to the relevant member banks or institutions and to the user. In simple terms, NPCI helps bring visibility to the right parties, but your bank and the involved institutions still remain part of the resolution process.
Step 4: Escalate to RBI Ombudsman Through RBI CMS
#If your bank or payment service provider does not resolve the complaint within the required process, or if you are not satisfied with the response, you can approach the RBI Ombudsman through the RBI Complaint Management System, commonly called RBI CMS.
This route may be useful for unresolved issues such as:
- Failed UPI payment complaint
- UPI refund complaint
- UPI transaction complaint not resolved by bank
- Wrong debit or delayed reversal
- UPI fraud complaint where the bank’s response is not satisfactory
- Merchant dispute not resolved through app or bank
Before filing an RBI Ombudsman UPI complaint, keep proof that you already complained to the bank or payment provider. This may include bank complaint reference number, app complaint number, NPCI complaint reference if available, screenshots of replies, bank statement and transaction details.
RBI CMS is an escalation route. In most cases, it should not be your first step. First approach the concerned bank or payment provider and follow the required complaint process.
App vs Bank vs NPCI vs RBI CMS: Where to Track UPI Complaint Status
#When to Escalate a UPI Complaint
#Escalation depends on the type of issue and the response you receive.
Escalate from app to bank if:
#- Money was debited from your bank account.
- The app complaint is closed but money is still missing.
- The app asks you to contact your bank.
- You cannot find a clear status update in the app.
- The receiver or merchant has not received the amount.
Escalate to NPCI if:
#- You have already raised the issue with the app or bank.
- The status is stuck without a clear update.
- The bank or app response is confusing.
- You want to track the complaint through NPCI’s official complaint status route.
Escalate to RBI Ombudsman if:
#- You have complained to your bank or payment provider.
- You have waited through the required grievance process.
- The issue is still unresolved.
- You are not satisfied with the response.
- You have proof of your earlier complaint.
Special Case: UPI Fraud Complaint
#If you suspect fraud, act quickly.
Do this:
- Contact your bank immediately through official channels.
- Ask the bank what steps are available to report the fraud or prevent further loss.
- File a complaint on the official National Cyber Crime Reporting Portal, if applicable.
- Save the cybercrime acknowledgement, bank complaint number and all transaction proof.
- Track the bank complaint separately from the cybercrime complaint.
Do not wait only for the payment app’s response in a fraud case. A normal UPI refund complaint and a UPI fraud complaint are not the same thing. Fraud complaints need urgent reporting to the bank and official cybercrime channels.
Safety Warnings Before You Track Any UPI Complaint
#A refund does not need your UPI PIN.
A complaint status check does not need your OTP.
A support executive does not need your card PIN, internet banking password, CVV or full card details.
Never share:
- OTP
- UPI PIN
- Card PIN
- CVV
- Net banking password
- Mobile banking password
- Screen-sharing access
- Remote-control access
- Aadhaar OTP
- Debit card grid details, if any
Also avoid:
- Random “UPI refund helpline” numbers found in Google comments, social media posts or unknown websites
- People claiming they can “recover money instantly”
- Anyone asking you to scan a QR code to receive a refund
- Anyone asking you to enter your UPI PIN to get money back
- Any link sent by an unknown person for “complaint verification”
- Screen-sharing apps for bank or UPI support
If someone says, “Enter your UPI PIN to receive a refund,” treat it as a scam.
Common Mistakes That Delay UPI Complaint Tracking
#Avoid these mistakes:
- Raising complaints without saving the CRN
- Deleting screenshots after filing the complaint
- Filing the same complaint again and again without checking status
- Contacting unofficial numbers found online
- Sharing sensitive banking information in email or chat
- Not checking the bank statement after the app shows refund
- Confusing transaction ID, UTR and complaint number
- Waiting too long to report suspected fraud
A little record-keeping helps a lot. Save screenshots, statements, receipts and complaint numbers in one folder so you can find them quickly when needed.
Quick Summary: Safe UPI Complaint Status Flow
#Use this order:
- Check the UPI app transaction page
- Save UTR, transaction ID, RRN, screenshots and receipt
- Raise or track the complaint in the app
- Escalate to your bank and save the bank CRN
- Use NPCI complaint status through the official NPCI website
- Use RBI CMS Ombudsman if the complaint remains unresolved after the required process
- For fraud, report to your bank and official cybercrime channel immediately
And remember: no genuine refund process needs your UPI PIN or OTP.
Disclaimer: This article is for general informational purposes only. Always use official payment apps, bank websites, NPCI resources and RBI portals for financial complaints. Do not share OTP, UPI PIN, card PIN, passwords or remote access with anyone.