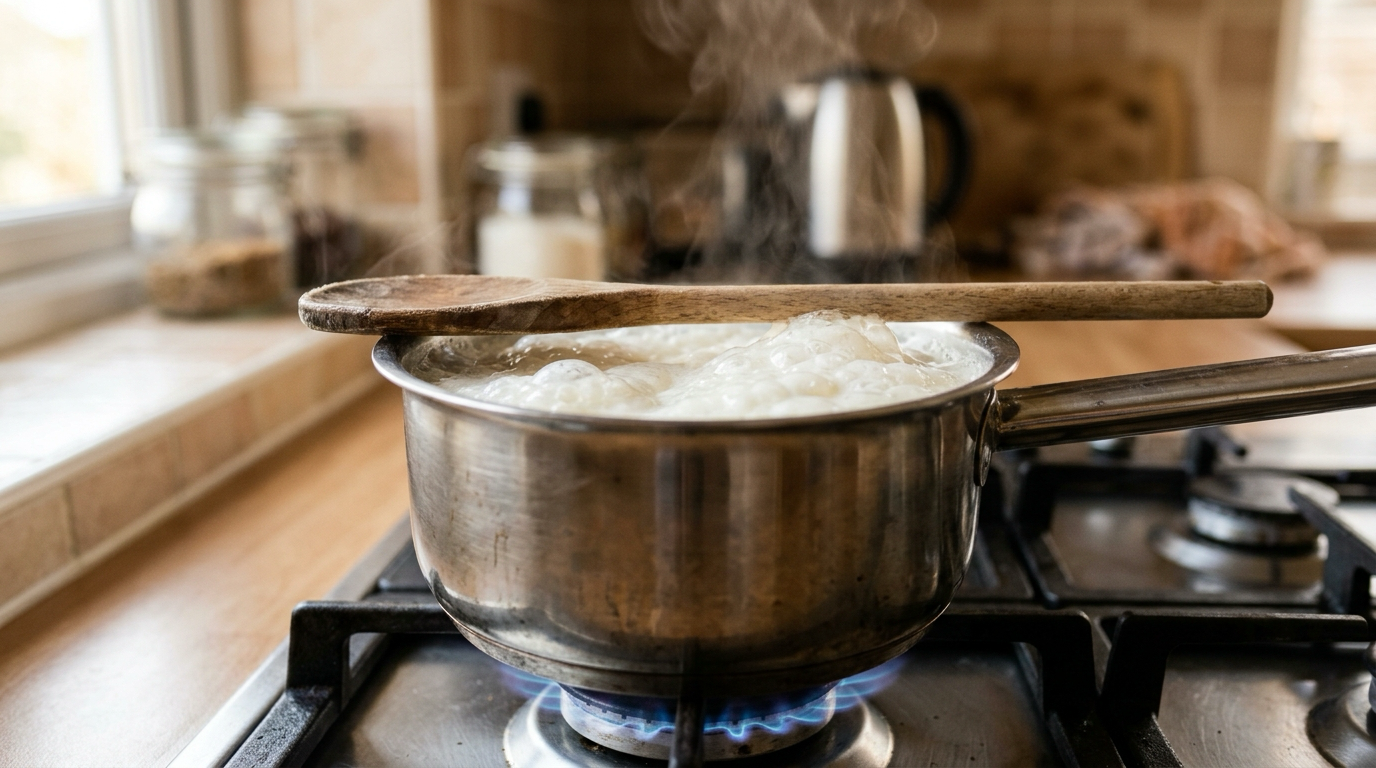
You put a pot of water on the stove, walk away to grab an apple, and come back to a gentle rolling boil. The water bubbles away steadily without ever rising over the sides of the pan. 
Try doing the exact same thing with a cup of whole milk, and within thirty seconds of turning your back, you will hear a hiss and smell scorching dairy. Milk does not just simmer. It erupts into a violent white mountain of foam that climbs the pot walls and coats your burner in a sticky, scorched mess.
The difference comes down to basic chemistry. Pure water is a single liquid that lets steam bubbles burst freely into the room. Milk is a fragile emulsion of water, fats, sugars, and proteins. When you apply heat, those proteins unfold, float to the top, and lock together to form a tough, rubbery skin. 
When the water underneath tries to turn into steam, those steam bubbles get trapped under that skin. Instead of popping, the bubbles gather by the thousands, lift the protein film like a rising parachute, and push the entire surface of the pot upward.
Understanding why this happens is the fastest way to save your cookware, protect your stove, and boil milk safely every single time.
What Milk Is Actually Made Of
#To see why milk misbehaves on the stove, you have to look at what is swimming inside the glass. A cup of whole milk is roughly eighty-seven percent water. If it were only water, heating it would never cause a disaster.
The remaining thirteen percent contains butterfat, lactose sugar, minerals, and dairy proteins:
- Casein proteins: These make up roughly eighty percent of the protein in cow's milk. Casein hangs out in tiny bundles called micelles. In cold or warm milk, these micelles float around smoothly without sticking to one another.
- Whey proteins: These make up the other twenty percent. Whey proteins are delicate, round molecules that are very sensitive to heat.
- Fat globules: Small droplets of cream suspended in the water, wrapped in their own protective membranes.
- Lactose: Natural milk sugar that caramelizes and burns easily if it touches the hot metal floor of your pot.
Water has high surface tension compared to many liquids, but its surface is uniform. When water reaches one hundred degrees Celsius (two hundred and twelve degrees Fahrenheit), liquid water turns to gas at the bottom of the pot. Those steam bubbles rise, reach the open surface, and immediately pop, venting vapor into the air.
Milk cannot do that. The moment the temperature climbs past sixty degrees Celsius (one hundred and forty degrees Fahrenheit), the delicate balance inside that liquid begins to unravel.
How Heat Builds a Trap: The Protein Skin
#As milk heats up on your burner, water near the surface begins to evaporate into the kitchen air. This water loss leaves behind a concentrated layer of fats and proteins right at the top of the pot.
At the same time, the rising heat causes the whey proteins to denature. Denaturing means the folded, round protein strands unravel into long, loose strings. 
Once these protein strings uncoil, they become sticky and start linking arms with each other and with rising fat droplets. Within a few minutes, this tangled web dries out slightly from the rising warm air and forms a thin, elastic film across the liquid. Food scientists call this film a pellicle.
Most cooks know it simply as "milk skin." 
This skin is remarkably tough. It acts like a rubber balloon stretched across the top of your saucepan. If you pull it aside with a fork, you will notice it feels stretchy and cohesive. In an uncovered pot, this skin thickens continuously as more steam evaporates into the room.
And that is where the trap is set.
The Steam Explosion Beneath the Surface
#While that rubbery skin is forming quietly at the top, the bottom of the pot is getting intensely hot. The burner sends heat through the metal base, warming the water in the lower layers of the milk up to the boiling point.
When water boils, it expands roughly seventeen hundred times in volume as it turns into steam vapor. At the bottom of the pot, small bubbles of hot gas form and begin their rapid journey toward the surface.
In a pot of water, those bubbles burst the millisecond they touch the air. But in milk, they crash directly into the underside of that sticky protein skin.
Because the skin is flexible and airtight, the steam bubbles cannot punch through. Instead:
- The rising steam gathers underneath the skin, forming thousands of tiny, uniform foam pockets.
- The protein and fat in the milk act as powerful surfactants. They coat the walls of each steam bubble, making the bubble walls elastic rather than brittle.
- Instead of bursting, the bubbles pile up on top of one another like soap suds in a washing machine.
- The expanding steam creates upward pressure, physically hoisting the entire protein skin upward toward the rim of your pot.
Once this chain reaction begins, it accelerates in seconds. The hotter the bottom of the pot gets, the faster steam is produced. The more steam that pushes up, the thicker the foam cushion becomes. Before you can reach across the counter to turn off the knob, the foam has reached the rim and poured over the edge.
Why Skim Milk Still Boils Over
#A common kitchen assumption is that whole milk boils over because of heavy cream, and that switching to skim milk or low-fat milk will fix the problem.
In practice, skim milk boils over just as quickly, and often produces an even stiffer foam.
While skim milk has almost all of its butterfat removed, its protein content remains untouched. Casein and whey proteins are the primary building blocks of the foam walls. In fact, large fat globules can sometimes destabilize foam by interrupting the protein film. 
When you heat skim milk, the lack of fat allows the whey and casein proteins to form an exceptionally stable, dry, and rigid foam structure. It might produce a slightly thinner top skin, but the bubbles underneath are smaller, tighter, and harder to pop. 
Plant milks like soy milk and oat milk behave similarly. Soy milk is packed with plant proteins that denature under heat, creating a thick foam head that easily boils over if left unattended. Almond milk, which is mostly water with very little protein, produces weaker foam, but can still boil over if it contains added emulsifiers like xanthan gum or gellan gum.
The Wooden Spoon Test: Fact vs Myth
#Ask any home cook how to stop milk from boiling over, and someone will inevitably tell you to lay a wooden spoon across the center of the pot. 
It sounds like an old wives' tale, but there is actual kitchen physics behind it. However, it is not a magic force field, and relying on it completely will still leave you cleaning your stove.
Here is why the wooden spoon works at all:
- Surface temperature: A wooden spoon sitting at room temperature is much cooler than the boiling liquid beneath it. When a hot steam bubble rises and touches the dry wood, the sudden drop in temperature causes the steam inside to condense back into liquid water. The bubble instantly collapses.
- Hydrophobic surface: Wood is dry and water-repellent compared to metal. The moisture in the bubble wall cannot wet the wood easily, which breaks the surface tension holding the bubble together.
- Mechanical breaker: The hard edge of the spoon physically ruptures the rising skin as the foam attempts to climb past it.
However, the wooden spoon has a clear breaking point. If your burner is set to high heat, the volume of steam generated at the bottom of the pan will vastly outpace the spoon's ability to pop bubbles. 
Within ten to fifteen seconds, the foam will climb around the sides of the spoon, lift the wood off the rim, and spill over anyway. The wooden spoon is a helpful early-warning buffer, not an excuse to leave the stove.
Reliable Ways to Prevent Milk From Boiling Over
#If you want to heat milk for hot chocolate, homemade paneer, yogurt, or pastry cream without hovering in terror, use these proven kitchen methods:
1. Rinse the Pot with Cold Water First
#Before pouring cold milk into a dry stainless steel pan, splash a tablespoon of cold water into the pot and swirl it around. Do not dry it. 
That thin film of water acts as a temporary barrier between the milk proteins and the hot bottom metal, delaying scorched milk deposits and reducing hot spots that trigger sudden foaming.
2. Use a Heavy-Bottomed, Wide Pan
#Thin, cheap aluminum pans develop intense heat spots directly over the flame. Those hotspots cause localized boiling before the rest of the milk is even warm. 
A heavy stainless steel pot with an aluminum core spreads heat evenly across the base. A wide pan gives steam bubbles more surface area to spread out and cool, making it much harder for foam to build vertical height.
3. Stir Continuously with a Silicone Whisk or Spatula
#The absolute best defense against boil-over is mechanical disruption. If you stir the milk every thirty seconds while it heats:
- You break up the protein skin before it can form a solid sheet.
- You release trapped steam bubbles gently into the air.
- You prevent dense milk sugars and proteins from settling on the bottom and scorching.
4. Rub a Thin Ring of Butter Around the Rim
#Take a small pat of butter or a drop of neutral cooking oil on a paper towel and wipe a one-inch band around the top inside rim of your pot. 
When the rising foam reaches that oily band, the fat breaks the surface tension of the protein bubble walls. The bubbles burst as soon as they touch the butter, halting the foam's climb before it spills onto your stovetop.
5. Use an Inverted Glass or Ceramic Pot Watcher
#A pot watcher (sometimes called a milk watcher) is a small ceramic, glass, or stainless steel disc with an indented rim that sits flat on the bottom of the pot. 
As bubbles begin to form on the pan floor, they gather inside the disc's hollow underside. When the bubble gets large enough, it tilts the disc, releases a single large burp of steam, and rattles against the metal base with a loud clicking sound. 
This accomplishes two things: it breaks small bubbles into large ones that punch through the top skin easily, and the audible rattling alerts you across the kitchen that the milk has reached a boil.
How to Clean Scorched Burnt Milk
#Even careful cooks occasionally get distracted. When milk boils over, it does not just make a mess outside the pan; it leaves a black, stubborn layer of burnt milk proteins fused to the bottom of your pot. 
Scrubbing burnt milk with steel wool will only scratch your cookware and ruin the smooth finish. Instead, let chemical reactions do the hard work:
- Pour enough warm water into the pot to submerge the burnt layer by at least one inch.
- Add two tablespoons of standard baking soda (sodium bicarbonate).
- Place the pot on medium-low heat and bring the water to a slow simmer for ten to twelve minutes.
- Turn off the heat and let the mixture sit undisturbed for twenty minutes.
The alkaline baking soda weakens the denatured protein bonds holding the charred milk to the metal. After twenty minutes, take a flat wooden spoon or silicone spatula and scrape gently. The black crust will slide off in large sheets, leaving the stainless steel clean and unblemished.
Summary Checklist for Boiling Milk
#- Keep the flame on medium or medium-low; rushing milk with high heat guarantees scorching.
- Stir frequently to prevent the rubbery protein pellicle from sealing the surface.
- Watch for small micro-bubbles forming along the outer edges of the pot; this signals you are at eighty-five degrees Celsius (one hundred and eighty-five degrees Fahrenheit), right before the foam surge.
- Wipe the inside rim with a touch of butter or lay a dry wooden spoon across the pot for extra protection.
- Never leave milk unattended during the final two minutes of heating.