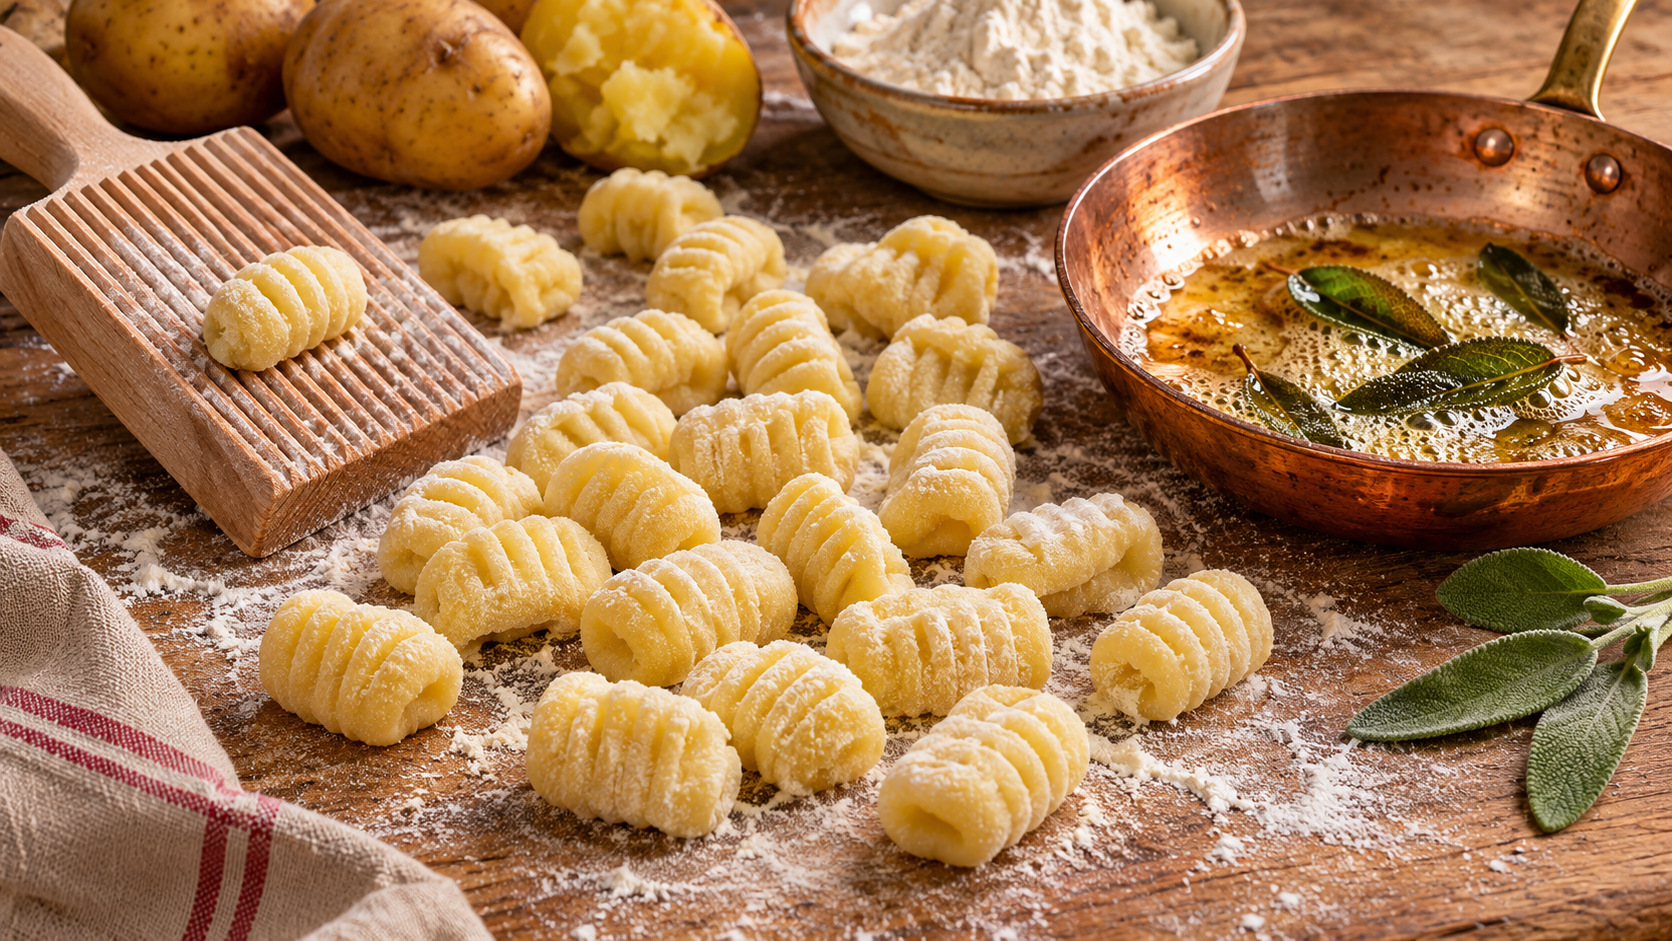
If you have ever eaten homemade potato gnocchi that felt like heavy lead pellets or chewed like rubber pencil erasers, you have experienced the most common culinary mistake in Italian pasta making. Commercial vacuum-packed gnocchi sold in supermarkets has trained millions of home cooks to expect dense, chewy nuggets. In reality, authentic Italian potato gnocchi is not supposed to be chewy at all; it should be an ethereal, cloud-light dumpling that yields instantly on the tongue like warm savory silk.
Achieving that melt-in-your-mouth texture comes down to a single physical battle: managing potato moisture. Water is the mortal enemy of tender gnocchi. When potatoes retain excess water, they require massive heaps of flour to form a cohesive dough. That extra flour hydrates gluten proteins, and when you knead that dough, those gluten strands tighten into rubber.
To make world-class gnocchi, your goal is to introduce as much dry potato starch as possible while using the absolute minimum amount of flour needed to bind the dough. When you get this balance right, the resulting gnocchi float gently in boiling water within ninety seconds and cradle delicate sauces like brown butter sage, slow-simmered pomodoro, or creamy Gorgonzola.
This masterclass walks you through potato botany, dry heat cooking methods, the science of scalding-hot ricing, gentle dough assembly, and board shaping.
Potato Botany: Why Starch Density Dictates Texture
#The foundation of great gnocchi begins in the produce aisle. You cannot pick up whatever red-skinned or white-skinned waxy potato happens to be on sale and expect light dumplings.
Potatoes are broadly categorized into two botanical groups based on specific gravity and cellular structure:
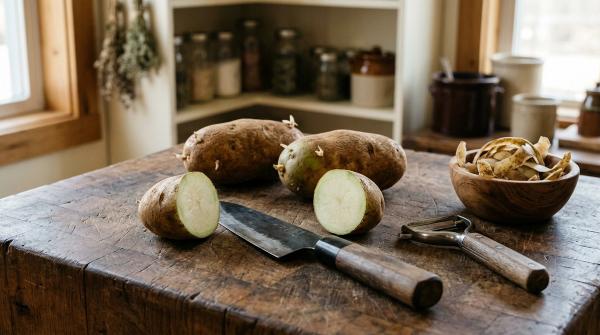
- High-Starch, Low-Moisture Potatoes (The Only Choice): Russet Burbank, Idaho, or mature starchy European varieties like King Edward and Maris Piper. These tubers have dense cells packed with large starch granules and minimal water content. When cooked, their cells separate into dry, floury flakes rather than sticking together. This dry, fluffy interior absorbs minimal additional liquid and requires very little flour to form a cohesive dough.
- Medium-Starch All-Rounders: Yukon Gold potatoes. While Yukon Golds contain slightly more water than Russets, they offer superior buttery flavor, a vibrant golden-yellow hue, and pleasant natural sweetness. If using Yukon Golds, you must roast them on a bed of coarse salt to drive off their higher internal moisture.
- Waxy, High-Moisture Potatoes (The Fatal Mistake): Red Bliss, new potatoes, fingerlings, and young thin-skinned white potatoes. These tubers are high in moisture and low in starch, with cell walls glued tightly together by pectin. When mashed, they turn into a gummy, sticky glue that drinks cups of raw flour, guaranteeing heavy rubber gnocchi. Never use waxy potatoes for gnocchi.
Look for large, mature potatoes with rough, russeted brown skins. Older potatoes that have sat in root cellars for a few weeks are actually superior to freshly harvested ones because natural respiration has already evaporated a portion of their internal water content.
Moisture Elimination: Why Boiling Peeled Potatoes Guarantees Failure
#The single most destructive instruction printed in standard home cookbooks is: "Peel potatoes, cut into chunks, and boil in a pot of water until fork-tender."
When you cut raw potatoes into cubes and drop them into boiling water, you turn them into waterlogged sponges. Cut potato surfaces expose open starch cells that greedily drink liquid. By the time you drain those potato cubes in a colander, they are saturated with water, requiring nearly double the amount of flour to hold together into a dough.
To eliminate moisture from the start, use dry heat roasting:
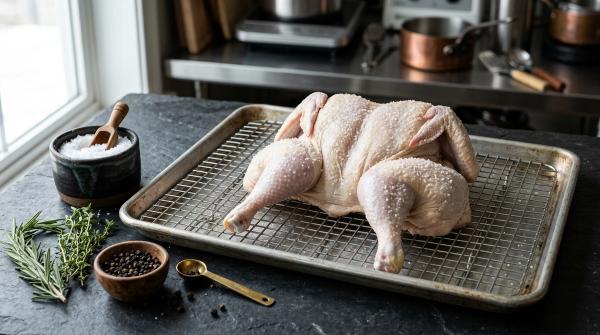
- The Salt Bed Roasting Method (The Professional Standard): Preheat your oven to 400°F (200°C). Scrub four large, unpeeled Russet potatoes thoroughly and prick their skins all over with a fork to create steam release vents. Spread a layer of coarse kosher or sea salt across a rimmed baking sheet and nestle the whole, unpeeled potatoes directly into the salt bed.
- The Physics of Salt Roasting: The salt performs two crucial functions: it conducts dry, even radiant heat around the curved undersides of the potatoes, and it acts as an osmotic desiccant, drawing moisture droplets out through the skin as steam escapes.
- Baking Duration: Bake for 50 to 60 minutes until a metal skewer or paring knife slides into the dead center of the thickest potato with zero resistance. The skins should feel papery, brittle, and hollow.
If you do not want to run an oven for an hour, your second-best alternative is to steam whole, unpeeled potatoes in a tightly lidded stovetop steamer basket over boiling water. Never cut the potatoes before cooking, and never submerge peeled flesh in water.
The Scalding-Hot Ricing Rule
#Once your potatoes emerge from the oven, speed and temperature control are vital. You must process the potatoes while they are steaming, scalding hot.
Never let cooked potatoes cool to room temperature before processing. As starchy potatoes cool, retrograded starches crystallize and seize into sticky clumps, requiring aggressive mechanical force to smooth out. Ricing hot potatoes takes advantage of relaxed, swollen starch granules that separate effortlessly into fine, featherweight filaments.
- Handling the Heat: Hold the hot potato with a clean, dry kitchen towel in your non-dominant hand. Slice the potato in half lengthwise with a sharp chef's knife. Use a metal spoon to scoop out the steaming, fluffy interior flesh, leaving the papery skin behind.
- The Essential Tool: Transfer the hot flesh directly into the hopper of a heavy-duty metal potato ricer or rotary food mill fitted with a fine disc. Press the lever firmly, extruding the potato directly onto a clean, un-floured wooden work surface or large rimmed baking sheet.
- The Steam Evaporation Phase: Spread the riced potato across your work surface in a thin, even layer using a pastry bench scraper. Do not touch or compress it. Allow the riced potato to sit undisturbed for 5 to 10 minutes. Watch the visible plumes of steam rising into the air; every wispy cloud of steam drifting away is water vapor leaving your potato, concentrating pure dry starch.
- The Food Processor Ban: Never, under any circumstances, place potatoes into a food processor, blender, or electric mixer. The high-speed spinning blades violently rupture starch cell membranes, releasing free amylose and converting fluffy potato into an inedible, rubbery wallpaper glue within ten seconds. A manual lever ricer is mandatory.
The Flour Balance: Ratios by Touch, Not Rigid Weight
#The most common question from beginners is: "Exactly how many grams of flour do I add to one kilogram of potatoes?"
Any recipe that gives you a rigid, unbending flour weight is misleading. Because the moisture content of potatoes varies based on cultivar, storage age, soil composition, and weather, the exact amount of flour required changes every single time you cook.
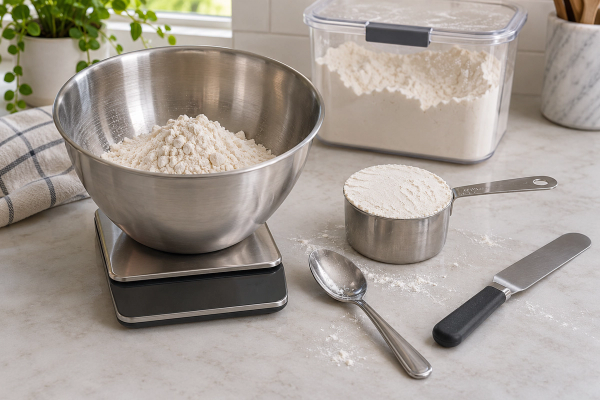
As a baseline rule of thumb, you need approximately 20% to 25% of the riced potato's weight in flour. For example, if you have 800 grams of riced potato, start with 160 to 200 grams of flour.
- Flour Selection: Use unbleached Italian Tipo 00 flour or a standard unbleached all-purpose flour with a moderate protein content (roughly 10% to 11%). Avoid high-gluten bread flours, which develop tough, elastic protein networks that make gnocchi chewy.
- The Egg Question: Authentic Italian traditions diverge sharply on eggs. In Piedmont, gnocchi is often completely eggless, yielding a fragile, ethereal dumpling that demands expert moisture control. In southern Italy and modern restaurant kitchens, cooks add a single egg yolk per kilogram of potato. The egg yolk provides fat that enriches flavor and lecithin that acts as a structural binder, giving home cooks valuable insurance against gnocchi dissolving in boiling water without adding unwanted water from the egg white. For consistent results, use one egg yolk.
Dough Assembly: Gentle Folding Instead of Kneading
#Making gnocchi dough is completely different from making bread dough or traditional egg pasta. With bread or ramen noodles, you knead aggressively to develop long, elastic gluten strands. With gnocchi, gluten is your enemy. You want to handle the dough with the featherlight touch of a French pastry chef making flaky pie crust.
- Gather your cooled, riced potato into a loose mound on your wooden board.
- Sprinkle a teaspoon of fine sea salt and a tiny pinch of freshly grated nutmeg over the potato. Nutmeg is a classical Italian aromatics secret; a subtle hint enhances the earthy sweetness of the potato without tasting spiced.
- Pour your beaten egg yolk over the center of the mound.
- Sift roughly two-thirds of your measured flour evenly across the top using a fine mesh strainer.
- Using a metal bench scraper, cut down through the mound repeatedly with chopping motions, distributing the flour and yolk throughout the potato.
- Once crumbly, use your hands to gently fold the mass over onto itself, pressing down lightly with the heels of your palms just until the dough comes together into a cohesive, pliable ball.
- Test the dough with the back of a clean, dry knuckle. If the dough feels smooth, soft, and warm like an earlobe, and releases cleanly from your skin without leaving sticky paste, stop immediately.
- If the dough sticks aggressively to your fingers, dust on a tablespoon of the reserved flour and fold two more times. Never knead, twist, or stretch the dough. The entire assembly process from flour addition to smooth dough ball should take less than two minutes.
| Ingredient / Phase | Ideal Proportion / Protocol | Primary Purpose | Common Sensory Mistake |
|---|---|---|---|
| Russet Potatoes | 1000g (baked whole on salt) | Provides dry, starchy cellular structure | Boiling peeled cubes waterlogs starch |
| All-Purpose / Tipo 00 Flour | 200g - 250g (approx 20-25%) | Binds potato starch without elasticity | Dumping 400g+ turns gnocchi into rubber |
| Egg Yolk | 1 large yolk (beaten) | Adds lecithin binder and rich golden color | Using whole egg introduces excess liquid |
| Fine Sea Salt | 1 teaspoon (5g) | Seasons interior starch evenly | Adding salt only to water leaves dough bland |
| Fresh Nutmeg | Tiny pinch (freshly grated) | Enhances natural potato nuttiness | Heavy grating overpowers potato flavor |
| Mixing Method | Gentle cutting and folding (2 mins) | Prevents gluten network development | Kneading like bread dough creates toughness |
Shaping and Ridging: The Gnocchi Board Technique
#Once your dough ball is formed, cut off a manageable fist-sized piece and immediately cover the remaining dough with a clean, inverted bowl or damp kitchen towel to prevent the surface from drying out and forming a crust.
- Rolling the Ropes: Lightly dust your wooden work surface with a dusting of rice flour or semolina flour. Semolina and rice flour do not absorb into raw dough as readily as wheat flour, keeping your exterior surface silky. Using both hands with light, even pressure, roll the dough piece back and forth, moving your fingers outward from the center toward the ends, until you create a uniform cylinder roughly 3/4-inch (2cm) in diameter.
- Cutting the Pillows: Using your bench scraper or a floured butter knife, slice the cylinder into bite-sized pillows roughly 3/4-inch to 1-inch long. Dust the cut pillows lightly with semolina so their cut edges do not fuse together.
- The Ridging Board (Rigagnocchi): While you can cook smooth gnocchi pillows as-is, traditional Italian gnocchi is always ridged on a wooden gnocchi board (rigagnocchi). Those ridges are not purely decorative; they dramatically increase the surface area of the dumpling, creating deep grooves that trap sauce, while the thumb impression on the reverse creates a thin-walled hollow that cooks through evenly and rapidly.
- The Board Motion: Hold the wooden board at a 45-degree angle resting on your work counter. Dust the board lightly with flour. Place a cut gnocchi pillow at the top of the grooved wooden ramp. Place the soft pad of your thumb on top of the pillow with gentle, firm pressure. Flick your thumb downward in a smooth, rolling sweep toward the bottom edge of the board.
- The Visual Result: The gnocchi will roll down the grooves, curling around your thumb into a hollow C-shape cylinder with pronounced horizontal ridges on the outer surface and a gentle thumb indentation on the inside. Let it tumble directly onto a parchment-lined baking sheet dusted with semolina.
Work through the remaining dough efficiently. Never stack shaped gnocchi on top of each other; arrange them in a single, uncrowded layer so they do not stick.
The Floating Water Cooking Protocol
#Fresh potato gnocchi cooks at lightning speed. Before dropping them into boiling water, make sure your sauce is completely finished, warm, and waiting in an adjacent skillet. Gnocchi waits for no one; the moment they leave the boiling water, they must go straight into warm sauce.
- Water Volume and Heat: Bring a large 6-quart stockpot filled with water to a vigorous, rolling boil over high heat. Add two tablespoons of coarse salt until the water tastes seasoned like mild broth.
- Cook in Batches: Never dump a full tray of 100 gnocchi into the pot at once. Overcrowding drops the water temperature instantly, turning the rolling boil into a stagnant simmer that causes delicate dumplings to dissolve and stick to the bottom metal. Cook in manageable batches of 25 to 30 gnocchi at a time.
- The Floating Rule: Gently tip the gnocchi from their semolina sheet into the boiling water. They will sink to the bottom initially. Within 60 to 90 seconds, as trapped air pockets expand and starches set, the gnocchi will buoyantly rise to the surface of the water like corks.
- The 30-Second Finishing Window: Once the gnocchi float to the surface, do not yank them out immediately. Let them simmer gently on the surface for another 30 to 45 seconds to ensure the interior core is completely cooked through.
- The Removal Technique: Never pour a pot of cooked gnocchi into a metal colander in the sink. The violent weight and turbulence will crush the delicate dumplings into a mushy heap. Use a stainless steel spider skimmer or slotted spoon to scoop the floating gnocchi gently out of the water, letting excess water drain for three seconds, and transfer them directly into your warm sauce skillet.
Sauce Pairings: Delicate Coatings That Respect Texture
#Because authentic potato gnocchi is exceptionally tender, it should never be smothered in heavy, thick, gluey sauces that overwhelm its delicate potato essence.
- Brown Butter and Crispy Sage (Burro e Salvia): The purest northern Italian classic. Melt unsalted butter in a wide copper or stainless skillet over medium heat until the milk solids turn nutty, fragrant, and hazelnut-brown. Toss in fresh whole sage leaves for 30 seconds until crackling and crisp. Transfer the boiled gnocchi directly into the brown butter with two tablespoons of starchy pasta cooking water. Toss gently for 30 seconds off heat, scatter with freshly grated Parmigiano-Reggiano, and serve.
- Light Pomodoro Basilico: Simmer San Marzano plum tomatoes crushed by hand with a crushed garlic clove, extra virgin olive oil, and fresh basil leaves for 20 minutes. Toss the hot gnocchi in the bright tomato sauce with fresh torn mozzarella di bufala or fresh ricotta.
- Creamy Gorgonzola Dolce: Melt mild, creamy Gorgonzola Dolce with a splash of whole milk and fresh cracked black pepper over low heat until smooth. Fold in warm gnocchi and garnish with toasted crushed walnuts for textural contrast.
Troubleshooting Common Gnocchi Disasters
#- The Gnocchi Completely Dissolved in Boiling Water: This tragedy happens when the dough has too little flour, too much residual potato moisture, or when the water was not at a full rolling boil when the dumplings entered. Fix this on your next batch by ensuring potatoes are baked completely dry on salt and riced hot, or add one additional egg yolk to act as a heat-set protein binder.
- The Gnocchi Chew Like Heavy Rubber: You added too much flour, kneaded the dough aggressively, or used waxy red-skinned potatoes. Keep your touch light, fold rather than knead, and measure flour by feel, stopping the moment the dough stops clinging to your knuckle.
- The Gnocchi Stick to the Board and Tear: The dough is either too warm, your gnocchi board lacks a dusting of flour, or you pressed too hard with your thumb. Dust the board with semolina and use a quick, confident, featherlight flick of your thumb.
- Cooked Gnocchi Clump Together into a Giant Ball on the Plate: You let the boiled gnocchi sit in a bowl without sauce or cooking fat. Always transfer boiled gnocchi directly from the water into warm sauce or melted butter, tossing immediately so fat coats the delicate outer ridges.
Making tender, homemade potato gnocchi from scratch is a true culinary art. Once you master the moisture-eliminating salt bake, scalding-hot ricing, and minimal flour folding, you will never look back at commercial rubber gnocchi again.