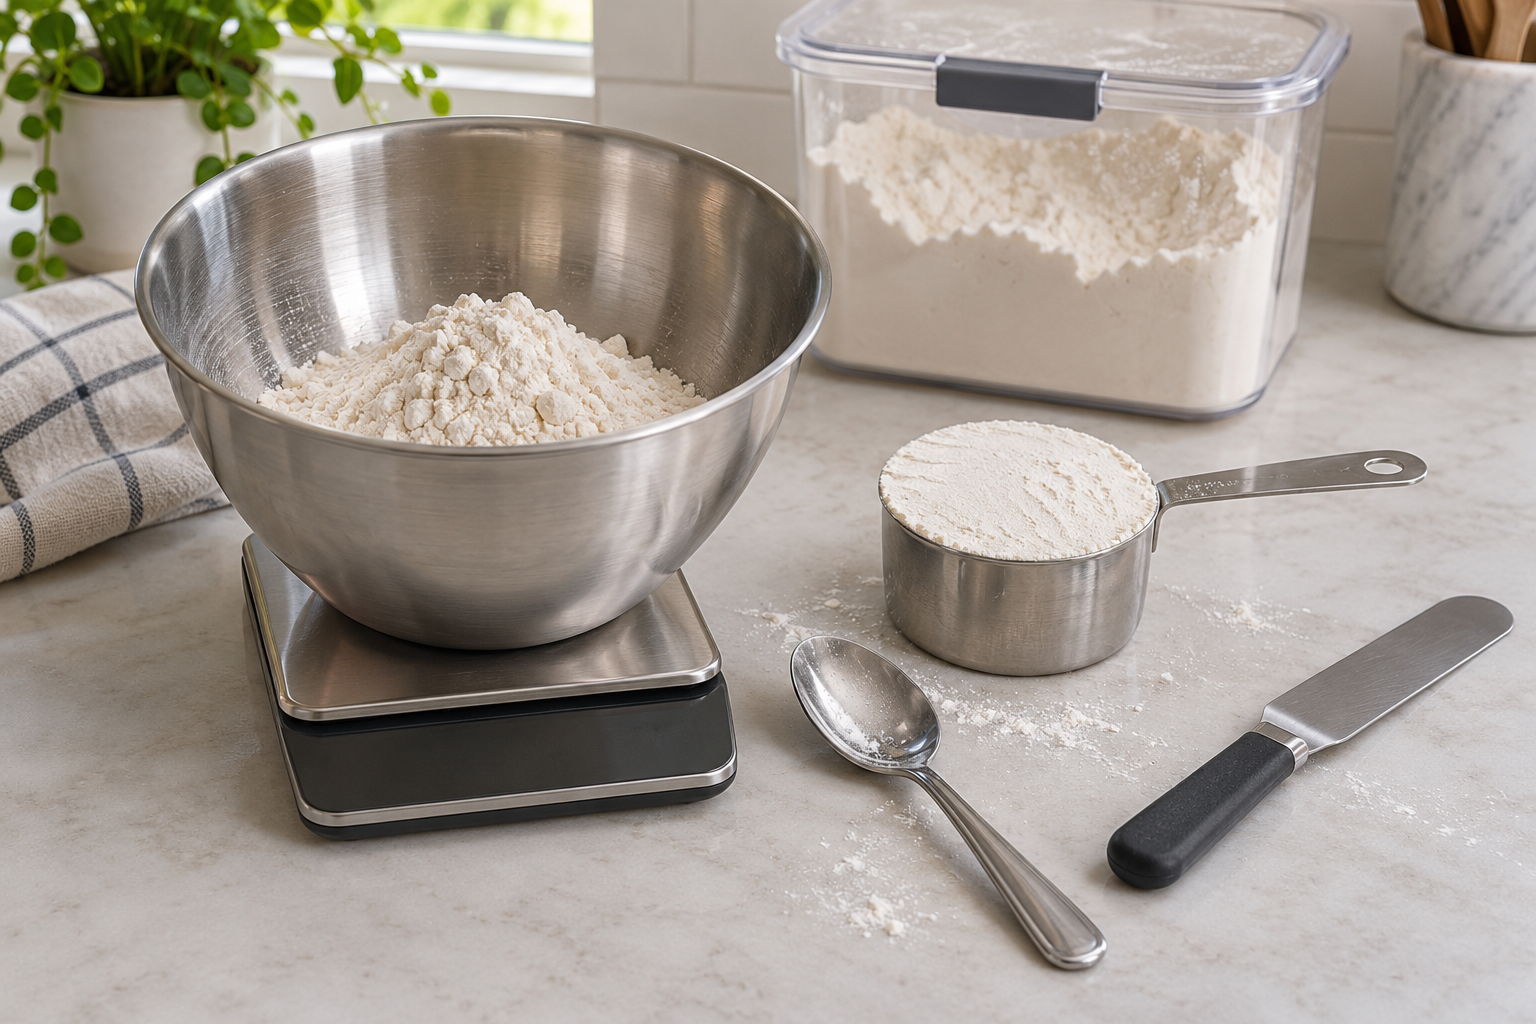
Use the flour weight given in your recipe and weigh it after zeroing the bowl on a kitchen scale. If you are measuring by volume, follow the recipe’s method. For a light spoon-and-level measurement, loosen the flour, spoon it into a dry measuring cup and sweep the top level without shaking or packing it.
The important distinction is simple: a cup measures space; grams measure mass. Flour can occupy that space loosely or tightly. Both cups may look full, yet contain different amounts. A scale helps remove that uncertainty, but only when you use the right target weight and the right flour.
You do not need to turn every baking session into a laboratory exercise. You need a repeatable way to interpret the recipe, measure what it asks for and recognise when a conversion has introduced a new assumption.
Choose the recipe’s measurement basis
#Before opening the flour bag, read the ingredient line and any measurement notes. Look for the flour type, the quantity, the unit and whether sifting happens before or after measuring. Check whether the author supplies a gram weight alongside the cups.
If a recipe states 240 grams of all-purpose flour, weigh 240 grams. There is no benefit in filling two cups first and then checking whether they happen to match. If the recipe gives both units, choose one system for the batch and follow it consistently.
If only cups are given, look for the author’s explanation of a cup. Some recipes describe a light spooned measurement; others were developed with a different scooping method. That instruction matters more than a general rule remembered from another recipe.
If there are no notes, a recognised flour chart can provide a starting assumption. Write down which chart you used rather than treating its number as a fact about every recipe. For an important celebration cake, finding a recipe with explicit weights is often easier than resolving an ambiguous old conversion on the day.
A useful preparation note might read: “All-purpose flour; recipe’s gram quantity; weigh before sifting.” That short line settles three decisions before mixing begins.
Why a full cup can contain too much flour
#Imagine filling a small box with crumpled paper, then pressing the paper down and adding more. The box has not become larger. It simply contains more material in the same space. Flour behaves similarly when it is compacted in a container or pushed into a cup.
This explains why dipping the measuring cup into a flour bin and dragging it through the flour can produce a different quantity from gently filling the cup with a spoon. Levelling the top makes the surface neat, but it does not undo compression inside the cup.
It also explains why tapping a cup against the counter changes the measurement. The flour settles, space appears at the top, and topping it up adds more flour. That can be useful when a recipe deliberately requests a packed ingredient, but a light flour measurement is a different instruction.
King Arthur Baking’s all-purpose flour reference is 120 grams per cup. Its measurement guidance contrasts that with a substantially heavier compressed cup. The practical lesson is the effect of packing, rather than a promise that every flour, cup or recipe should equal 120 grams.
Measuring is only one influence on the finished bake. Flour choice, mixing, oven conditions and the rest of the formula still matter. A dry cake is a reason to investigate the flour quantity; it is not proof that flour measurement was the only problem.
Weigh flour without counting the bowl
#Put the scale on a stable, level surface with enough room for the bowl. Make sure the bowl is supported by the weighing platform rather than touching a wall, an appliance or another object. Choose grams when the recipe gives grams.
Place the empty bowl on the scale and press tare or zero. The display should return to zero with the bowl still present. Add flour gradually until the display reaches the recipe’s target. Near the target, use smaller spoonfuls so you do not overshoot unnecessarily.
Taring tells the scale to exclude the container’s weight. It does not make the bowl weightless in any physical sense; it resets the displayed starting point. If an empty bowl weighs 350 grams and you need 240 grams of flour, a correctly tared display should read 240 grams after adding the flour, not 590 grams.
That is an illustrative calculation, not a recommended bowl size. You do not normally need to weigh the bowl separately at all. The point is to understand which number you are reading.
You can add several ingredients to one bowl by taring between them when the recipe’s mixing order permits it. However, flour is easier to correct in a separate bowl if you are distracted, using an unfamiliar scale or likely to overshoot. The small amount of extra washing can save uncertainty later.
Check the display before adding anything else
#Stop at the target and read the number again. Check the unit as well as the digits. A scale set to ounces, millilitres or a liquid-specific mode is not showing the gram measurement your recipe requested.
Follow the scale’s instructions for capacity, minimum quantities and automatic shutoff. An ordinary kitchen scale may be suitable for a bowl of flour without being the right tool for tiny amounts of another ingredient. Do not assume its display resolution proves its accuracy at every weight.
If the scale switches off halfway through, pause. If the flour is still separate, move it into a bowl whose tare you can establish and weigh again. Guessing how much remained on the display is less useful than restoring a known measurement.
Use cups without packing the flour
#For a recipe that calls for lightly spooned flour, set out a dry measuring cup with a rim that can be swept level, a spoon and a straight edge. A dry cup is convenient because the stated quantity reaches the rim. A liquid jug is designed to be read at a marked line instead.
Loosen the flour gently in its bag or container. This is preparation for a consistent volume measurement, not an instruction to sift every recipe. Spoon the loosened flour into the measuring cup until it sits slightly above the rim.
Sweep a straight edge across the top so the flour is level with the rim. Avoid pressing down, shaking the cup or repeatedly knocking it on the counter. Transfer the measured flour to the bowl and repeat for any remaining cup or fraction.
Keep the measuring cup separate from the spoon used to transfer flour. Scooping flour with the cup itself is easy to do out of habit, especially when the bag opening is wide. Keeping a spoon in the flour container helps make the intended method obvious.
For repeated measures, count after each filled cup enters the bowl. If you often lose track, place one small marker beside the bowl for each completed measure or write the count on a scrap of paper. That is simply a practical counting aid; it does not change the recipe.
A tea mug or drinking cup with an unknown capacity is a poor substitute. A familiar mug can be much larger or smaller than the measuring cup intended by the author. Using the same mug for every ingredient does not necessarily preserve a recipe’s ratios, because some quantities are given in spoons, weights or individual items.
Read sifted-flour wording carefully
#“Flour, sifted” and “sifted flour” can describe different orders when a recipe measures by volume. KitchenAid and C&H Sugar explain the conventional distinction: sift before measuring when the ingredient is described as a quantity of sifted flour; measure first when the sifting instruction follows the measured ingredient.
| Recipe wording | Measurement sequence |
|---|---|
| One cup sifted flour | Sift first, then measure the resulting flour as directed |
| One cup flour, sifted | Measure the flour first, then sift that measured portion |
| 240 grams flour, sifted | Weigh the flour, then sift the weighed portion |
Why does that matter? Sifting breaks up clumps and incorporates air. The resulting flour can occupy more space for the same mass. With cups, changing the order can therefore change how much flour enters the bowl.
With grams, the requested mass remains the same before and after sifting, provided none is lost. Sifting may still matter to the mixing process, especially when a delicate mixture needs flour distributed without excessive stirring. Weighing solves the quantity question; it does not cancel a texture-related instruction.
A fine-mesh sieve can do the job of a dedicated flour sifter. A whisk can loosen flour and break some lumps, but it does not separate particles through a mesh. Use the tool and finish the recipe actually requires rather than buying equipment for an instruction that is not present.
If a family recipe simply says “sift flour” without explaining the order, recognise the ambiguity. Ask the person who makes it, check accompanying notes or make a small trial with your chosen interpretation recorded. Do not silently turn that uncertainty into a universal conversion.
Work through a recipe conversion
#Suppose a hypothetical recipe gives two cups of all-purpose flour and explicitly states that each cup is 120 grams. The flour target is therefore 240 grams. A batch-and-a-half requires 360 grams, and a half batch requires 120 grams.
These figures follow the stated assumption. They are not a conversion table for every flour. The calculation is useful because it keeps the source of the number visible: cups requested multiplied by that recipe’s grams per cup.
Now imagine another recipe gives two cups and 250 grams side by side. For that recipe, use its supplied 250-gram target instead of replacing it with 240 grams from a different author’s chart. The author may use a different cup-to-weight convention. If the measurements appear to be a typo, investigate before making the batch.
Do the scaling before putting ingredients into the bowl. A simple working note is enough:
| Item to record | Illustrative entry |
|---|---|
| Original flour quantity | Two cups, explicitly defined as 240 grams |
| Batch multiplier | One and a half |
| New flour target | 360 grams |
| Flour and method | All-purpose; weigh, then follow sifting instruction |
This is only the flour calculation. Scaling a whole recipe also affects the other ingredients, pan capacity and sometimes the cooking process. Increasing the flour alone is not a way to enlarge a cake recipe.
Keep flour type and quantity separate
#A reliable measurement does not make different flours interchangeable. Wheat flour, almond flour and a gluten-free blend have different compositions and baking roles. Even when two portions weigh the same, they need not absorb liquid or form structure in the same way.
Ingredient charts make this distinction visible. King Arthur’s chart gives separate entries for all-purpose flour, almond flour and numerous other ingredients. The sensible use of that chart is to look up the ingredient you actually have, while keeping the recipe’s own instructions first.
Avoid extending a familiar flour conversion to every white powder. Cornstarch, cocoa and icing sugar are separate ingredients, not variants of the same measurement. A cup of one does not establish the mass of another.
If your recipe names cake flour and you only have bread flour, that is a substitution decision. Solve it with a suitable recipe or explicit substitution guidance. Adding or removing a few grams because the dough looks unfamiliar cannot reliably turn one flour into another.
Recover from measuring mistakes
#If too much flour is still in a separate bowl, remove some until the scale shows the target. If you have lost count of cups and have a reliable gram target, weigh the total again using a known tare. If you have neither a count nor a dependable weight, restarting the flour portion can be the clearest option.
Once flour is mixed with other ingredients, recovery is more limited. You cannot usually remove only the extra flour. Adding an arbitrary splash of liquid may change several relationships in the formula without correcting them. Decide whether you know the size of the error before trying to compensate.
For example, if you know you measured the correct amount for a double batch but added the other ingredients for a single batch, the discrepancy is identifiable. You may be able to complete the intended double formula if you have the ingredients, bowl space and appropriate baking setup. An unknown excess is a different situation.
Do not keep adding flour simply because a dough is sticky before its instructed rest or mixing stage is complete. Some formulas intentionally begin soft. Read the method and its texture cues before treating stickiness as proof of a measurement mistake.
For your next bake, record the flour type, target weight or cup method, any deliberate change and the result. A note such as “weighed 240 grams; no substitution; sifted after weighing” tells you much more than “cake was a little dry.” It gives you one known part of the process to keep consistent while you investigate the rest.