Buying baby bottles sounds simple until you start looking. Suddenly there are glass bottles, plastic bottles, silicone bottles, anti-colic vents, slow-flow nipples, wide-neck nipples, sterilizers, warmers, travel caps and replacement parts.
It can feel like you need to choose the “perfect” bottle before your baby even arrives.
You don’t.
A better plan is to start small. Use this baby bottle buying checklist to choose a few safe, easy-to-clean bottles first. Then see what your baby actually accepts before filling a cupboard with one brand.
For many newborns, 2 to 4 bottles in a couple of different styles is enough to begin with.
The best baby bottles for newborns are not always the most expensive ones, or the ones everyone online seems to recommend. They are the bottles your baby can feed from comfortably, and the ones you can clean properly even when you are tired.
Because that is the real test.
A bottle can promise less gas, better latch, no leaks and a breast-like feel. But if it has six tiny pieces to wash at midnight, or the nipple flow is wrong for your baby, it may quickly become more annoying than helpful.
This guide keeps things practical, safety-first and brand-neutral. It covers glass vs plastic baby bottles, silicone baby bottles, anti-colic baby bottle designs, baby bottle nipples, heating, travel, cleaning and recall checks. There are also India-aware notes, because heat, humidity, boiling, storage and online shopping habits all matter.
Quick Comparison: Glass, Plastic, Silicone and Hybrid Bottles
#The Practical Baby Bottle Buying Checklist
#Before you add a set of bottles to your cart, go through these checks.
1. Material check
#Ask yourself:
- Is the bottle glass, plastic, silicone or hybrid?
- If it is plastic, is it clearly labelled BPA-free baby bottle?
- Does the brand explain dishwasher, sterilizer, boiling and replacement instructions?
- Can I easily see scratches, cracks, stains, clouding or chips?
- Will I actually use this bottle every day, or does it just look nice?
Glass is a good choice if you plan to sanitize with heat often. It does not wear down in the same way plastic can, and it is usually easy to inspect. But glass is heavier, and yes, it can break. If you choose glass, check whether it comes with a protective sleeve and whether that sleeve needs to be removed for cleaning.
Plastic is convenient, light and easy to carry. In the United States, the FDA no longer authorizes BPA in baby bottles and sippy cups. Still, labels matter, especially if you are shopping online from different marketplaces or imported sellers. The American Academy of Pediatrics, through HealthyChildren guidance, advises avoiding microwaving plastic and being careful with heat exposure, because heat can increase chemical migration from some plastics.
Silicone feels softer and is travel-friendly. A silicone baby bottle may help if your baby dislikes harder bottle shapes. The small catch is smell. Strongly scented dish soap can cling to silicone, so a mild, unscented soap is usually a better choice.
India-aware note: In many Indian homes, boiling bottles is part of the routine. If you plan to boil often, read the manual first. Some plastic parts may wear faster with repeated high heat. In hot kitchens, closed cabinets or humid monsoon weather, drying bottles fully is just as important as washing them.
2. Nipple flow check
#Sometimes babies are not rejecting the bottle itself. They are rejecting the nipple.
Baby bottle nipples can vary by:
- Shape, such as narrow, wide-neck or orthodontic
- Material, usually silicone or latex
- Flow speed
- Firmness
- Vent placement
For newborns, start with the slowest newborn flow offered by that bottle system. Do not assume every “slow flow” nipple is the same. Flow labels are not standardized, so one brand’s slow nipple may feel much faster than another brand’s slow nipple.
Watch your baby, not just the packaging.
If milk comes too quickly, your baby may cough, gulp, leak milk, pull away or seem overwhelmed. If the flow is too slow, your baby may get tired, frustrated or work very hard to feed.
If you are combining breast and bottle, some parents prefer wide-neck nipples with a gradual slope. That does not mean they are automatically better for every baby. It simply means the shape may suit some babies and caregivers better.
If feeding keeps feeling difficult, speak with your pediatrician, lactation consultant or feeding support professional. Don’t keep buying bottle after bottle without getting help.
3. Cleaning parts check
#This is where many “smart” bottles become a lot of daily work.
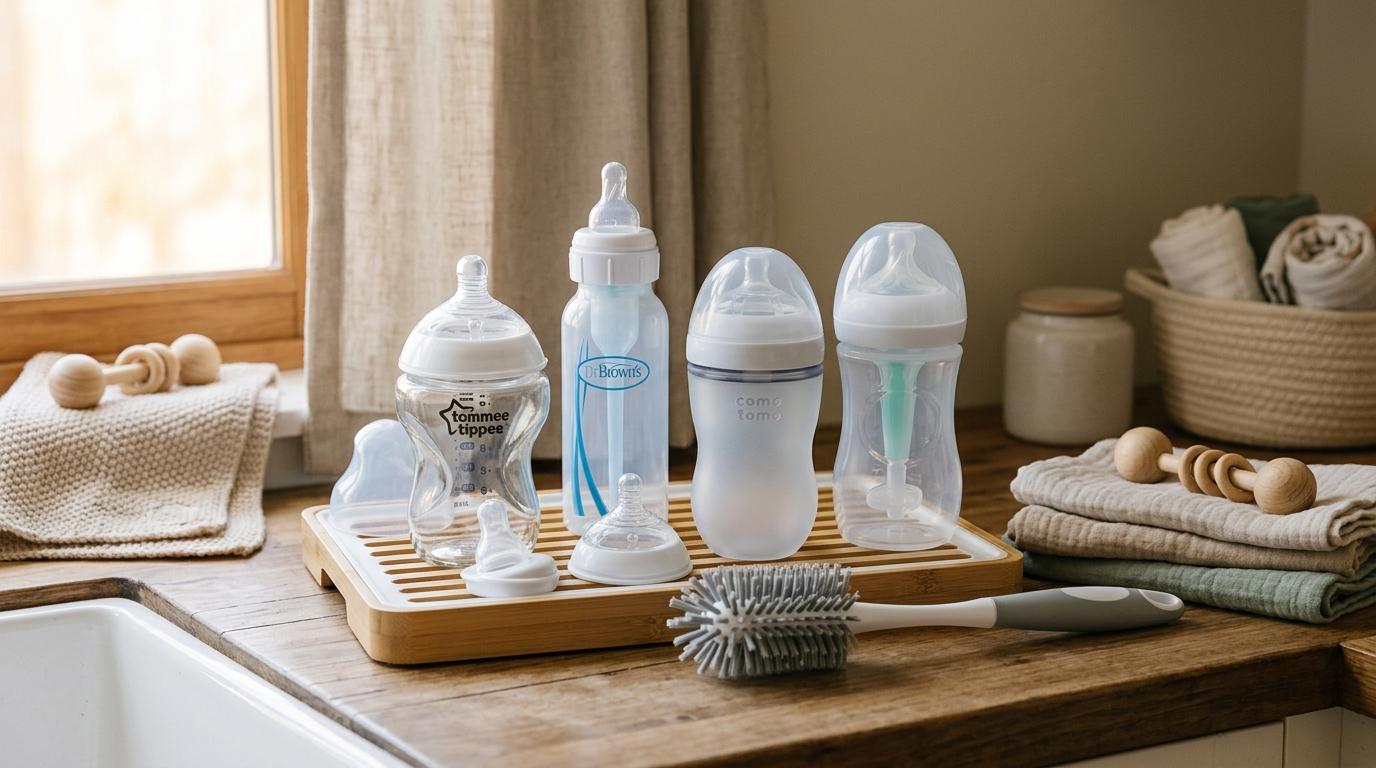
Before buying an anti-colic baby bottle, count the pieces:
- Bottle body
- Collar or ring
- Nipple
- Cap
- Valve
- Vent tube
- Base insert
- Sealing disc
Anti-colic bottles use vents, valves, tubes or base systems to reduce vacuum inside the bottle. The idea is to reduce how much air the baby swallows. Some babies do seem more comfortable with them.
But they are not magic.
They do not solve every gas, reflux, fussiness or feeding issue. And the trade-off is cleaning. More parts means more washing, more drying space and more chances that one tiny valve disappears under the sink rack.
A simple rule: if you would hate cleaning every piece when you are exhausted, do not buy a large set yet.
4. Heat check
#Heat matters for both safety and bottle life.
Check:
- Can the bottle be boiled?
- Can it go in an electric steam sterilizer?
- Is it dishwasher-safe?
- Does the manual limit sterilizing time?
- Are all parts heat-safe, including nipples, valves, sleeves and caps?
Do not microwave baby milk in bottles. Microwaves can heat unevenly and create hot spots. A bottle may feel fine from the outside while one part of the milk is too hot. AAP and HealthyChildren guidance also advises avoiding microwaving plastic food and drink containers.
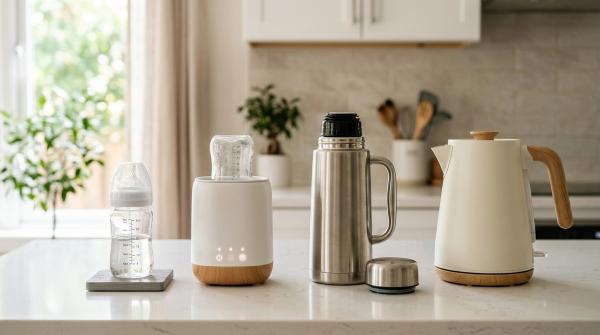
If you warm milk, use a method that fits the bottle and the feeding guidance you follow, such as a warm-water bath or a compatible bottle warmer. Always check the milk temperature before feeding.
India-aware note: If your kitchen is already warm and bottles are boiled daily, inspect plastic bottles and nipples often. Look for clouding, scratches, stickiness, cracks or changes in shape. Follow the manual on when to replace parts, even if the bottle still looks mostly okay.
5. Travel check
#A bottle that behaves perfectly at home may still leak all over the diaper bag.
Check:
- Does it have a tight travel cap?
- Does the cap fully cover the nipple?
- Can the bottle stand upright without tipping easily?
- Is it light enough for outings?
- Are spare nipples and valves easy to carry?
- Can you clean it properly while travelling?
In hot climates, travel caps are not only about leaks. They also help keep dust and insects away from the nipple before use. If you carry bottles outdoors, keep clean parts and used parts separate.
Do not judge travel bottles only by size. A compact bottle with a loose cap is not very useful.
6. Recall and authenticity check
#Safety does not stop at “BPA-free.”
Before buying, especially from online marketplaces or unfamiliar sellers, check:
- The manufacturer’s official website
- Product manual and model number
- Country-specific safety information
- Official recall databases
- Seller reviews and return policy
For US-listed products, the Consumer Product Safety Commission, or CPSC, maintains recall information at cpsc.gov. In other countries, use the relevant national consumer safety or product recall database.
If a bottle has small detachable parts, printed decoration, unusual coatings or complex vent pieces, recall checks are worth the few minutes.
Keep the receipt, box label or order details until you know the bottle works for your baby. Register the product with the manufacturer if registration is offered, so safety notices can reach you.
Glass vs Plastic Baby Bottles: Which Is Better?
#There is no single winner in the glass vs plastic baby bottles debate. The better choice depends on how you clean, store, travel and feed.
Choose glass if:
- You mostly feed at home
- You sanitize with heat often
- You want a bottle that is easy to inspect
- You do not mind the extra weight
- You are comfortable handling breakable items carefully
Choose plastic if:
- You need lightweight bottles for outings
- You want a lower upfront cost
- Your baby may later hold the bottle
- You need bottles for daycare or frequent travel
- You are willing to inspect and replace worn bottles as needed
Choose silicone if:
- You want a softer, grippier feel
- You worry about breakage
- Your baby resists firmer bottles
- You can use mild, low-fragrance soap
- You are comfortable with the bottle’s flexibility
Many families mix materials. Glass at home, plastic or silicone outside. That is often more realistic than trying to find one perfect bottle for every situation.
How Many Baby Bottles Do I Need?
#The honest answer to how many baby bottles do I need is: probably fewer than most shopping lists suggest at first.
Start with:
- 2 to 4 bottles
- Ideally 2 different styles or nipple shapes
- Newborn or slow-flow nipples
- A bottle brush
- A dedicated drying area
- Any small cleaning brush needed for vents or straws
Once your baby accepts a bottle and you understand your washing routine, buy more of that style.
Avoid buying a large set before the baby has tried that nipple. A bottle can be safe, costly and highly reviewed, and still not suit your baby.
Baby Bottle Cleaning: CDC-Based Safety Notes
#Good baby bottle cleaning is not about making life complicated. It is about keeping germs away from milk.
The CDC recommends cleaning infant feeding items carefully after use. This includes bottles, nipples, caps, rings, valves and any other parts.
Basic cleaning steps
#- Take the bottle apart completely.Separate the nipple, ring, cap, vent, valve, insert and any other part.
- Rinse parts under running water.Try not to place them directly in the sink.
- Wash in a clean basin used only for infant feeding items.Use hot, soapy water and a clean brush that is only used for baby feeding items.
- Squeeze water through nipple holes.This helps remove trapped milk.
- Rinse well.Remove soap from all parts, especially silicone nipples and valves.
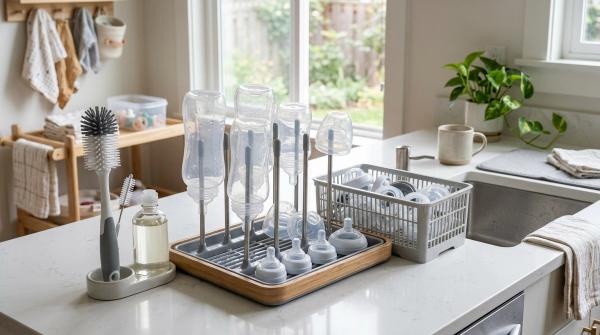
- Air-dry fully.Place parts on a clean, unused dish towel or paper towel in a protected area. Avoid rubbing them dry with a used kitchen towel.
- Store only when dry.Damp sealed containers can encourage mold, especially in humid weather.
When to sanitize
#The CDC recommends daily sanitizing for babies who are younger than 2 months, were born prematurely or have a weakened immune system.
Sanitizing can be done by boiling, steaming or using a dishwasher with a sanitizing cycle, depending on the product manual and what you have at home.
If you boil, the CDC notes that boiling feeding items for 5 minutes is one sanitizing method. Always check the bottle manual, because some parts may not tolerate repeated boiling well.
For older healthy babies, careful washing after each use is often enough, unless your pediatrician says otherwise.
Anti-Colic Baby Bottles: Useful, But Not Magic
#An anti-colic baby bottle usually has a system that lets air enter the bottle without creating a strong vacuum. This may be through:
- A valve in the nipple
- A vent in the collar
- A base vent
- An internal straw or tube
These designs may help some babies swallow less air. But fussiness can have many causes.
If your baby is consistently gagging, coughing, refusing feeds, vomiting forcefully, struggling to gain weight or looking distressed during feeds, do not rely on bottle shopping as the solution.
Speak with your pediatrician or a qualified feeding support professional.
For buying purposes, ask one simple question: does the possible comfort benefit justify the extra parts I have to clean every day?
Bottle Manuals Matter More Than Marketing
#Every bottle system has its own rules. Before you buy a large pack, read or download the manual and check:
- Maximum boiling or sterilizing time
- Dishwasher placement
- Whether silicone sleeves must be removed
- How to clean vents and valves
- Nipple replacement guidance
- Bottle replacement guidance
- Warmer compatibility
- Warning signs, such as cracks, tears, stickiness, clouding or deformation
This is especially important when shopping online. Product photos rarely show how many parts are inside the bottle, or how narrow that tiny vent tube really is.
A Simple No-Overbuying Plan
#If you are building a registry or shopping before birth, keep it simple and flexible.
Buy:
- 1 glass bottle
- 1 plastic bottle
- 1 silicone or wide-neck option, if you want to test it
- Slow-flow nipples
- Bottle brush
- Small brush for vents or straws, if needed
- Drying rack or clean drying space
- Sterilizing option, only if it fits your routine and guidance
Wait before buying:
- 8 to 12 identical bottles
- Extra fast-flow nipples
- Complex anti-colic systems in bulk
- Specialty warmers that only fit one bottle shape
- Large travel sets before testing for leaks
A small trial set usually saves money, shelf space and frustration. And honestly, new parents need less clutter, not more.