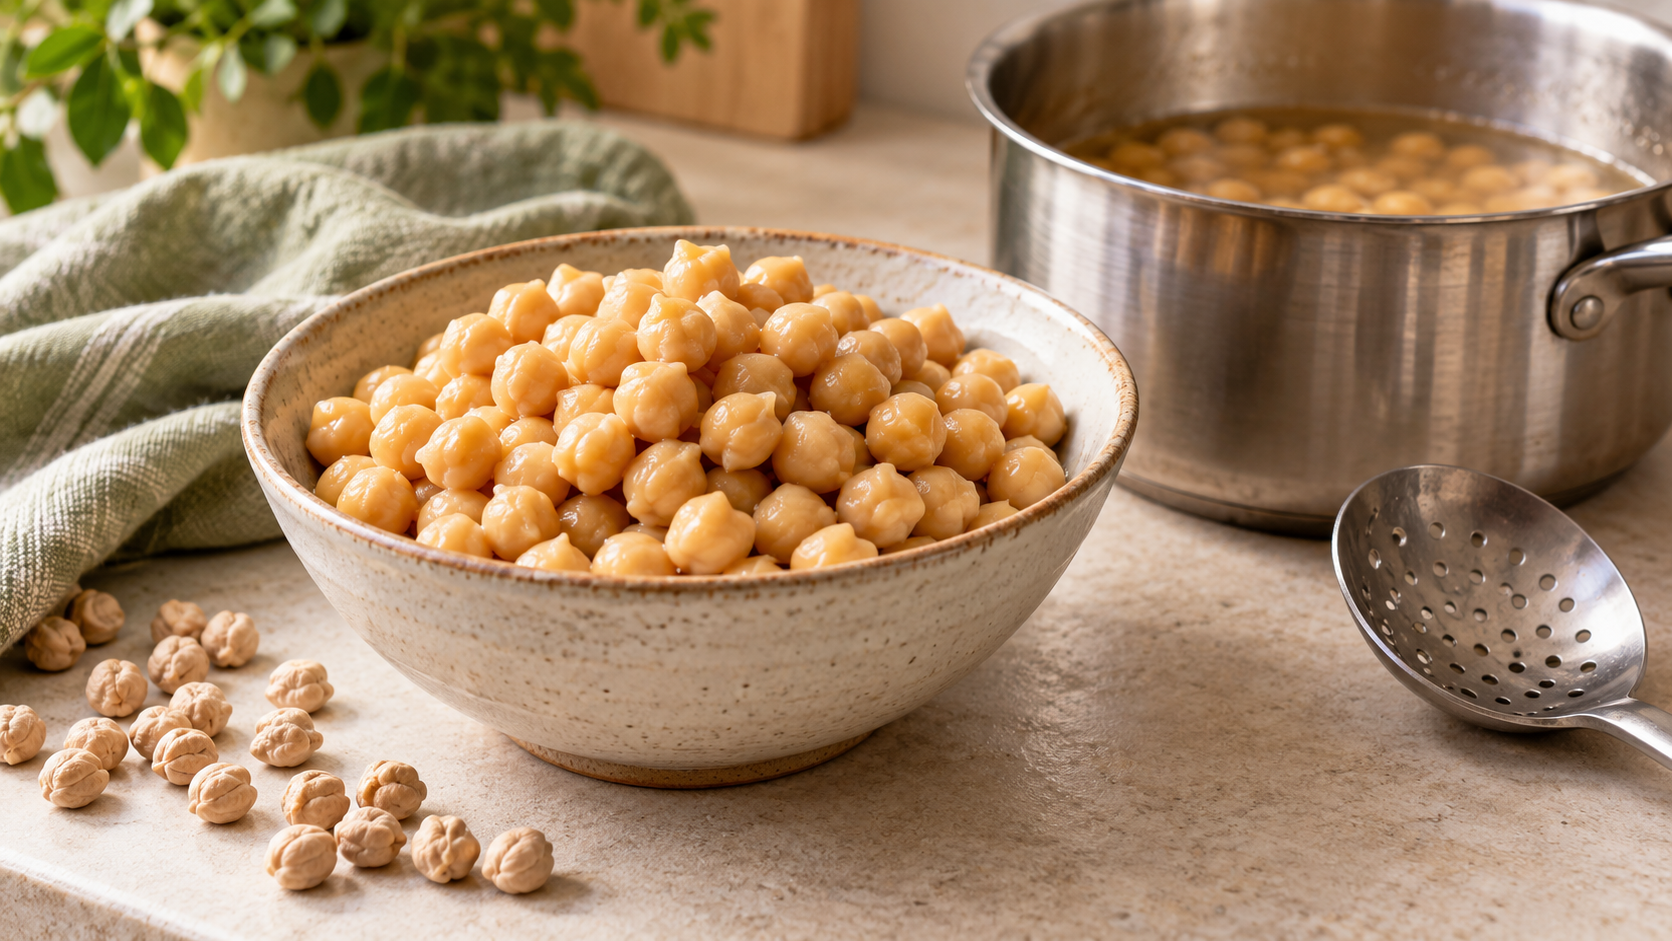
Cooking dried chickpeas is mostly a texture decision, not a race against a timer. Soak them for a straightforward stovetop batch, simmer them gently, and start tasting before you decide they are done. A chickpea for a salad should keep a clean shape when you bite it. One for a stew should yield easily. One for hummus should be soft enough to crush with very little pressure.
That distinction solves a common problem: a pot can be technically cooked and still be wrong for the dish you had in mind. The useful question is not only “how long do chickpeas cook?” It is “what should this batch feel like when I use it?”
The recipe card on this page gives a plain stovetop base. Use the guide below to choose a soaking plan, judge the center of the bean, and store what you do not use today.
Start with dried chickpeas that can cook evenly
#Look through the bag before you soak. Remove obvious debris, unusually shriveled chickpeas, and any pieces that do not look like beans. Rinse the rest. This is a small step, but it prevents one surprise hard bit from ending up in an otherwise good bowl of hummus or salad.
Chickpeas may be sold as garbanzo beans, and their size can vary. You do not need to turn that into a complicated shopping exercise. Buy a bag that looks reasonably even in size, then give the beans room to swell in water. Small and large chickpeas can finish at different moments, so a mixed bag is another reason to taste rather than announce that a pot is done because a recipe's timer rang.
Age matters too. Dried beans that have been stored for a long time can take longer to soften. That does not mean a slow batch is ruined. It means the finish line should be tenderness, not a promise that every bag will behave exactly like the last one.
Choose your soaking plan by the time you actually have
#For the usual stovetop approach, soaking makes the next stage more predictable. It also lets the chickpeas absorb water before they meet a simmer. There are two practical plans.
Overnight soaking works when tomorrow's meal is planned
#Put the rinsed chickpeas in a large bowl and cover them generously with cool water. They expand, so a shallow layer of water is not enough. Leave them for roughly 8 to 12 hours, then drain the soaking water before cooking with fresh water.
This is the calmest choice when you know you want chickpeas the next day. The active work takes only a few minutes: rinse, cover, drain, and then cook. Do not treat the soak as cooking, though. The chickpeas still need a full simmer after it.
Quick soaking is the rescue plan, not a failure
#Forgotten to soak? You do not need to abandon dinner or pretend that dry chickpeas will be ready in a few minutes. Cover them with water in a pot, bring it briefly to a boil, turn off the heat, and let them stand for about an hour. Drain, refill with fresh water, and continue with the stovetop method.
Quick-soaked chickpeas can be useful when the day changed. They may take longer to reach the same softness as an overnight-soaked batch, so give yourself room to check and continue. If your meal needs very soft chickpeas for hummus, that extra flexibility matters more than saving a few minutes on paper.
Make one base batch, then decide its destination
#The structured recipe card provides the amounts and full method once. It deliberately uses a small one-cup batch, which is enough to learn how your chickpeas behave without creating a huge leftover problem.
After soaking, cover the chickpeas with fresh water by several inches, bring the pot to a boil, then lower it to a steady simmer. A hard rolling boil can knock chickpeas around and split them. A barely warm pot can drag the process out. You are looking for regular gentle movement and enough water that the chickpeas remain submerged.
Begin checking before you think you need to. Depending on the bag and the desired result, a soaked batch may need anywhere around an hour to two hours. That is a checking range, not a guarantee. Fish out one chickpea, let it cool just enough to handle, then taste it or press it between your fingers or against a spoon.
| If you are making | Look for this texture | What to do next |
|---|---|---|
| Salad or grain bowl | Tender through the center, but still holding a distinct shape | Drain once the center has no dry or chalky bite |
| Soup, curry, or stew | Tender enough to yield easily when pressed | Let the dish's final simmer finish the seasoning and texture |
| Hummus or a smooth mash | Very soft; the center crushes with almost no resistance | Keep simmering until the beans are noticeably softer than salad chickpeas |
This is why one cooking time cannot serve every recipe. A chickpea that tastes pleasantly firm in a salad can make hummus grainy. A chickpea cooked until it nearly collapses can disappear into a stew where you wanted visible whole beans. Neither result is wrong in itself; it is only wrong for the meal you planned.
Learn the texture test instead of cutting open every bean
#The first check is visual. A fully hydrated chickpea looks plumper than the dry bean you started with. That tells you it absorbed water, but it does not tell you whether the center is ready.
The second check is the bite. A raw or undercooked center feels dry, chalky, or stubborn. Keep simmering. For a salad, stop when that chalkiness is gone and the chickpea still has some structure. For a stew, the center should be comfortably tender. For hummus, push beyond merely tender: the chickpea should squash into a smooth paste with minimal effort.
The third check is consistency. Test more than one chickpea from different parts of the pot. A bean near the surface or a larger one may lag behind. If most are ready but a few are not, decide based on the dish. A rustic soup can tolerate some variation. A blended dip needs the overall batch much softer.
Do not chase perfectly identical beans at the cost of turning the entire pot to mush. Cooking is a decision under variation. You are choosing a useful average texture, then placing it in a dish that suits it.
If the chickpeas are still hard, diagnose before adding more ingredients
#First, check the simplest possibilities. Is the pot actually maintaining a simmer? Is there enough water? Did you start with dried chickpeas that may be older? In many cases, the answer is simply more time. Keep the pot covered loosely enough to control evaporation, add hot water if the level falls too low, and check again after a short interval.
Avoid trying to rescue an undercooked batch by adding it to a finished salad, topping it with dressing, or blending it aggressively. Seasoning does not remove a hard center. A powerful blender can hide a little texture, but it cannot make a genuinely undercooked bean taste tender.
Acidic ingredients deserve a pause as well. If you are building a tomato-heavy stew or finishing a dish with a strong squeeze of lemon, it is simpler to cook the chickpeas until tender in water first, then add them to the seasoned dish. That gives you one clear task at a time: soften the bean, then build the flavor.
If the batch stays stubborn after a long simmer, it may be old. Do not turn that into a personal cooking failure. Use the softest portion in a soup or blend it into a rough spread if the result is pleasant, or choose a fresher bag next time. The practical lesson is to buy a modest quantity until you learn how quickly a particular store's beans cook in your kitchen.
Salt and aromatics should support the meal, not disguise the bean
#You can add a modest amount of salt to the cooking water, or season later. The recipe card includes it as optional because the best decision depends on the meal. If you plan to use the chickpeas in a salty curry, soup, or dressing, you may want a lighter hand in the pot. If you want a plain base for bowls and salads, early seasoning can make the center taste less flat.
One bay leaf is optional too. It gives the cooking water a quiet background note without forcing the batch into one cuisine. Garlic, onion, chilies, or spices can be appealing, but use them only if they fit the dishes you expect to make. A very strongly flavored batch is less flexible if half goes into a salad and the other half becomes hummus.
Keep the cooking liquid in perspective. It can be useful in a soup or when thinning a mash, but it is not automatically a magic ingredient. Taste it before using it. If it is bland or over-salted, plain water or a suitable broth may serve your finished dish better.
Plan a batch around different uses
#One pot of chickpeas can be a practical building block without becoming a week of identical meals. The trick is to stop at a texture that fits the first meal, then choose compatible second uses.
If you cook them firm-tender, try a salad, grain bowl, or warm vegetable dish first. The next day, the remaining chickpeas can go into a soup where they will soften a little more as they heat. If you cook them very soft for hummus, reserve enough for the dip before asking the rest to stand up in a crisp salad.
This approach also makes substitutions easier. A recipe that calls for canned chickpeas generally expects beans that are already cooked. Your home-cooked batch can fill that role once it is cooled or added hot at the right moment. The amount may not match a can exactly, so use the dish's texture and balance as the final check rather than forcing a precise volume into every recipe.
Cool, refrigerate, and freeze a batch safely
#Treat cooked chickpeas as perishable leftovers, not as pantry food. Once you are done cooking, do not leave a deep hot pot on the counter for hours while you decide what to make tomorrow. Divide a large batch into shallow containers so it cools more quickly, then refrigerate it promptly.
A simple rule helps: plan to use refrigerated cooked chickpeas within three to four days. If you will not use them in that window, freeze them in portions while they are still in good condition. A flat layer on a tray can keep drained chickpeas from freezing into one large clump; after they are firm, transfer them to a freezer-safe container or bag.
When you need them later, add frozen chickpeas directly to a simmering soup or thaw them in the refrigerator for a salad or dip. Their texture may become a little softer after freezing, which often suits soups, curries, and blended dishes. It is less ideal when you want every chickpea very firm and distinct, so use the freshest batch for that kind of salad.
Storage time is not a substitute for good handling. If cooked chickpeas sat out for too long, have an off smell, or show visible spoilage, do not use them. A smell check alone cannot reverse unsafe time at room temperature.
Common mistakes that make dried chickpeas feel harder than they need to be
#Treating the printed time as a finish line. Start checking near the expected range, but let the center of the chickpea decide. This matters most with an older bag.
Making hummus with merely tender beans. If a bean still pushes back when you crush it, it will usually produce a coarser result. Give it more time.
Filling the pot only barely above the beans. Chickpeas need room to stay covered as they simmer. Check the water level and add hot water when necessary.
Cooking a large batch with no storage plan. The batch itself is useful, but only if you cool and portion it promptly. Decide before cooking whether the remainder belongs in the refrigerator or freezer.
Trying to make every batch useful for every dish. A firm salad batch and a very soft hummus batch are different goals. Choose one on purpose, then pick second uses that work with that choice.
The reliable approach is simple: soak when you can, simmer steadily, taste the center, and stop at the texture your meal needs. Once you learn that one decision, dried chickpeas stop being a vague pantry project and become a flexible base for the meals you already like to cook.