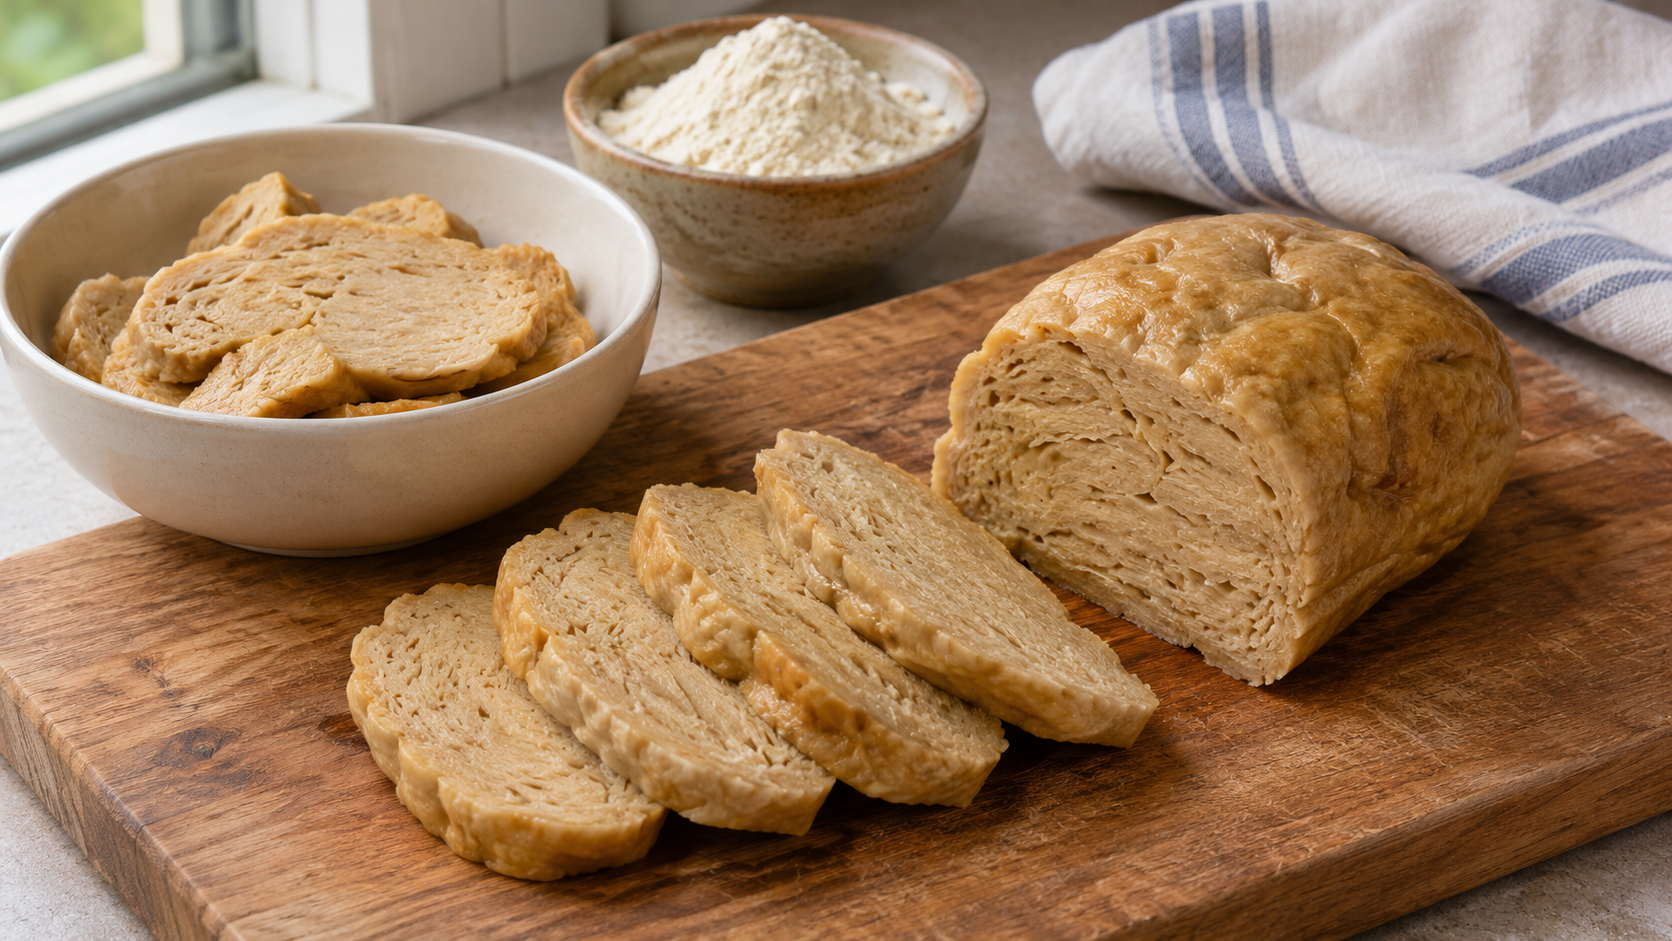
The simplest route to homemade seitan is to use vital wheat gluten and a recipe written for it. Washed-flour seitan starts with ordinary wheat flour, but you must remove much of its starch before you season and cook the remaining gluten.
Keep those methods separate. Plain flour cannot replace vital wheat gluten cup for cup, and wheat-gluten seitan is not suitable for someone who needs to avoid wheat or gluten.
The measured recipe after this guide makes one steamed loaf using vital wheat gluten. The washed-flour section explains the alternative process and the decisions that change it. Neither method needs a claim that it will taste exactly like meat to be useful.
Two ways to reach wheat gluten
#Wheat flour contains starch as well as proteins that can form an elastic gluten network when mixed with water. Washing a suitable dough exposes that network as starch moves into the wash water. The remaining mass behaves very differently from the flour you started with.
Vital wheat gluten gives you a concentrated ingredient at the outset. You mix it with the liquids and other ingredients in the chosen recipe, shape the dough and cook it. There is no need to wash that dough as if it were ordinary flour.
The washed-flour route does the separation in your kitchen. It gives you an opportunity to observe how the dough changes, but it also adds handling, washing and variation in yield. Starting flour, washing endpoint and shaping all affect what you have left to cook.
| Decision | Vital wheat gluten | Washed wheat flour |
|---|---|---|
| Starting ingredient | Concentrated wheat-gluten ingredient | Suitable ordinary wheat flour |
| Starch-removal stage | Already done before purchase | Done by washing the dough |
| Ease of repeating a measured recipe | More direct | More dependent on flour and washing |
| Extra work | Mixing, shaping and cooking | Dough preparation, washing, draining, shaping and cooking |
| Useful first choice | When you want a clearer recipe starting point | When you want to learn the washing process |
Neither route is automatically the cheaper one. Compare local ingredient prices with the amount of finished food you actually make, plus the work and water involved. A large bag of flour is not all going to remain in the final seitan.
Choose a method before buying the flour
#For the direct route, look for a product explicitly sold as vital wheat gluten. Bread flour is not the same thing: it is still a flour containing substantial starch. “High protein” on a baking-flour packet does not make it a direct replacement for concentrated gluten.
For washing, use a wheat flour suitable for the documented method you choose. The Seitan Society's tutorial favours a flour with enough protein to leave a useful gluten mass. A low-protein pastry flour is a poor starting point for that process.
Keep the ingredient information with the bag. If you transfer it into a plain jar, label it clearly so concentrated gluten is not mistaken for ordinary flour later. The difference matters to every quantity in the recipe.
Check the other ingredients just as carefully. The steamed loaf here includes soy sauce and tahini as well as wheat gluten, so soy and sesame need consideration alongside wheat. A vegetable or mushroom broth also needs to fit the intended diet and any allergy requirements.
Do not improvise around a serious allergy by removing an ingredient and assuming the remaining recipe is suitable. Choose a documented formulation that meets the person's needs, then check products and handling. A vegan label and an allergy-safe preparation answer different questions.
Set up the kitchen before mixing
#Read the whole method and choose a realistic cooking window. The primary recipe uses steaming followed by cooling; it is not a dough you mix and quickly fry for immediate dinner. Plan the rest of the meal around that sequence.
Set out separate bowls for dry and wet ingredients, a mixing utensil, appropriate wrapping material and a covered steamer arrangement. Check that the wrapped loaf will fit without blocking the lid or sitting in the water. Follow the equipment instructions for water level and safe use.
Keep raw flour and dough away from ready-to-eat food. Wash hands, work surfaces and utensils after handling them. The FDA notes that flour is a raw ingredient; tasting dough to decide whether it is ready is not a safe shortcut.
For a washed-flour batch, set up a bowl and a colander before the first wash. The dough can soften and separate during handling, so you need a way to catch loose pieces. You do not want to be searching for equipment while part of the batch goes down the sink.
Start with a manageable batch rather than scaling up immediately. A larger loaf may need different handling or cooking conditions, and a large washed-flour dough is more awkward to control. Learning the stages is more useful than producing a large quantity on the first attempt.
Understand the steamed vital-gluten recipe
#The recipe card uses the ingredient quantities and steaming schedule documented in Bob's Red Mill's Basic Seitan recipe. The guide adds the checks that help you understand what each stage is doing, so the quantities and cooking method stay together.
Mixing the dry ingredients first distributes the seasoning before the dough becomes elastic. Preparing the wet mixture separately does the same for the broth, oil and other liquid ingredients. Once they meet the gluten, working stray dry pockets into the mass becomes less convenient.
Expect a springy dough rather than a smooth cake batter. That resistance is part of working with gluten. Follow this recipe's mixing method instead of importing a long kneading routine from a different seitan preparation.
The wrapper helps maintain the loaf form during steaming. Keep the shape practical and reasonably even so you are not cooking a very thick middle with thin ends. Use material suitable for the cooking method and handle the hot parcel carefully when it comes out.
Steaming and simmering are different methods. In this recipe, the wrapped loaf sits above the water in a steamer, rather than moving freely inside a pot of broth. Submerging it changes the preparation; it is not an equivalent way to follow the same instructions.
Let the cooked loaf cool for the stated interval before slicing. Cutting immediately makes it harder to judge a settled texture and to keep the pieces neat. Cooling is part of the planned preparation, not time that should disappear when describing how quickly the recipe is ready.
What changes with the washed-flour route
#The Seitan Society's original tutorial begins with roughly three parts wheat flour to one part water, adjusted to bring the dough together. After an initial rest, the dough rests under cool water before washing. Its published process uses at least an hour for that soaking stage; do not adopt an extended warm-counter soak casually.
Wash by working the dough under water until the water becomes thick and cloudy, then drain through the colander and repeat. The cloudy liquid contains material leaving the dough; the increasingly elastic, connected mass is what you are trying to keep.
Watch the material as well as the water. Softer, fuller-looking starch portions and the stringier gluten mass behave differently. The tutorial explains that retaining more starch can produce a softer result, while washing more thoroughly tends toward a chewier one. Perfectly clear water is not an automatic target for every desired texture.
Drain and rest the remaining mass before trying to stretch or shape it. If it keeps breaking, forcing it into an elaborate shape is unlikely to improve control. Let the process settle and keep loose pieces together instead of treating every tear as a reason to wash harder.
That is the separation stage. A finished washed-flour seitan recipe still needs a coherent seasoning, shaping and cooking method. Use a method designed for the washed mass; do not add the entire liquid allowance from a vital-gluten recipe to dough that already holds water.
For your first comparison, make the steamed direct recipe on one occasion and learn a documented washed-flour preparation separately. Combining half of each method makes the result difficult to interpret. You will not know whether the change came from washing, hydration or cooking.
Why seitan becomes spongy, rubbery or bland
#The texture is airy or spongy
#First identify the cooking method. In a broth-simmered recipe, an aggressive boil is different from the barely moving liquid the method may require. The Vegan Society's documented simmered preparation emphasises gentle cooking; that guidance should not be converted into a rolling boil for speed.
For the wrapped steamed loaf, check whether you followed its ingredient balance, shaping and cooking sequence. Do not assume that adding more water or beating the dough heavily will improve it. Record the actual change before making another one.
Judge the texture after the planned cooling stage. A hot torn piece and a cooled slice are not the same comparison. If you change the recipe next time, change one factor so the result teaches you something.
The texture is too rubbery
#Ask what result the recipe was designed to make. A dense sliceable loaf, tender strips and a shredded preparation are different targets. “Chewy” can be desirable in one and excessive in another.
For washed flour, consider whether you removed more starch than the intended method required. For a direct recipe, check whether you substituted an ingredient, altered the liquid or added substantial kneading. Those are useful investigation points, not a universal explanation for every tough batch.
Avoid trying to solve toughness with a random large addition of oil, flour or broth. That creates a new formulation. Select a documented softer-style recipe if that is what you want rather than repeatedly modifying a loaf designed for another purpose.
The flavour is flat or too strong
#Separate the base from the finishing step. A plainly cooked piece can be intended to take seasoning in a later dish. A strongly seasoned loaf has a different role and may need less salty sauce around it.
Check the broth and soy sauce you used, especially before adding extra salt. Products vary. If you change both the broth concentration and seasoning, keep a note so you can understand the result later.
For washed flour, remember that material is being washed away. Do not add your carefully measured seasoning before the washing stage and expect it all to remain. Follow the chosen recipe's order.
Finish it for the meal you want
#Once the primary loaf is cooked and cooled as directed, slice or cut it to suit the dish. Thin pieces for a sandwich and larger chunks for a sauced meal serve different purposes. Keep pieces reasonably similar when you want them to heat or brown evenly.
The documented steamed loaf can be served after cooking or given a stovetop sear. Treat browning as a finishing step, not a replacement for the initial steaming. A browned surface does not show that raw gluten dough has been cooked properly throughout.
For an illustrative meal, pair a few slices with rice, vegetables and a sauce you already know how to make. Taste the cooked seitan before making that sauce very salty. This is a serving idea rather than an additional measured recipe or nutrition claim.
Do not expect every preparation to produce the same fibres or bite as a particular meat. Homemade seitan is useful on its own terms: a wheat-based ingredient whose texture and flavour depend on the method. A clear target is more helpful than promising that nobody will notice the difference.
Cool, store and reheat it safely
#Plan storage before the batch is ready. The primary recipe's cooling interval is not permission to leave a cooked loaf on the counter for the rest of the day. Divide leftovers into suitable shallow containers and refrigerate promptly.
General US food-safety guidance limits room-temperature exposure of perishable cooked food to two hours, or one hour above 32°C/90°F. Keep the refrigerator at 4°C/40°F or below. Apply a conservative cooked-leftover approach rather than assuming wheat-based food can stay out indefinitely.
USDA's general guidance is to use safely refrigerated leftovers within three to four days or freeze them. That is a conservative household storage approach, not a laboratory-tested shelf life for every seitan formulation. Follow stricter local guidance or product instructions where applicable.
Freeze portions you will not use in that window. Label them with the preparation date and keep the cooking or seasoning version identifiable. Thaw safely in the refrigerator rather than leaving a portion on the counter.
When reheating leftovers, heat them thoroughly; US guidance uses 74°C/165°F. Reheating does not undo unsafe storage or reset the clock. In particular, do not rely on repeatedly boiling stored seitan to keep it indefinitely, even if an older recipe suggests that approach.
Keep one useful note for the next batch
#Record the starting product, recipe, changes and the texture after cooling. For washed flour, add what the mass looked and felt like when you stopped washing. Those details are more useful than writing only “too chewy.”
If you liked the result, repeat it before changing several ingredients. If you did not, choose the specific difference you want: softer slices, a milder base or a shape better suited to the meal. Then find a documented adjustment or recipe that targets that outcome.
The first decision remains the most important: use concentrated gluten directly, or wash flour to separate the gluten yourself. Once that choice is clear, keep the quantities and cooking method together and let the finished food guide the next sensible change.