Buy a home projector only after checking three things: the room can be dark enough when you watch, the lens can sit at the right distance for your screen, and the complete setup fits your budget. A large advertised image size or a “4K supported” badge does not answer any of those questions.
Start with your room, then compare models. That order makes it much easier to spot a tempting projector that would be awkward to live with.
This projector buying guide is for first-time buyers planning films, television or occasional games at home. It explains how to build a shortlist from measurements and documented features. It does not claim hands-on testing or rank individual products.
Decide what an ordinary viewing session should look like
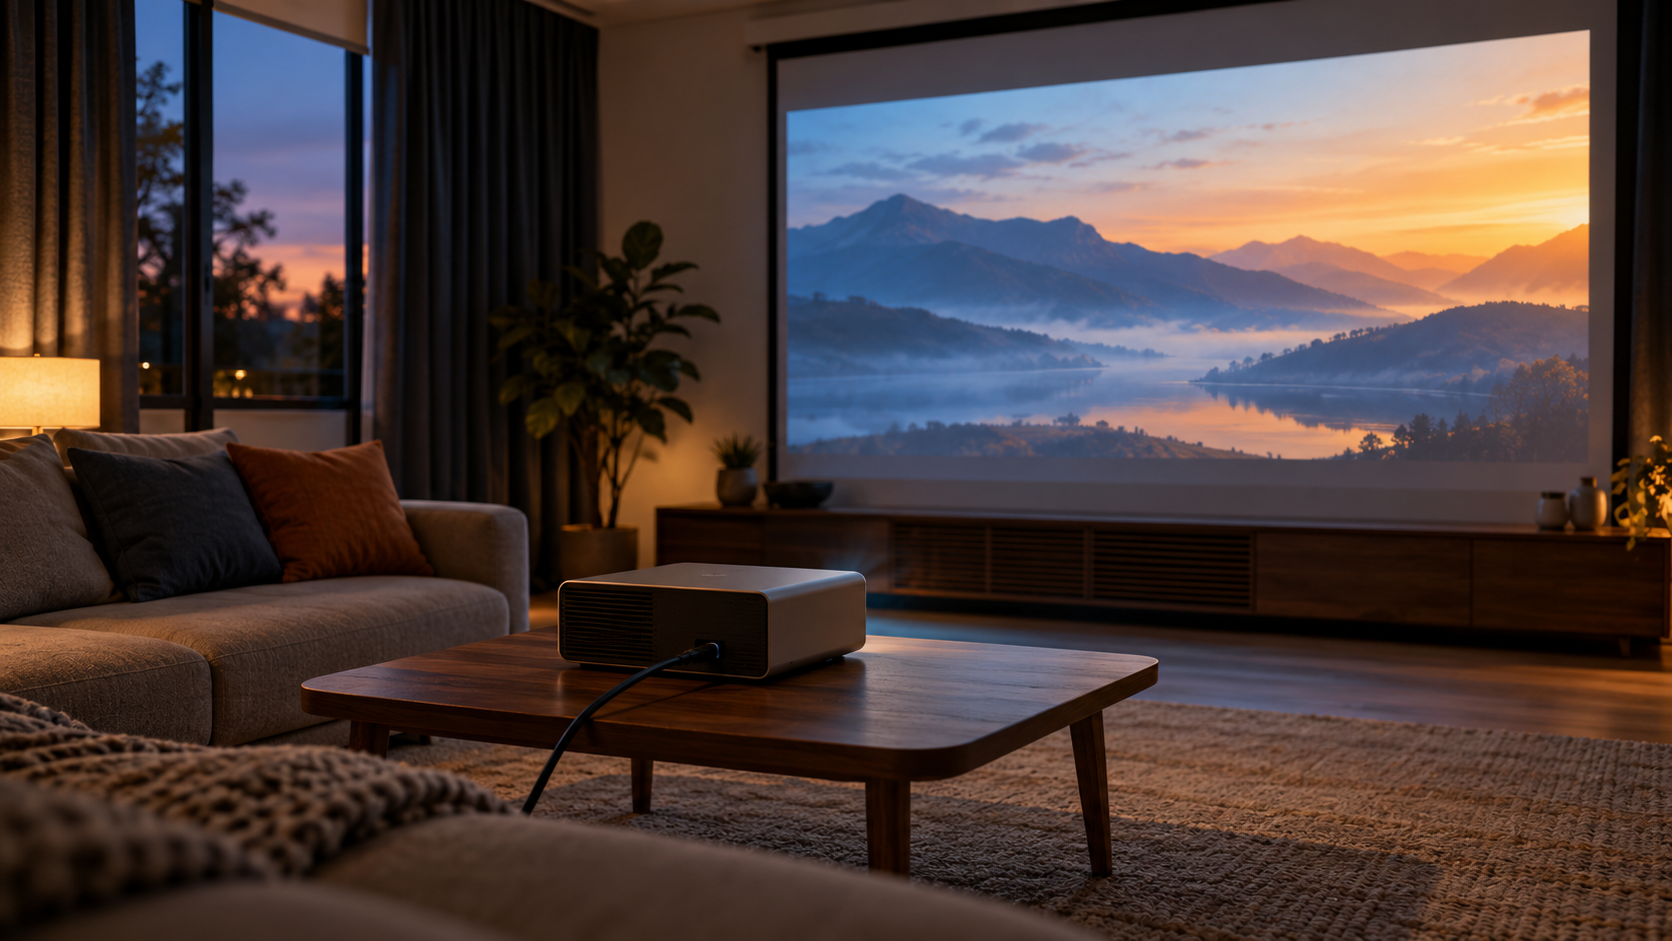
#Picture a normal evening. Will you close curtains and dim the lights for a film, or keep the room bright while people cook, talk and move around? Do you want a permanent screen, or something that disappears after the weekend?
Write down your actual routine. “Films after dark, projector stays on a shelf, two people on the sofa” is a useful buying brief. “Cinema quality, portable, huge screen, works anywhere” leaves too many conflicts unresolved.
A projector is worth exploring when a large picture and a deliberate viewing setup matter to you. If your household wants instant daytime viewing with no curtain adjustment or equipment setup, compare a television before committing. You may value that convenience more than the extra picture size.
Also count the things you will move each time. A projector that packs away may still leave you handling a screen, power supply, streaming device and speaker. Try laying out those positions with objects you already own. If the routine feels irritating before purchase, portability alone is unlikely to fix it.
Measure the picture you can actually accommodate
#Projector screen sizes are normally quoted diagonally. Throw-ratio calculations use image width. Mixing those measurements is an easy way to choose the wrong model.
For a 16:9 image, width is approximately 87.2% of the diagonal and height is approximately 49.0%. These are geometry calculations for the visible rectangle, excluding a screen's frame, housing or stand.
| Advertised diagonal | Approximate visible width | Approximate visible height |
|---|---|---|
| 80 inches | 1.77 m / 69.7 inches | 1.00 m / 39.2 inches |
| 100 inches | 2.21 m / 87.2 inches | 1.25 m / 49.0 inches |
| 120 inches | 2.66 m / 104.6 inches | 1.49 m / 58.8 inches |
Mark the proposed picture boundary with removable markers that will not damage the wall. Sit where you normally watch. Check whether the bottom of the picture clears furniture and whether subtitles would be comfortably visible.
Now check the screen's total physical dimensions. A 100-inch picture fitting between two shelves does not prove that a 100-inch framed screen will fit there. A floor-rising screen also needs room for its base; a pull-down model needs a suitable mounting position.
Do not choose the largest rectangle the wall can hold automatically. Leave space for speakers, doors and ordinary room use. Choose a smaller image if that makes the setup practical. A modest screen you use regularly is a better purchase than a dramatic one that requires moving furniture every time.
Use throw ratio to rule out incompatible projectors
#Throw ratio relates the distance from the projector lens to the screen to the image width:
Throw ratio = lens-to-screen distance ÷ image width.
The reverse calculation is equally useful:
Required lens distance = image width × throw ratio.
Here is a hypothetical room example. You want a 100-inch, 16:9 picture, approximately 2.21 m wide. The lens can sit 2.80 m from the screen. Your required ratio is approximately 2.80 ÷ 2.21 = 1.27.
A model with a documented optical throw range of 1.20–1.50 can accommodate that ratio in principle. A fixed-ratio model at 1.50 would need about 3.32 m for the same picture. It would not fit the planned lens position simply because its listing says “up to 200 inches.” These example ratios describe imaginary models, not product recommendations.
Measure from the lens position, rather than assuming the rear wall is the starting point. Allow room for the projector body, connectors and the ventilation clearance required by its manual. A deep shelf can reduce usable throw distance more than expected.
Before ordering, confirm the result in the exact model's manufacturer calculator or distance table. Check the chosen aspect ratio and supported image-size range. For an ultra-short-throw model, follow its installation diagram carefully: furniture depth, body position and screen height all matter. Do not transfer measurements from a different projector with a similar-looking case.
Understand what short throw changes
#Standard, short-throw and ultra-short-throw projectors offer different placement possibilities. The names are useful starting categories; the actual ratio and installation diagram make the decision.
| Placement approach | Potential advantage | Detail to check before buying |
|---|---|---|
| Standard throw | Can suit a rear shelf or ceiling position | Required lens distance, image height and cable route |
| Short throw | Places the projector nearer the screen | Exact distance, stable surface and whether people cross the light path |
| Ultra-short throw | Can sit on furniture close to the screen | Cabinet depth, screen height and compatible screen material |
A projector close to the screen does not make the furniture requirements disappear. Imagine opening a drawer beneath an ultra-short-throw unit or walking past its cabinet. Will ordinary use disturb the alignment?
For renters, decide whether the entire arrangement works without permanent mounting. For a shared living room, check where equipment will go when guests arrive. These are buying constraints worth resolving before comparing picture specifications.
Compare brightness claims on a clear basis
#Look for a stated measurement method, such as ANSI lumens or an ISO brightness specification. Treat an unexplained “lumens” figure cautiously, and do not assume a light-source or LED brightness claim is directly interchangeable with measured projector output.
Ask which picture mode the brightness figure describes. A useful comparison needs enough context to tell what is being measured. Epson also distinguishes white light output from colour light output; one headline number does not describe every aspect of the picture.
Keep a shortlist column for the brightness figure and its stated method. If a seller cannot explain the number, mark it as unknown instead of using it to declare a winner. Avoid homemade conversion factors between differently described ratings.
Next, consider brightness in your actual room. Ambient light and image size both affect the viewing result. Increasing picture size spreads the available light over a larger area. That is why a maximum supported diagonal should not be treated as a promise of an equally satisfying picture at every size.
A practical demonstration request is specific: “Show this model at roughly my planned screen size, in its normal film mode, with some room light.” A bright cartoon in a dark showroom tells you less about a dimly lit drama in your living room. If a comparable demonstration is unavailable, the return policy becomes more valuable.
Treat the screen as part of the system
#A plain wall may let you try projection without immediately buying a screen, but inspect its colour, texture and flatness first. Decide whether you are comfortable evaluating the projector on that surface or need a suitable screen to judge it fairly.
Do not order an ambient-light-rejecting screen just because “ALR” sounds like an upgrade. Screen materials are designed for particular projection arrangements. Confirm that the manufacturer explicitly supports your projector's throw type and intended placement. Ultra-short-throw compatibility deserves particular attention.
Ask the screen seller about viewing positions as well as projector position. A household watches from several seats, rather than the single ideal spot used in a product photograph.
For a pack-away setup, check how the screen is stored and how much effort its installation needs. For a permanent one, check the frame dimensions and mounting requirements before purchasing either component. Record the exact screen model beside the projector in your shortlist so you compare complete combinations.
Separate resolution from input compatibility
#“Accepts 4K” tells you something about the incoming signal. It does not establish the projector's displayed resolution. BenQ documents that a 1080p projector receiving a 4K signal must scale it to its 1080p grid.
Read the detailed specification for native resolution and, where applicable, the manufacturer's explanation of pixel shifting and displayed resolution. Keep those descriptions separate from supported input formats. If the listing gives only “4K compatible,” ask for clarification before paying a premium.
For general film viewing, compare what your budget buys across room fit, brightness, resolution and setup quality together. Do not sacrifice a usable installation just to obtain a larger resolution label.
If you also want to display documents, include small text in your evaluation. Watch familiar content, too: subtitles, faces and a dark scene are more revealing for your own priorities than a promotional montage. This is a proposed evaluation method, rather than a claim that any model has passed it.
Check alignment without relying on a feature name
#An angled projector can produce a trapezoid-shaped picture. Keystone correction reshapes the image digitally. Lens shift moves the image optically within the projector's specified adjustment range. Optical zoom changes image size through the lens; digital resizing is a different operation.
These features solve different placement problems. Check the manual's diagrams for the exact model, including image height relative to the lens and the limits of horizontal or vertical adjustment. “Auto keystone” does not confirm that an arbitrary side-table position will produce the result you want.
For a permanent installation, plan a position that needs little digital correction where practical. For occasional use, convenient automatic adjustment may matter more to you. Decide consciously, then evaluate the corrected image from your seat.
Gamers should also check whether correction affects latency or disables a low-lag mode. BenQ notes that keystone processing adds latency on specified models; that observation should not be turned into one universal number for every projector.
Verify the whole playback and sound path
#Write down the actual source you intend to use: a streaming stick, computer, console or the projector's own apps. Then confirm the relevant input, supported format and power arrangement.
Netflix says its built-in app requires a compatible projector arrangement from participating brands. For an unsupported projector, it describes connecting a Netflix-supported external device through HDMI or another appropriate video adapter. A generic “smart projector” label is not enough evidence that your preferred service will work as intended.
Ask about the exact projector model, country and app. Do not buy on the assumption that phone mirroring will play every subscription video. If an external streaming device is the plan, include its cost and power supply in the setup.
Sound needs its own decision. Check whether you will use the built-in speaker or an external system, and verify the necessary connection on both ends. An HDMI input does not by itself establish that the projector can send audio to your chosen soundbar.
During a demonstration or return period, test your actual source and speaker together. Include dialogue and remote volume control. A picture appearing successfully is only one part of a usable film night.
Compare total setup cost with the same assumptions
#Put every necessary component into the budget before deciding which projector is cheaper. Use local quotes, taxes and delivery charges rather than importing another country's advertised price.
Here is an illustrative comparison in arbitrary budget units. These are invented planning figures, not prices or savings claims.
| Necessary item | Setup A | Setup B |
|---|---|---|
| Projector | 400 | 560 |
| Suitable screen | 120 | 80 |
| Stand or mounting arrangement | 60 | 0, existing suitable shelf |
| Playback device | 50 | 0, existing compatible device |
| Cables and audio additions | 70 | 40 |
| Total upfront setup | 700 | 680 |
In this example, the cheaper projector leads to a more expensive complete setup. The lesson is the comparison method. Changing the room, owned equipment or local quotes can reverse the result.
Then ask about running and service costs. Check the actual light-source type, replacement parts, filter care and local support. A stated light-source lifespan is not the same thing as a warranty for the whole projector. Read the local warranty's coverage, exclusions and repair process separately.
Include your time, too. A setup that takes repeated alignment and cable changes may be poor value even if its purchase total is lower. Keep “works with equipment already owned” separate from “requires another purchase” so attractive bundle language does not hide missing parts.
Make the return period count
#Before paying, read who handles returns, the deadline, any condition requirements and possible charges. Save the model specification and order details. Consumer rights and seller terms vary by location; this guide does not promise a universal entitlement.
Once the projector arrives, evaluate it in the planned position while you still have time to act:
- Confirm image size and focus at the centre and edges.
- Use the curtains and room lights you expect to use normally.
- Watch your own source with subtitles and a dark scene.
- Listen for fan noise from the actual seating position.
- Check sound, remote controls and a complete gaming mode if relevant.
- Pack it away and set it up again if that is your intended routine.
Follow the model's ventilation and cleaning instructions. Epson's maintenance guidance, for example, explains why clear vents and model-appropriate filter care matter. Do not put a projector inside enclosed furniture unless its instructions support that installation.
Finish with a short decision note: the measured screen size, confirmed lens position, normal viewing conditions, playback source and full setup total. If one of those remains unknown, resolve it before keeping the purchase. The right projector is the one that fits the room and routine you actually have.