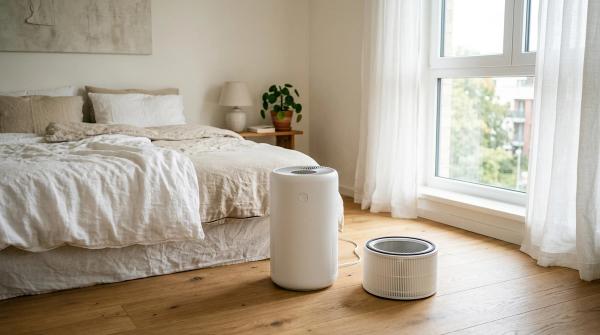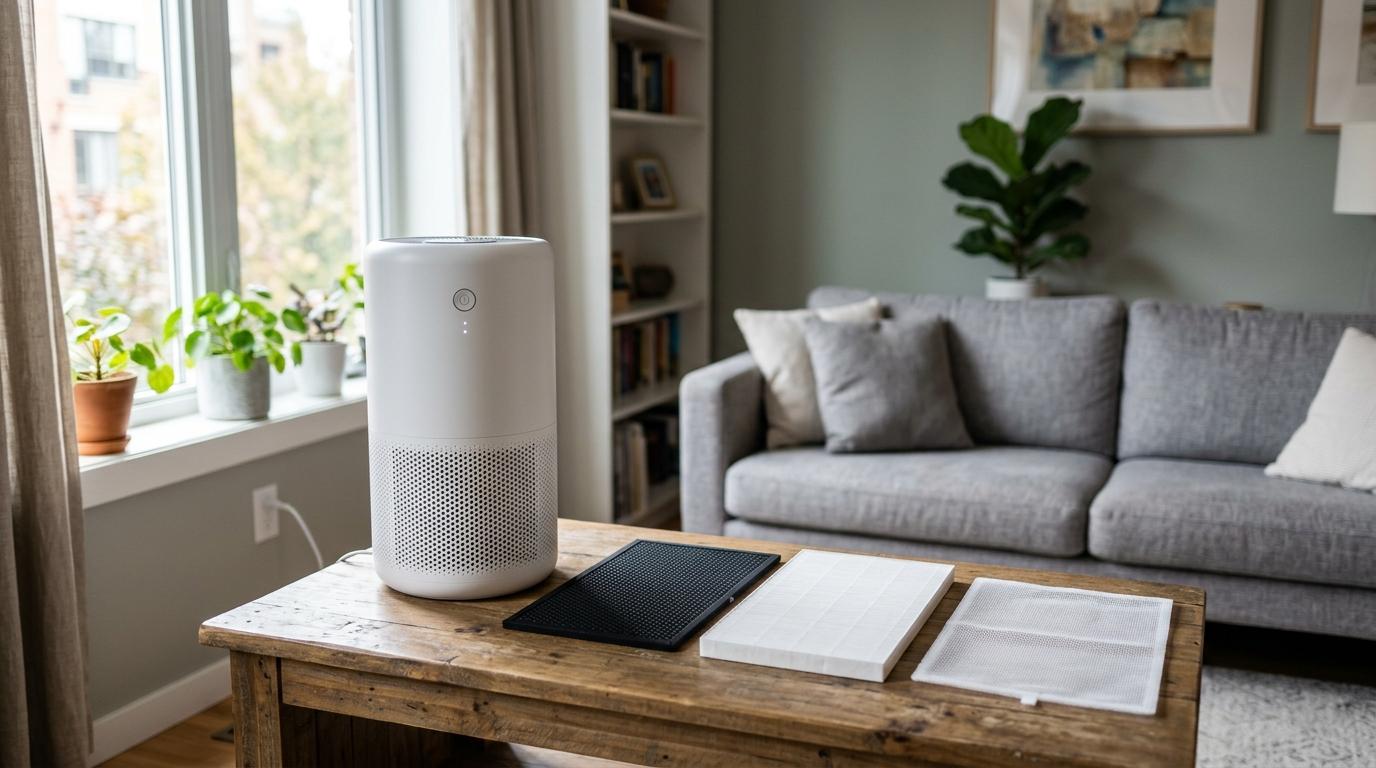
If you want the short version, here it is: clean the pre-filter when it looks dusty, replace the carbon filter when smells start coming back, and change the HEPA filter when airflow becomes weak or the purifier no longer cleans the room like it used to.
That sounds simple, but in real homes, filter replacement is rarely that neat.
A filter in a quiet bedroom may last much longer than the same filter in a street-facing apartment, a pet home, a kitchen-adjacent living room, or a flat in a high-AQI city during pollution season. That is why a good HEPA filter replacement checklist should not rely only on calendar dates.
Your air purifier manual still matters. It tells you what your specific model expects. But your home conditions matter too: dust, smoke, pets, humidity, room size, run hours, windows, cooking habits, and local AQI can all change how quickly filters get loaded.
A portable air cleaner works best when it is properly sized for the room, has enough CADR or clean air delivery, and is maintained well. Filter care is not a small extra task. It is part of how the purifier actually does its job.
This guide keeps things practical. No panic buying. No replacing expensive filters too early. Just clear signs for air purifier filter replacement, how pre-filter vs HEPA filter care differs, and a simple maintenance routine you can actually follow.
Why filter replacement matters
#An air purifier is basically a fan moving air through one or more filters.
When the filters are clean enough, air passes through properly. The purifier can pull in room air, trap particles and odours depending on the filter type, and push cleaner air back out.
But once the filters get clogged, the purifier may still make noise and look like it is working, while less air is actually moving through the filter. The result is familiar: the room takes longer to feel fresh, the fan may seem louder, and the air quality may not improve as quickly.
That is why air purifier maintenance matters almost as much as choosing the right purifier in the first place.
Instead of asking only, “How many months has it been?”, ask:
- Is the airflow weaker than before?
- Does the room still smell smoky, musty, oily, or stale?
- Is the pre-filter covered with visible dust or pet hair?
- Is the HEPA filter dark, packed, damp, or damaged?
- Is the filter light on?
- Does the purifier take longer than usual to lower the room AQI?
- Has there been extra dust, smoke, renovation work, pet shedding, or humidity recently?
These real-life signs are often more useful than a fixed replacement date.
HEPA, carbon, and pre-filter care comparison
#Most home air purifiers use more than one filter layer. Some layers are meant to be cleaned. Others are meant to be replaced. Knowing the difference can save money and prevent damage.
A simple way to remember it: the pre-filter catches the big stuff, the carbon filter helps with smells, and the HEPA filter handles fine particles.
Pre-filter vs HEPA filter: the difference people often miss
#The phrase pre-filter vs HEPA filter matters because many people treat both filters the same. They are not the same.
The pre-filter is the first barrier. It catches visible dust, lint, hair, and pet fur. In many purifiers, it is designed for regular cleaning. Keeping it clean helps protect the more expensive inner filters.
The HEPA filter sits deeper inside the purifier. It is made from dense filter media designed to trap fine airborne particles. It is not a simple dust screen that you can scrub, rinse, or beat clean.
Unless your purifier manual clearly says the HEPA filter is washable, do not wash it.
This is where a lot of people accidentally reduce performance. If you ignore the pre-filter, the HEPA filter clogs faster. If you wash a non-washable HEPA filter, the fine filter media may lose efficiency or become misshapen. If you keep using a saturated carbon filter, odours may return even though the purifier fan is still running.
Good maintenance starts with knowing which filter you are handling.
India-aware filter replacement notes: dust, AQI, monsoon, pets, smoke, and apartments
#Filter life changes with local conditions. This is especially true in many Indian homes, but the same logic applies anywhere with dust, smoke, humidity, pollution, or compact apartment layouts.
1. Dusty homes and road-facing apartments
#If your home gets dusty quickly, your pre-filter needs more attention.
Street-facing flats, construction nearby, open balconies, dry-season dust, and heavy traffic can all load a pre-filter faster than expected. Do not wait only for the filter indicator. Open the purifier and check.
If the pre-filter has a grey fuzzy layer, clean it. This one small habit can help your HEPA filter last longer.
2. High AQI days and seasonal pollution
#During bad outdoor AQI days, your purifier may run longer and at higher fan speeds. That means more air is passing through the filter, and more particulate matter is being captured.
If your purifier has an indoor air quality display, watch the pattern. If it used to bring the reading down steadily in a closed room but now struggles, the filters may be loaded.
But do not blame the HEPA filter immediately. Also check:
- Are doors or windows open?
- Is the purifier placed correctly?
- Is the room too large for the purifier’s CADR?
- Is the pre-filter clogged?
- Is the fan speed too low?
Sometimes the issue is filter life. Sometimes it is room setup.
3. Monsoon humidity
#Humidity can make filter problems more obvious.
During monsoon or damp weather, trapped dust, cooking residue, pet smells, or smoke particles can start smelling musty or sour. You may notice this near the carbon filter or pre-filter first.
If the purifier blows stale-smelling air, switch it off, unplug it, and inspect the filters.
Replace the carbon filter if it smells bad or seems damp or contaminated. And never put a washed pre-filter back until it is completely dry. Not “almost dry”. Completely dry.
4. Pets
#Pet homes load filters faster.
Dogs, cats, birds, and other shedding pets can fill the pre-filter with hair and dander quickly. If you see hair on the intake grille, that is your purifier telling you it is struggling to breathe.
In a pet home, inspect the pre-filter more often than the manual’s general schedule. A quick vacuum can make a noticeable difference.
5. Cooking smoke and household odours
#In many apartments, the kitchen, dining area, and living room are close together. Frying, tadka, grilling, incense, mosquito coils, candles, and smoke can all affect filter life.
The carbon filter usually shows the first signs here.
If cooking smells return quickly, or if the air coming out of the purifier smells oily, smoky, or stale, the carbon filter may be saturated. The HEPA filter may still be usable, depending on the model and condition.
6. Small apartments and purifier placement
#Small rooms can be easier for a purifier to clean, but they can also collect smells, dust, and humidity faster.
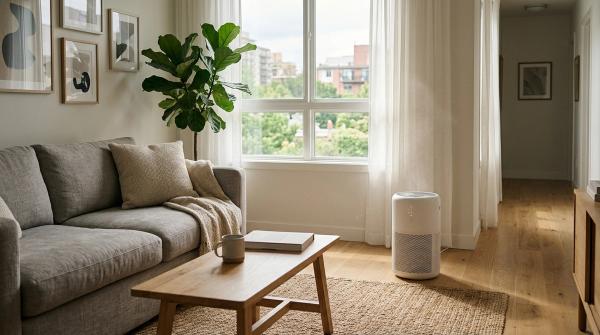
Do not tuck the purifier tightly into a corner, under a table, behind curtains, or against furniture. Air needs space to enter and leave the machine.
Check your manual for clearance guidance, because different models pull air from different sides.
Monthly air purifier maintenance checklist
#Use this checklist once a month. Check sooner if your home is dusty, smoky, humid, or has pets.
1. Turn off and unplug the purifier
#Always switch off and unplug the unit before opening it or cleaning anything.
2. Wipe the outside
#Use a dry or slightly damp cloth, depending on what your manual allows. Pay attention to the intake grille, because dust often collects there first.
Do not spray cleaner directly into the purifier.
3. Open the filter panel
#Remove the front, back, or side panel as your model requires. If something feels stuck, do not force it. Check the manual.
4. Clean the pre-filter
#If the pre-filter is dusty, vacuum it gently with a brush attachment.
If your manual says the pre-filter is washable, rinse it and let it dry fully before reinstalling. Damp filters can create smell and moisture problems inside the purifier.
5. Inspect the carbon filter
#Do not wash it.
Look for dust, dampness, damage, or unusual smell. If it smells like old smoke, cooking oil, pets, mustiness, or stale air, it may be time to replace it.
6. Inspect the HEPA filter
#Look at the pleats. Some greying is normal. Heavy dust caking, dark patches, crushed pleats, dampness, or damaged edges are warning signs.
Do not bang, scrub, wash, or aggressively vacuum a standard HEPA filter.
7. Check airflow
#After reinstalling clean and dry filters correctly, run the purifier on a higher fan speed for a few minutes.
Feel the clean air outlet. If airflow still feels weak compared with normal, the main filter may be clogged or incorrectly installed.
8. Reset the filter indicator only after checking the filter
#If your purifier has a filter reset button, use it only after cleaning or replacing the relevant filter.
Resetting the light without checking anything defeats the purpose.
Seasonal checklist: every few months or when conditions change
#A deeper check is useful before pollution season, before monsoon, after renovation, after smoke exposure, or after weeks of heavy cooking with windows closed.
Step 1: Review your manual
#Check the filter section. Some purifiers use separate HEPA and carbon filters. Others use one combined cartridge. Some have washable pre-filters, while others use replaceable pre-filters.
The right maintenance routine depends on your model.
Step 2: Check room fit
#A purifier that is too small for the room may look like it has a filter problem, when the real issue is CADR or room size.
Use the purifier in a room size it was designed for. If the room is too large, even a new filter may not give the results you expect.
Step 3: Inspect filters in daylight
#Good light makes it easier to spot dust loading, damaged pleats, damp patches, and dark areas.
Step 4: Smell-check the outlet air
#Run the purifier briefly. If the air coming out smells worse than the room, check the filters.
A sour, smoky, oily, or musty smell often points to the carbon filter, dirty pre-filter, or moisture.
Step 5: Check placement
#Make sure curtains, bedding, furniture, laundry, walls, or storage boxes are not blocking the intake or outlet.
This happens easily in apartments. You move the purifier once, and suddenly it is half-hidden behind a chair or curtain.
Step 6: Replace only what needs replacing
#If your purifier has separate filters, you may not need to replace everything at the same time. For example, the carbon filter may be finished because of cooking smoke, while the HEPA filter may still be okay.
If your model uses one combined cartridge, follow the manual.
When to change HEPA filter: clear signs
#If you are wondering when to change HEPA filter, look for these signs.
Change the HEPA filter when:
#- The filter indicator is on and your manual says replacement is due
- Airflow is still weak after cleaning the pre-filter
- The HEPA pleats are heavily packed with dust
- The filter is dark, damp, damaged, crushed, or misshapen
- The purifier takes much longer than usual to improve air quality in the same closed room
- The filter went through unusual loading, such as renovation dust, smoke exposure, heavy pollution weeks, or continuous high-speed use
Do not replace the HEPA filter only because:
#- It looks slightly grey
- A little dust is visible on the surface
- A generic online schedule says so
- A fixed number of months has passed, but the manual and filter condition suggest it is still fine
A little greying usually means the filter is doing its job. Heavy loading is different.
When to replace the carbon filter
#Carbon filters are harder to judge by sight because they deal mainly with odours and certain gases, not just visible dust.
Replace or inspect the carbon filter when:
- Cooking smells linger longer than they used to
- Smoke, incense, or mosquito coil smell returns quickly
- Pet odours are not reduced like before
- The filter itself smells sour, oily, smoky, damp, or stale
- It has been exposed to humid or damp conditions
- Your manual’s replacement interval has arrived
Do not wash a carbon filter unless your manual specifically says it can be washed. In most home air purifiers, carbon filters are replacement parts.
When to clean or replace the pre-filter
#The pre-filter is the easiest part to maintain, and it can make a big difference.
Clean the pre-filter when:
- You can see a dust layer
- Pet hair is stuck to the grille
- Airflow feels weaker
- The purifier is used near windows, balconies, carpets, bedding, or curtains
- Outdoor dust or construction has increased
Replace the pre-filter only if:
- It is torn
- It no longer fits properly
- It is permanently clogged
- Your manual says it is a replaceable part
A clean pre-filter can help delay unnecessary HEPA filter replacement. It is one of the simplest ways to save money without hurting performance.
Common mistakes that shorten filter life
#Try to avoid these habits:
- Running the purifier with doors and windows open during heavy outdoor pollution
- Forgetting to clean the pre-filter
- Washing a non-washable HEPA filter
- Reinstalling damp filters
- Placing the purifier against a wall, curtain, or furniture
- Using the purifier in a room larger than it is designed for
- Ignoring cooking smoke, incense, pet hair, or dust buildup
- Resetting the filter light without checking the filter
One mistake may not ruin anything immediately, but over time these habits reduce performance and shorten filter life.
A simple replacement decision flow
#Use this quick decision path when you are unsure.
- Is the filter light on?Check the manual and inspect the filter. Do not replace blindly.
- Is airflow weak?Clean the pre-filter first. If airflow is still weak, inspect the HEPA filter.
- Does the purifier smell bad?Check the carbon filter and pre-filter. Replace the carbon filter if it smells saturated.
- Is the HEPA filter visibly loaded, damp, or damaged?Replace it.
- Is the room still not improving?Check room size, purifier placement, open windows, fan speed, and filter condition together.
That is the heart of a good HEPA filter replacement checklist: inspect first, clean what can be cleaned, replace what is spent, and follow your model’s manual.
Final takeaway
#A good air purifier filter replacement routine is not about replacing every filter as early as possible. It is about paying attention to how your purifier behaves.
Clean the pre-filter when dust builds up. Replace the carbon filter when odours return. Replace the HEPA filter when airflow drops, the filter is heavily loaded, or the purifier no longer performs normally in the same room.
For Indian homes and other high-dust, high-humidity, high-AQI environments, check filters more often than a generic schedule suggests. For quieter and cleaner rooms, do not replace too early unless the manual or filter condition says it is time.
That balance keeps your air purifier useful, your indoor air quality care practical, and your filter spending under control.