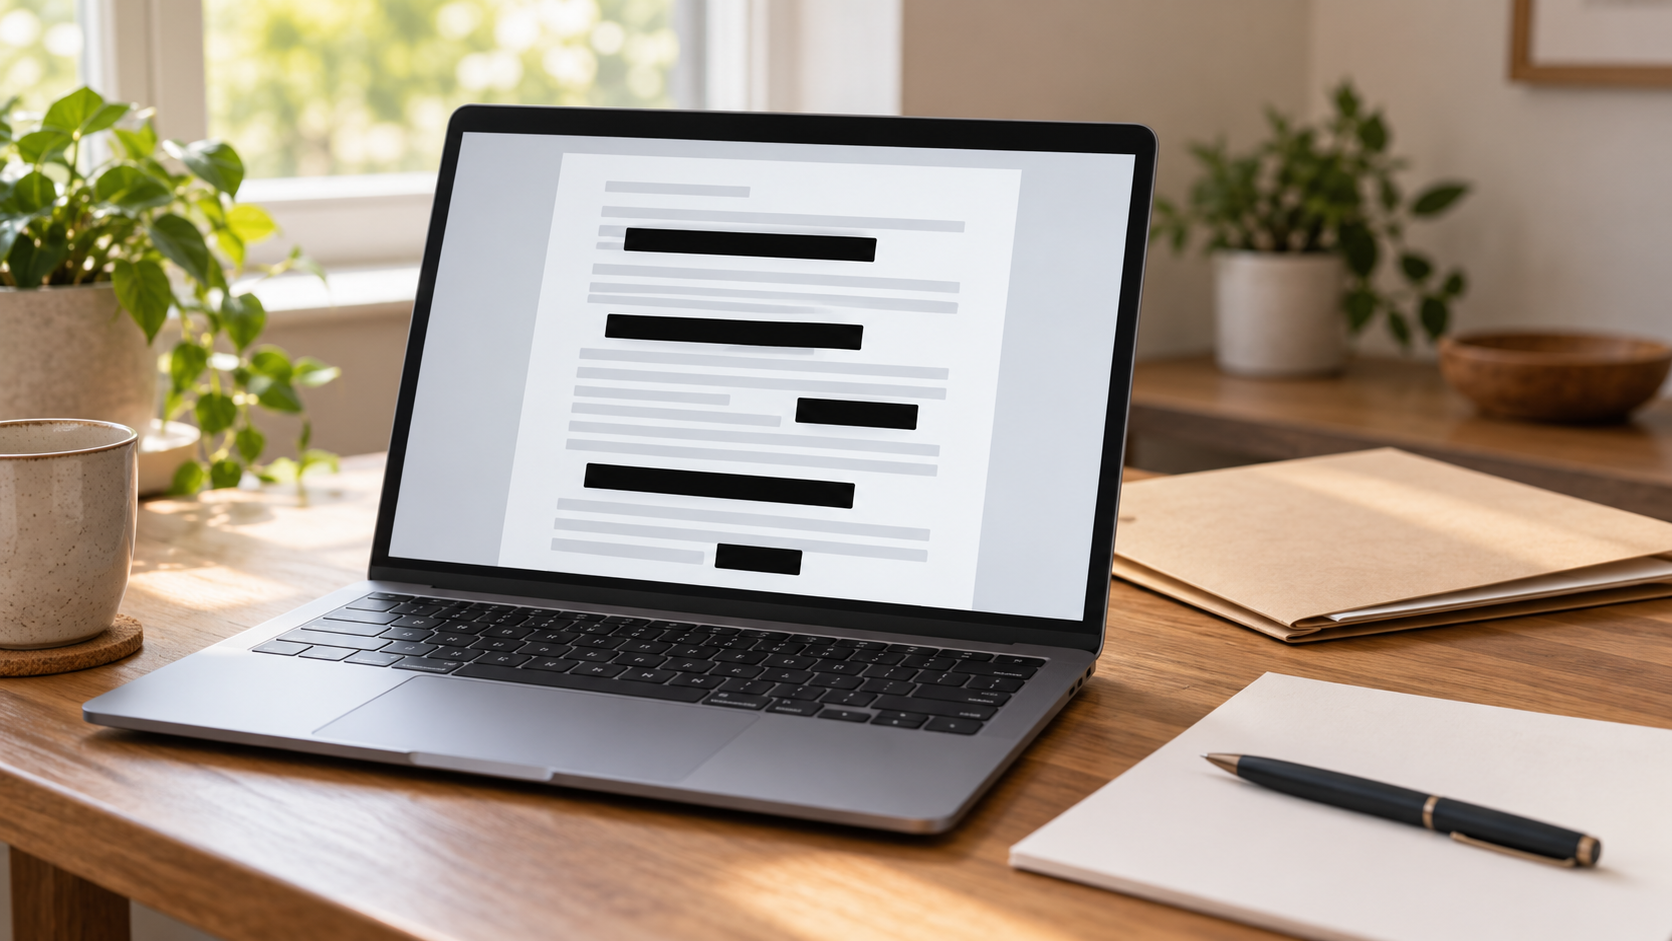
To redact a PDF safely, use a tool that removes the selected text or image, apply the redaction, remove unnecessary hidden information, and save a separate copy. Then close and reopen that exact file before sending it. A black rectangle drawn over a sentence can leave the sentence inside the PDF.
That difference matters when you send a statement, application, invoice, school form or complaint attachment. The recipient should get the information they need, without receiving the private details you meant to hide.
The useful question is simple: did you remove the information from the outgoing file, or only change how the page looks? This guide explains how to make that distinction, choose a suitable workflow and check the result. It covers everyday document sharing, rather than rules for court filings or regulated disclosures.
Why a black box can leave your information behind
#A PDF can hold more than the page you see. Text, pictures and drawing objects can be separate parts of the file. Putting a filled rectangle over text may add a new object while leaving the original words underneath. Depending on the file and viewer, those words may still be searchable or available when copied.
Changing text to white creates a similar problem. The letters can remain in the document even though they blend into the background. A highlighted or blurred area is also a visual treatment, not proof that the source content has been removed.
Cropping needs care too. Adobe's documentation explains that its PDF cropping controls change the visible page area without discarding the hidden information. Cutting an address off the edge of the page is therefore different from permanently removing it.
These are reasons to use a dedicated redaction function. The colour of the finished box tells you very little. An ordinary drawing tool and a real redaction tool can produce pages that look almost identical.
| Action | What it does | What still needs checking |
|---|---|---|
| Draw a rectangle | Covers part of the page visually | Whether text or images remain underneath |
| Crop the PDF page | Changes the area displayed | Whether the hidden page content remains |
| Apply a genuine redaction | Removes the selected content through the redaction workflow | Missed occurrences and other private information |
| Sanitize the document | Removes supported categories of hidden information | The tool's scope and the final file |
| Restrict sharing | Controls who can open a shared copy | The contents available to an authorised recipient |
Decide what the recipient actually needs
#Before opening an editor, confirm why you are sending the document and which details must remain. Removing too little exposes information; removing too much can make the document unusable.
For example, a support team may need an order number and transaction date to investigate a purchase, while unrelated purchases and another household member's details serve no purpose. A public discussion of the same issue may need neither your name nor the order number. Those are different versions for different audiences.
Ask the recipient about acceptable redactions when a document is being used as evidence or for identity checks. Do not assume an edited statement will be accepted. The receiving organisation may offer a dedicated confirmation document or secure upload process that avoids sharing a full record.
Make a short removal list before you begin. Include repeated names, contact details, account identifiers and unnecessary information about other people. Check headers, footers and additional pages, not just the first obvious field. A reference number can appear in a heading and again in a payment table.
Keep the original in a private location and work on a duplicate. Use filenames that clearly distinguish the original, working copy and final sharing copy. A descriptive name is helpful; putting your full identity number into the filename defeats part of the cleanup.
Choose a workflow that fits the file
#The right tool depends on whether you need to remove selectable text, part of an image, hidden information or several of these together. Look for documentation that explicitly describes permanent removal. A menu offering annotation, drawing or highlighting alone does not establish that capability.
For sensitive files, consider where processing happens. Check whether your chosen operation uploads the document, stores it in an account or creates a shared workspace. A browser tool should not receive an unredacted personal document merely because its preview looks convenient. At work, use an approved workflow rather than moving records into a personal service.
Adobe Acrobat Pro: mark, apply and sanitize
#Adobe's current desktop instructions use All tools > Redact a PDF, followed by Redact text and images. Select the content to remove, then choose Apply. In the confirmation workflow, enable the option to sanitize and remove hidden information, continue, and save the resulting document separately.
The distinction between marking and applying is essential. A selection waiting for approval is part of the editing process. Finish the removal and saving steps before treating the file as ready to send.
For a long document, use the supported search-and-redact function to find repeated words or phrases. Review the matches rather than selecting them blindly. A surname might appear in several contexts, while an account identifier may use spaces in one place and no spaces elsewhere. Search reduces manual work; it does not replace a page-by-page review.
Apple Preview: use Redaction Selection for text
#On a Mac, Preview's Markup toolbar includes Redaction Selection. Apple describes this as a tool for removing text and says the redaction becomes permanent once you close the document. Work on a duplicate, make the selections, save, close and reopen the outgoing copy.
Choose that specific tool rather than the ordinary Shapes or Draw controls. Also check the table of contents: Apple explicitly notes that entries linking to redacted text are not removed. A name hidden on a page could still appear in an entry describing that page.
This text-redaction feature should not be treated as a promise to sanitize every kind of hidden PDF content. If you need to remove an image area, attachments or other hidden information, use a workflow whose documentation covers those needs. Button names and available controls can vary by software version.
Scanned PDFs need a different kind of attention
#A scanned page may be a picture of words. Some PDFs also contain a searchable text layer created by optical character recognition, usually called OCR. That means the document can contain both the visual scan and machine-readable text associated with it.
Adobe explains that OCR can create selectable, searchable text from scanned pages. The practical consequence is that you should check both the visible information and any searchable content when preparing a scan for sharing.
If a person's details are printed inside a scanned image, use a documented redaction workflow that can remove the relevant image area. Do not assume a text-only selection tool has handled the picture. Equally, a visually covered picture does not establish that an existing text layer has been cleaned.
Try searching for a visible, harmless word elsewhere in the scan. If that does not work, a failed search for the private detail tells you little. Search may be unavailable, or recognition may be inaccurate. Inspect every page visually as well, including handwriting, stamps, signatures and small print.
If the file's structure is unclear and the information is highly sensitive, get help from someone who handles document redaction. Guessing at several export options is a poor substitute for understanding what the final file contains.
Remove hidden information as a separate task
#Visible redaction and hidden-data cleanup solve related problems. You may remove an address from the page while leaving the same address in a comment, attachment or document property.
Inspect the categories your tool supports. These can include author and title metadata, comments, embedded files, hidden layers and other content. Adobe provides sanitization and hidden-information removal functions for this purpose. Their presence is a reason to use the actual cleanup workflow, rather than assume a new filename has cleaned the document.
Also look for information that remains openly visible in less obvious places: bookmarks, a table of contents, form fields, footnotes and repeated labels. Removing the largest occurrence does not remove all the smaller ones.
Review what cleanup will change before confirming it. An attachment might be unnecessary private material, or it might be something the recipient needs. The aim is a useful, limited sharing copy. Keep the private original available so that you can resolve a mistake without trying to undo permanent redaction.
For work records, follow your organisation's disclosure and retention process. General file-handling advice cannot decide which information you are allowed or required to release.
Check the exact PDF you plan to send
#Do the checks on the saved output, not on the open editing session. Close the document, reopen it from its final folder, and confirm the filename and page count. If practical, inspect it in another trusted local PDF viewer too. Do not upload it to an unfamiliar service just to get a second preview.
Read every page at a useful size
#Inspect each removal area, including its edges. Look for a digit left outside a box, a second line of an address, a small duplicate in a footer or an unnecessary page. Then read the remaining content for meaning. Can the recipient still understand what the document is supposed to show?
Search for details you intended to remove
#Search for distinctive names, number fragments and phrases from your removal list. Where relevant, try a formatted version and a version without spaces. If an unwanted detail still appears, stop and repair the sharing copy.
An unsuccessful search is only one check. It does not prove that private information is absent from images, poorly recognised text or parts of the file that the search function does not inspect.
Check copied text and document panels
#Where copying is available, select text around a redaction and paste it into a temporary local plain-text document. Check for private words that are no longer visible on the page. Keep that temporary text private and remove it when it is no longer needed.
Inspect the comments, attachments, properties and bookmarks using the controls available in your viewer. If the document requires a higher level of assurance than those controls provide, use a specialist review process. Passing a few manual checks is useful, but it is not a forensic guarantee.
Check the attachment after you choose it
#The last mistake can happen outside the editor. Open the attachment selected in your message or upload form and confirm it is the reviewed sharing copy. Keep the unredacted original out of the outgoing folder. Clear naming and a separate final folder make this easier when several near-identical files exist.
A worked example: sharing proof of a purchase
#Imagine a repair service asks for proof that you bought an appliance. This is an illustrative scenario; the service's actual requirements must come first.
Start by confirming whether it accepts a redacted receipt and which fields it needs. Perhaps the purchase date, product description, seller and transaction reference are necessary, while an unrelated delivery address and other purchases are not. Do not remove fields simply because they look private if the recipient needs them to verify the claim; ask about a safer alternative.
Duplicate the receipt, mark the unnecessary details using a genuine redaction tool, apply the changes and run the appropriate hidden-data cleanup. Save the result as a clearly named sharing copy.
Now reopen it. Check that the product and date remain readable, search for the removed address, inspect repeated details on later pages, and review the available comments and properties panels. Finally, attach that specific output through the service's verified channel.
This separates three decisions that are easy to confuse: what the recipient needs, what the file contains and which copy actually leaves your device.
What if you do not have a suitable redaction tool?
#First ask for a simpler document or a narrower way to supply the information. A confirmation letter, a few required fields or an approved secure upload may avoid a difficult editing job.
For some situations, a carefully controlled image-based workflow is an alternative. The UK's Information Commissioner's Office describes converting redacted material to a simple image format and back to a document as a possible technique. This is more specific than clicking Print to PDF: the intermediate output must actually be simple page images, and the final document must be built from the reviewed images.
That route has costs. Image-only pages can lose searchable text and create barriers for people who use screen readers. Later OCR or other processing also changes the file you checked, so review the final output again. For complex or important records, use a supported redaction and accessibility workflow rather than improvising a conversion chain.
Share the checked copy, then limit access
#Redaction limits the information in the file. Sharing controls limit its audience. Use both where appropriate: send the reviewed copy to the intended person, avoid exposing its containing folder, and remove temporary access when the task is finished.
If you are using a cloud link, the cloud file sharing privacy guide covers audience and permission choices. Those settings cannot repair information left inside an attachment, and removing a link cannot retrieve copies someone already downloaded.
If you already sent the wrong version, restrict any shared access promptly, contact the recipient and explain which replacement to use. For workplace information, tell the responsible privacy or security contact so the exposure can be assessed. Do not assume a recalled message or replacement file erased the earlier copy.
Before your next send, pause at the final attachment: the right content removed, hidden information checked, useful content preserved, and the exact outgoing file reopened. That is a practical habit you can repeat for every sensitive PDF.