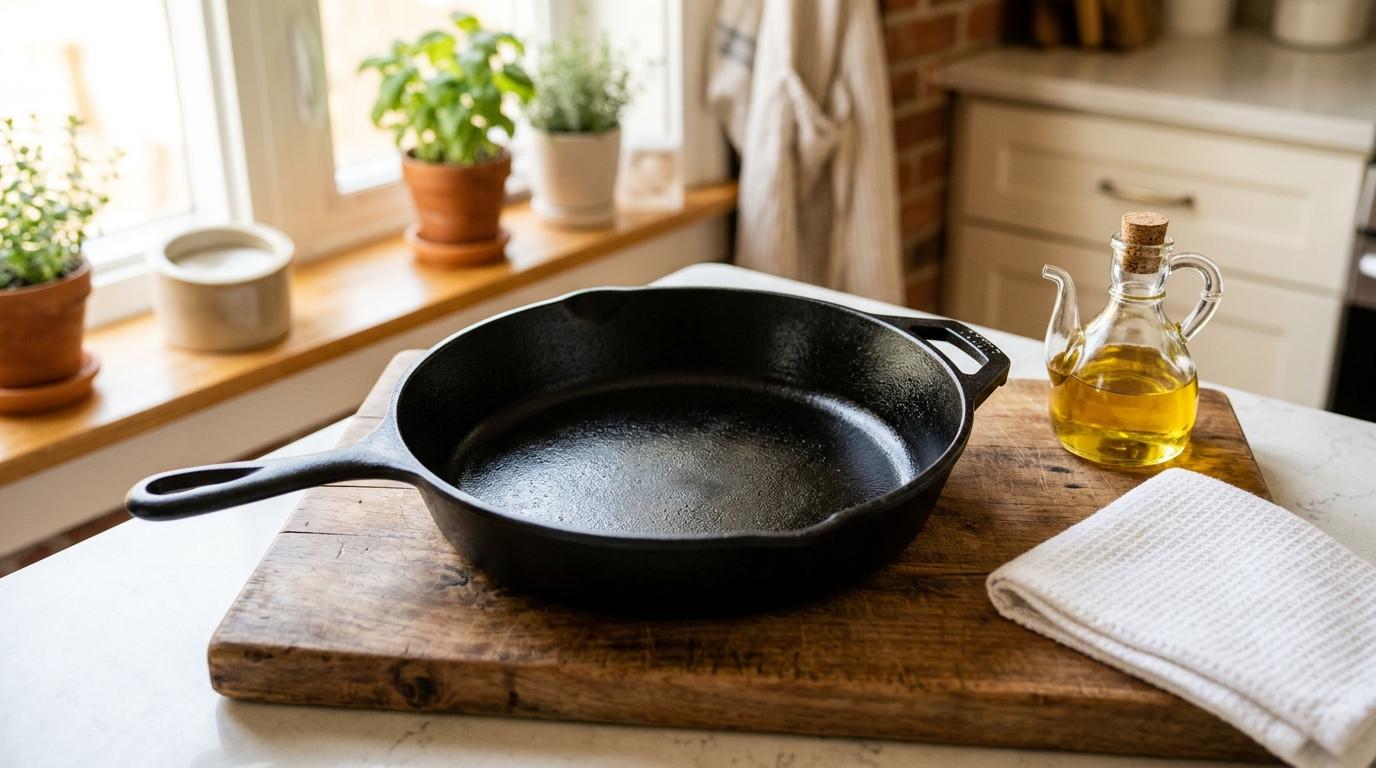
A cast iron skillet can outlast every other pan in your kitchen, but only if you understand the one thing that keeps it working: seasoning. Whether you just bought your first Lodge or inherited a rusty pan from a grandparent, the process is simple once you know what actually matters and what you can safely ignore.
This guide covers how to season a new skillet, which oil to use, how to clean it after cooking, and how to fix the two most common problems — sticky residue and rust.
What Seasoning Actually Is
#Seasoning is not a spice or a coating you apply once and forget. It is a thin layer of oil that has been heated past its smoke point until the fat molecules break apart and bond to the iron surface. This chemical process is called polymerization, and the result is a hard, smooth, naturally non-stick finish.
Every time you cook with oil in a well-maintained cast iron skillet, you add another microscopic layer of seasoning. Over months of regular use, the pan builds a dark, slick surface that releases food easily and resists rust.
A poorly seasoned pan, on the other hand, sticks, rusts, and frustrates you into reaching for the nonstick pan instead. The good news is that even a badly neglected skillet can be rescued.
How to Season a Cast Iron Skillet for the First Time
#Most modern cast iron skillets come pre-seasoned from the factory, but the factory layer is thin. Adding your own round of seasoning before the first cook gives you a better starting surface.
If your skillet is brand new and pre-seasoned, start at step 2. If it is raw, unseasoned metal (grey and rough), or if you have stripped an old pan down to bare iron, start at step 1.
Step 1: Wash the bare pan. Use warm water, a drop of dish soap, and a sponge to remove any factory residue or dust. Rinse thoroughly.
Step 2: Dry it completely. Towel-dry the skillet, then place it on a burner over low heat for two minutes. You need every trace of moisture gone. Water left behind creates rust spots before you even start.
Step 3: Apply a very thin layer of oil. Pour about half a teaspoon of oil onto a paper towel or lint-free cloth. Rub it over the entire skillet — inside cooking surface, outside walls, bottom, and handle. Cover everything.
Step 4: Wipe it all off. This is the step most people skip or underdo. Take a clean, dry paper towel and wipe the pan as if you are trying to remove every drop of oil you just applied. The skillet should look almost dry, with only the faintest sheen. If you can see oil pooling or dripping, you have too much. Excess oil does not polymerize properly and leaves a sticky, gummy residue.
Step 5: Bake upside down. Place the skillet upside down on the middle rack of an oven preheated to 230 °C (450 °F). Put a sheet of aluminium foil or a baking tray on the rack below to catch any drips. Bake for one hour.
Step 6: Cool in the oven. Turn the oven off and leave the skillet inside until it reaches room temperature. Opening the door or pulling it out early can cause uneven cooling.
Step 7: Repeat if you want a stronger base. One round gives you a functional seasoning. Two or three rounds build a noticeably more durable surface. Each round takes about 90 minutes including cooling, so you can do two or three in an afternoon.
Which Oil to Use for Seasoning
#The oil you choose matters because different fats polymerize differently. Here is what works, what does not, and why.
Vegetable shortening (Crisco) — the most reliable option for beginners. Because it is solid at room temperature, it is almost impossible to accidentally apply too much. It has a high smoke point (around 250 °C / 490 °F), produces a neutral finish, and has been the go-to seasoning fat for generations. If you are stripping and re-seasoning a pan from scratch, shortening is the most forgiving choice.
Canola oil — a strong everyday alternative. It is inexpensive, widely available, and builds a stable, durable layer of seasoning. Lodge, the largest cast iron manufacturer, lists vegetable and canola oil among their recommended options. Its smoke point (around 205–220 °C / 400–425 °F) is comfortably below the 230 °C oven seasoning temperature, which is exactly what you want. The oil needs to exceed its smoke point to polymerize.
Grapeseed oil — a clean, modern choice. It has a high smoke point (around 215 °C / 420 °F), a neutral flavour, and produces an even, attractive finish. It costs more than canola but works well if you prefer it.
Flaxseed oil — looks great initially but tends to fail. Flaxseed oil is a drying oil with very high polyunsaturated fat content, so it creates a dramatic dark finish quickly. The problem is that the resulting layer is hard but brittle. Over time, flaxseed seasoning frequently chips and flakes off in small pieces. Many experienced cast iron users have moved away from it after dealing with exactly this problem.
Olive oil and butter — avoid for seasoning. Extra virgin olive oil has a relatively low smoke point and leaves a sticky residue at seasoning temperatures. Butter contains milk solids that burn rather than polymerize. Both are fine for cooking in a well-seasoned pan, but they are not good choices for the seasoning layer itself.
| Oil | Smoke Point | Seasoning Durability | Best For |
|---|---|---|---|
| Vegetable shortening | ~250 °C / 490 °F | Excellent | First-time seasoning, re-seasoning |
| Canola oil | ~205–220 °C / 400–425 °F | Very good | Everyday maintenance seasoning |
| Grapeseed oil | ~215 °C / 420 °F | Very good | Even finish, neutral flavour |
| Flaxseed oil | ~107 °C / 225 °F | Poor (flakes) | Not recommended |
| Olive oil (extra virgin) | ~160–190 °C / 320–375 °F | Poor (sticky) | Not recommended for seasoning |
How to Clean Cast Iron After Cooking
#Daily cleaning is simpler than most guides make it sound. You do not need special tools or elaborate rituals.
While the pan is still warm (not scorching hot, just warm enough that water sizzles lightly when it hits the surface):
- Run it under warm water.
- Use a stiff nylon brush, a non-scratch sponge, or a chainmail scrubber to remove food residue.
- For stuck-on bits, add a splash of water to the warm pan and let it simmer for a minute. The steam loosens most residue, and you can scrape gently with a wooden spatula.
Dry the pan immediately. Towel-dry it, then place it on a burner over low heat for one to two minutes until every trace of moisture is gone. This single habit prevents almost all rust problems.
Apply a thin maintenance coat of oil. While the pan is still warm from the burner, put a few drops of canola or vegetable oil on a paper towel and wipe the entire cooking surface. Buff away any excess. The surface should feel smooth and dry, not oily. This maintenance coat builds up the seasoning gradually over time.
Yes, You Can Use Soap
#The idea that soap destroys cast iron seasoning is one of the most persistent kitchen myths. It made sense a century ago, when household soap contained lye — a harsh alkaline chemical that genuinely strips oil from metal surfaces.
Modern dish soap is a mild detergent, not a lye-based soap. It is designed to cut through loose grease, not break molecular bonds. Properly polymerized seasoning is chemically bonded to the iron. A squirt of dish soap and a sponge will not remove it.
Both Lodge and Field Company, two of the most established cast iron manufacturers, explicitly say that mild dish soap is safe for their pans. Use it when you need it and skip it when warm water alone does the job.
How to Fix Sticky or Gummy Seasoning
#If your skillet feels tacky, leaves a brownish-black residue on paper towels, or has visible uneven patches, the seasoning did not polymerize completely. This almost always happens because too much oil was applied during seasoning.
For mild stickiness:
- Scrub the pan with hot water, a small amount of dish soap, and a stiff brush or chainmail scrubber. You want to remove the soft, unpolymerized layer.
- Dry the pan completely on the stovetop.
- Re-season with a properly thin layer of oil: apply it, then wipe it off until the pan looks almost bare.
- Bake at 230 °C (450 °F) for one hour and cool in the oven.
For widespread stickiness or thick gummy buildup:
If scrubbing alone does not help, you may need to strip the seasoning and start fresh. Place the skillet in your oven and run a self-cleaning cycle (if your oven has one), or scrub with a paste of coarse salt and oil, then wash with soap and water. Once you are down to bare iron, follow the full first-time seasoning process from the beginning.
The key lesson: less oil is better. A barely visible film polymerizes into a hard, smooth layer. A thick application stays soft and sticky.
How to Remove Rust and Rescue an Old Pan
#Cast iron rusts when moisture sits on exposed iron. Light surface rust is cosmetic and easy to fix. Even heavy rust rarely means the pan is ruined.
For light rust spots:
- Make a paste with equal parts coarse salt and a small amount of oil or water.
- Scrub the rusty areas with the paste using a paper towel or sponge. The salt acts as a gentle abrasive.
- Wash with warm water and dish soap. Dry immediately on the stovetop.
- Re-season the pan with one round of oven seasoning.
For heavy, widespread rust:
- Submerge the skillet in a 50/50 mix of white vinegar and water.
- Soak for 30 minutes to one hour maximum. Do not leave it longer — vinegar is acidic enough to pit the raw iron if left overnight.
- Scrub the loosened rust with steel wool or a stiff brush until you see grey bare metal.
- Wash thoroughly with dish soap and warm water.
- Dry immediately on the stovetop over low heat until the pan is completely moisture-free.
- Season the entire pan from scratch using the first-time seasoning process described above. Apply two to three thin rounds for a durable new base.
The pan will not look like a glossy black antique after one session. That deep patina builds through weeks of regular cooking. But functionally, it will be non-stick and rust-resistant after the initial seasoning rounds.
When to Re-Season Your Skillet
#A well-used skillet that gets its daily maintenance oil coat rarely needs a full oven re-seasoning. But there are clear signs that it is time:
- Grey patches where the dark coating has worn through to bare iron.
- Food sticks consistently even with adequate oil and proper preheating.
- Rust keeps appearing despite proper drying.
- After an aggressive cleaning that may have stripped some seasoning — for example, scrubbing with steel wool to remove burnt food.
When you notice any of these, one or two rounds of oven seasoning restores the surface. You do not need to strip the entire pan unless the old seasoning is flaking or severely uneven.
What Genuinely Damages Cast Iron
#Understanding the real threats helps you stop worrying about the wrong things.
Water left standing on the surface. This is the primary cause of rust. Never soak cast iron in the sink, never put it in a dishwasher, and never leave it wet after washing. The stovetop drying step after every wash eliminates this risk.
Thermal shock. Running cold water over a screaming-hot skillet can crack the iron. Let the pan cool enough to handle before washing, or at least use warm water rather than cold.
Prolonged cooking with highly acidic foods. Tomato sauces, wine reductions, and citrus-heavy dishes can erode the seasoning if cooked for a long time, especially in a pan with young or thin seasoning. A quick deglaze with wine is fine. Simmering marinara for an hour in a newly seasoned pan is not. Once your seasoning is well-established (after a few months of regular cooking), it handles acidic foods much better.
The dishwasher. The combination of harsh detergent, sustained heat, and prolonged moisture exposure strips seasoning and promotes rust. Hand-wash always.
Storing the pan wet or in a humid environment. If you stack pans, place a paper towel or cloth between them to protect the surface and absorb any ambient moisture.