Trying to figure out how to train a dog to wear boots without turning your living room into a wrestling ring?
Start with the basics: get the dog boot fit right, introduce the dog boots slowly, and keep the whole thing calm. Let your dog sniff the boots. Reward them for being curious. Touch a boot to one paw. Reward again. Slip it on for just a few seconds. Then, over a few days, build up to all four paws.
That is the heart of it.
Small steps. Good treats. No drama.
Dog boots can be genuinely useful for paw protection, especially for city and apartment dogs. One short walk can include hot pavement, wet building entrances, slippery tiles, muddy lanes, broken footpaths, rough concrete, and puddles from monsoon dog walks. In many Indian cities, your dog’s paws go through a lot before you have even reached the main road.
But boots are not magic. And most dogs do not automatically understand why their feet have suddenly been covered.
The first time you put boots on your dog, they may freeze, high-step, shake their paws, chew at the straps, or stare at you as if you have betrayed them deeply. That does not mean your dog is being stubborn. Most of the time, it means the feeling is strange, the fit is uncomfortable, or the training moved too quickly.
This guide walks you through dog boot fit, safety checks, a gentle introduction process, and a simple 7-day step-by-step boot training checklist you can follow at home.
Why Dog Boots Can Help, and When They Can Hurt
#Dog boots and dog shoes can protect paws from hot roads, wet surfaces, rough pavements, small stones, grit, and other urban debris. The American Kennel Club mentions boots as one option for paw protection, while veterinary organisations such as AAHA and AVMA remind pet parents to be careful with pets on hot surfaces because paw pads can burn or get injured.
A simple rule works well:
If the ground feels too hot for your hand or bare foot, it is probably too hot for your dog’s paws too.
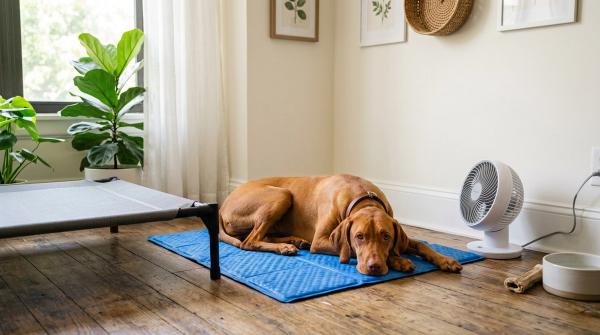
Boots may give your dog an extra layer of protection, but they do not make dangerous heat safe. If the road is burning hot, choose shade, walk earlier in the morning or later in the evening, or take a different route. Do not use boots as a reason to keep walking on very hot pavement.
Boots can also cause problems if they do not fit properly. A boot that is too tight, too loose, badly shaped, or worn for too long can cause rubbing, slipping, tripping, nail pressure, or irritation near the dewclaw.
So before you start training, sort out the fit.
Step 1: Get the Dog Boot Fit Right
#A good dog boot fit makes everything easier. If the boot twists, squeezes the toes, pops off, presses on the nails, or rubs the dewclaw, your dog will not simply “get used to it.” They will learn that boots feel bad.
And once a dog decides something feels bad, training becomes much harder.
How to Measure Your Dog’s Paw
#Use this method before buying dog boots:
- Place a sheet of paper on a hard floor. Avoid beds, rugs, sofas, or soft mats. Soft surfaces can change the shape of the paw.
- Ask your dog to stand naturally. Measure the paw while it is carrying weight, not while it is lifted in the air.
- Gently shift weight onto the paw. You can lift the opposite paw for a second so the paw you are measuring spreads a little.
- Mark the widest part of the paw. Mark both sides.
- Mark the length. Measure from the back of the paw to the tip of the longest toenail.
- Measure front and back paws. Front paws are often slightly bigger than back paws, so do not assume all four feet need the same size.
If your dog falls between sizes, follow the brand’s sizing instructions. Dog boot sizing is not universal, and two brands can fit very differently even if the size name looks the same.
Fit and Safety Table
#Before You Start Training: Set Up for Success
#Choose a quiet time. Not when your dog is already overexcited, sleepy, very hungry, or anxious. For apartment dogs, your living room, hallway, or balcony is usually a good place to begin.
Keep these ready:
- The dog boots or dog shoes
- Small, high-value treats
- A favourite toy
- Your dog’s leash
- A calm voice
- Plenty of patience
Please do not start by putting all four boots on and immediately heading outside. That is how many boot battles begin.
Keep sessions short. Two calm minutes are far better than ten stressful ones. You want your dog thinking, “Okay, this is weird, but I can handle it,” not “Absolutely not, never again.”
7-Day Step-by-Step Boot Training Checklist
#This plan is beginner-friendly. Some dogs will move through it quickly. Others may need two or three days on one step, and that is completely fine.
Day 1: Let Your Dog Notice the Boots
#Goal: Make the boots feel normal, not suspicious.
Place the dog boots on the floor and let your dog investigate. Reward calm interest. Do not put the boots on yet.
Success looks like: Your dog can be near the boots without backing away, barking, or trying to steal and destroy them.
Day 2: Touch the Boots to the Paws
#Goal: Help your dog accept the boot touching each paw.
Gently touch one boot to one paw. Give a treat right away. Remove the boot. If your dog is still comfortable, repeat with another paw.
Success looks like: Your dog allows brief paw contact without strongly pulling away.
Day 3: Slip One Boot On Briefly
#Goal: Let your dog feel the inside of the boot.
Slip one boot onto one front paw without fastening it. Give treats, then remove it after a few seconds.
Success looks like: Your dog can wear one unfastened boot for a few seconds and still take treats.
Day 4: Fasten One or Two Front Boots
#Goal: Introduce the feeling of a secure boot.
Put one front boot on and fasten it properly. Check that the strap is not pressing on the dewclaw. Reward your dog, then encourage a tiny bit of movement.
Success looks like: Your dog moves a little, takes treats, and does not panic.
Day 5: Try All Four Boots Indoors
#Goal: Help your dog realise they can walk in a full set.
Put on all four dog boots and fasten them carefully. Encourage movement with a favourite toy, a few treats, or a simple indoor game.
Success looks like: Your dog walks a short distance indoors with all four boots on.
Day 6: Add the Leash and a Familiar Transition Space
#Goal: Connect boots with normal walk routines.
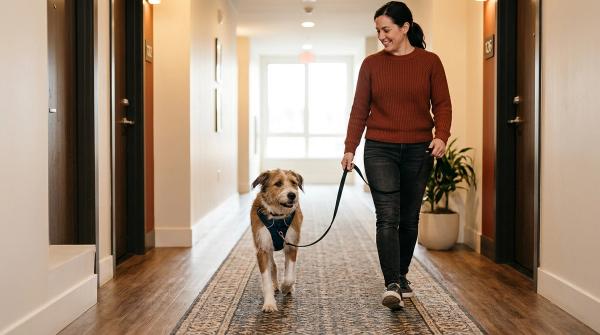
Put all four boots on, attach the leash, and walk your dog in a low-pressure space such as your apartment corridor, building hallway, balcony, or a quiet corner of the parking area.
Success looks like: Your dog can move in boots outside the main room without freezing or trying to remove them.
Day 7: Take a Short Real Walk
#Goal: Use the boots in a real walking situation.
Choose an easy route. Avoid the hottest part of the day, skip crowded or noisy areas, and keep this first outdoor boot walk short. Bring treats. After a few minutes, check that the boots have not twisted, slipped, or loosened.
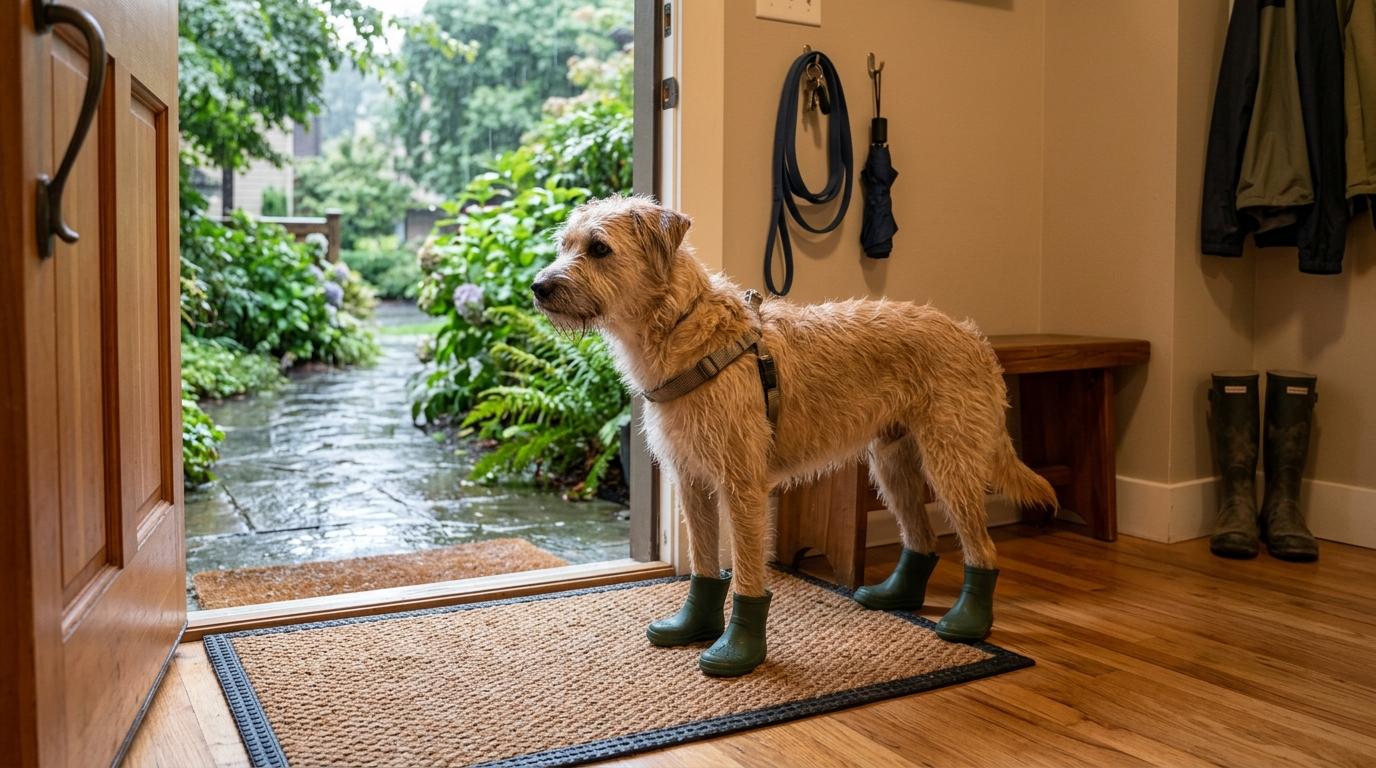
For monsoon dog walks, make the first rainy boot walk even shorter. Wet surfaces feel different, and your dog may need time to understand the sound, weight, and grip of the boots.
Success looks like: Your dog completes a short walk, and the paws look normal when the boots come off.
What If Your Dog Refuses to Move?
#A lot of dogs freeze during early boot training. It is not unusual, and it does not mean the training has failed.
Try this:
- Go back one step in the checklist.
- Use better treats.
- Practise before mealtime if your dog is food-motivated.
- Start with only one or two boots.
- Keep your voice calm and normal.
- Reward one tiny step, then pause.
- End the session before your dog gets upset.
Do not drag your dog forward. Do not force a long walk so they “get used to it.” That can make boots feel scary and turn future sessions into a fight.
If your dog repeatedly panics, shuts down, or becomes very distressed even with slow training, stop and speak with your veterinarian or a certified positive-reinforcement trainer.
Common Dog Boot Mistakes to Avoid
#Buying Boots Without Measuring
#Guessing by breed or weight alone often leads to a poor fit. Two dogs of the same breed can have very different paw shapes.
Leaving Boots On Indoors for Too Long
#Boots are for specific situations, such as walks, rough surfaces, wet areas, or heat protection. They should not be left on all day.
Ignoring the Dewclaw
#The dewclaw area is easy to miss. If a strap rubs there, your dog may become sore quickly.
Using Boots Over an Injury
#Do not put boots over burns, open wounds, bleeding areas, raw skin, or painful paws unless your veterinarian has specifically told you to.
Starting With a Full Walk
#A full outdoor walk on day one is too much for many dogs. Start indoors. Build slowly.
Assuming Funny Walking Means Failure
#High-stepping is common at first. Funny but relaxed is different from frightened, frantic, stiff, or painful.
Hot Pavement and Paw Protection
#Hot pavement can injure paw pads. Veterinary organisations, including AAHA and AVMA, warn pet parents to be careful with pets on hot surfaces.
This is especially important in Indian cities, where roads, terraces, pavements, and parking areas can heat up very quickly.
To reduce risk:
- Walk early in the morning or later in the evening.
- Choose shaded routes when possible.
- Check the ground before walking.
- Keep walks shorter in hot weather.
- Use boots only if your dog is comfortable and the fit is safe.
- Stop if your dog lifts paws, limps, refuses to walk, or seems distressed.
Dog boots can help with paw protection, but they do not make extreme heat safe.
If the surface is too hot, skip it.
Monsoon Dog Walks: Practical Apartment Tips
#During monsoon dog walks, boots can help reduce direct contact with wet, muddy, gritty, or slippery surfaces. They may also help with traction if the sole has good grip.
For apartment life, think through the whole walk, not just the road outside.
A few practical tips:
- Put boots on before leaving the flat, not in a busy lift lobby.
- Check the straps before stepping onto wet tiles.
- Keep the first few rainy walks short.
- Dry the boots properly after the walk.
- Remove boots as soon as you are back indoors.
- Check paws, nails, and dewclaws before your dog settles down.
If your dog slips in the building corridor, the boot sole may not suit that surface. Grip matters just as much as size.
Vet-Warning Signs: When to Stop and Ask a Vet
#This guide is for pet care education and training support. It is not a diagnosis, medication guide, or treatment plan.
Stop using the boots and contact your veterinarian if you notice:
- Limping that continues after the boots are removed
- Bleeding, cuts, sores, swelling, or raw skin
- Redness around the dewclaw or between the toes
- Blistered, peeling, or painful-looking paw pads after hot pavement exposure
- Sudden refusal to bear weight on a paw
- Strong pain response when the paws are touched
- Extreme panic, heavy distress, or repeated shutdown during boot training
- New walking difficulty in a senior dog or a dog with known medical issues
For senior dogs, dogs with arthritis, dogs recovering from injury, and dogs with existing paw or skin concerns, ask your vet before making boots part of the routine.
Quick Boot Fit Check After Every Walk
#When you remove the dog boots, take 30 seconds to check your dog’s paws.
- Look at the top of each paw.
- Check between the toes.
- Check around the dewclaw.
- Look at the nails.
- Feel for wetness, grit, or trapped debris.
- Watch your dog walk barefoot indoors.
If everything looks normal and your dog is relaxed, the fit and training are probably going well.
If you see rubbing, redness, swelling, repeated slipping, or your dog seems uncomfortable, pause and reassess the boots before using them again.
Final Takeaway
#Training a dog to wear boots is not about forcing four shoes onto four paws.
It is about fit, patience, and trust.
Measure carefully. Introduce the boots slowly. Keep the first sessions short. Watch your dog’s body language. Check paws after every walk.
And if you see pain, wounds, burns, limping, or serious anxiety, stop and call your veterinarian.
With the right approach, dog boots can become a useful part of your pet care routine for hot pavement, wet surfaces, rough paths, and monsoon dog walks.