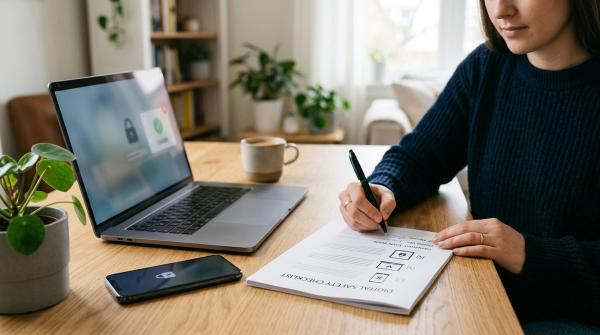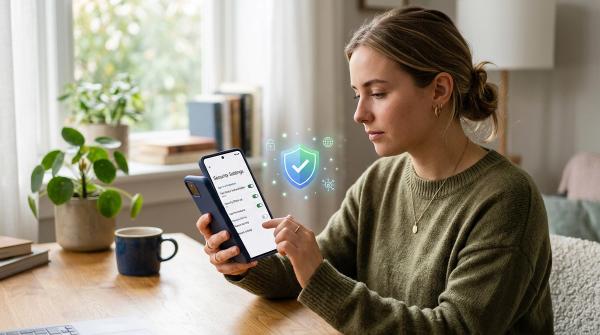
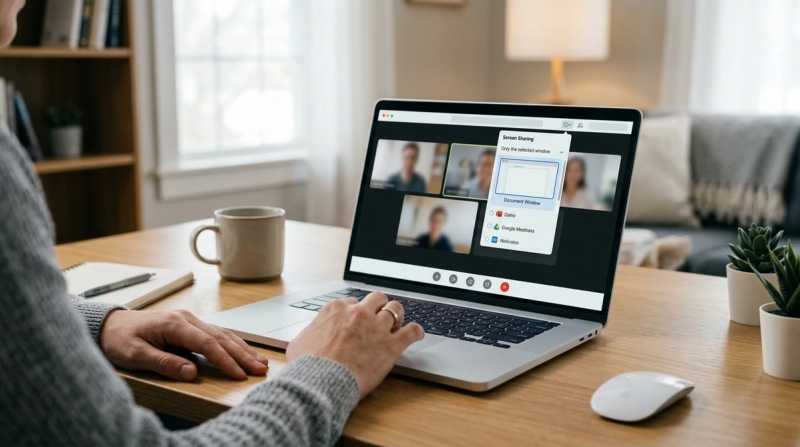
A practical screen sharing privacy checklist does not need to be long or technical. Most of the time, a few simple habits are enough: share a single tab or window, turn on Do Not Disturb, close private tabs, and clear anything sensitive from your desktop before you start.
That is usually enough to help you screen share safely on Zoom, Google Meet, Microsoft Teams, and other video-call apps.
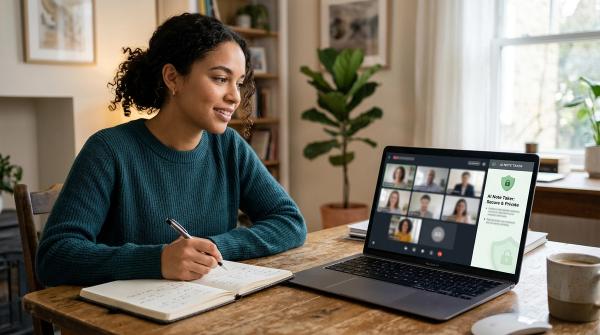
Screen sharing has become part of everyday life. We use it for work meetings, school projects, client calls, remote interviews, tech support, training sessions, and quick “let me show you” moments.
Because it feels so normal, it is easy to forget how much people can accidentally see.
Most screen sharing privacy mistakes are not dramatic security disasters. They are small, ordinary, very human moments:
- A private message pops up.
- A calendar reminder shows too much detail.
- A browser tab title gives something away.
- A file on your desktop has a client name, medical form, tax document, or personal screenshot in the filename.
- You click the wrong window while everyone is watching.
The goal is not to be paranoid. The goal is to build a quick pre-call habit that keeps you from having one of those awkward “oops” moments.
Use this checklist before you click Share.
The 30-Second Screen Sharing Privacy Checklist
#Before every presentation or screen share, pause for half a minute and check these things.
If you only remember one rule, make it this:
Share the smallest area that gets the job done.
Window vs Tab vs Entire Screen: What Should You Share?
#Most video-call apps give you a few screen sharing choices. The wording may be slightly different in Zoom, Google Meet, and Microsoft Teams, but the privacy rule is the same.
Start small. Only share more if you really need to.
1. Share a browser tab when your presentation is web-based
#Sharing one browser tab is often the safest option when you are showing:
- A website
- An online document
- A slide deck
- A form
- A dashboard
- A video
- A web app
When you share a single tab, viewers usually see only that tab’s content. They do not need to see your full browser window, your other tabs, your desktop, your bookmarks bar, or unrelated apps.
This is especially useful in Google Meet. For most people, Google Meet present tab vs window comes down to a simple choice:
- Choose tab when you only need to show one website or web app.
- Choose window when you need to show one full app window.
- Choose entire screen only when you need to move between several apps.
Sharing a tab is also one of the easiest ways to stop sharing private tabs by accident. If you click around on your own computer, your audience is less likely to see everything else you have open.
2. Share a window when you need one app
#Window sharing is a good middle option. It works well when you need to present one specific app, such as:
- PowerPoint
- Excel
- Word
- A PDF viewer
- A design tool
- A coding editor
- One specific browser window
When you share a window, the meeting focuses on that selected app window instead of your whole monitor. You can still keep notes, chat, email, or other windows open privately in the background, as long as you do not drag them into the shared window or switch to sharing your full screen.
For example, if you are presenting a spreadsheet, share the spreadsheet window. Not your whole desktop.
If you later need to switch to a browser, stop sharing and choose the browser window next. Yes, it takes a few extra seconds. But it is worth it.
This is also the main idea behind Teams share window vs screen and Zoom screen sharing privacy. A shared window gives you more control than a shared desktop.
3. Share your entire screen only when you really need to
#Sharing your entire screen means people can see whatever appears on your monitor while sharing is active.
That can include:
- Desktop files and folders
- App icons
- Browser tabs
- Notifications
- Private messages
- Calendar reminders
- Downloads
- Open documents
- Anything you click by mistake
Sometimes full-screen sharing makes sense. Maybe you are teaching someone how to use software, troubleshooting a problem, switching between tools, or walking through a full workflow.
That is fine. Just clean things up first.
Entire screen sharing is not “wrong.” It simply gives people the widest view, so it deserves the most caution.
Notifications and Desktop Cleanup
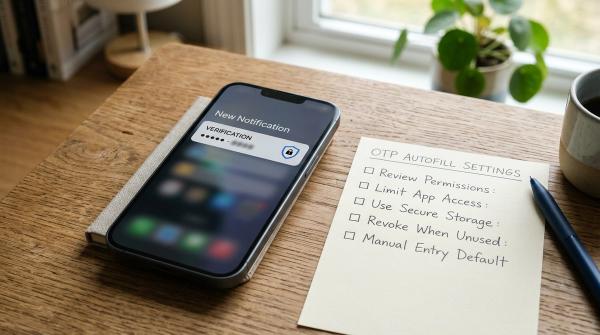
#The most common privacy leaks during calls are usually small things. A message preview. A calendar alert. A browser tab title. A file name on your desktop.
They may not seem important until they appear in front of your class, manager, client, interview panel, or family group chat.
Here is how to lower the chances of that happening.
Hide notifications while screen sharing
#Before you present, turn on your computer’s notification-silencing mode.
On Mac:
- Open Control Center from the menu bar.
- Choose Focus.
- Turn on Do Not Disturb.
On Windows:
- Open the notification area from the taskbar.
- Turn on Do Not Disturb or Focus Assist, depending on your Windows version.
Do this even if you only plan to share a tab or window. It is a simple backup habit, and it also helps you stay focused while you talk.
If you use apps like Slack, WhatsApp, Microsoft Teams chat, Discord, Telegram, iMessage, or email, close or mute them before the call.
Do not rely only on minimizing the window. Minimized apps can still send notifications, and somehow they always seem to pop up at the worst possible time.
Clean up your browser
#Browser tabs can reveal more than you expect. A tab title might show a bank name, a medical search, a job application, a private document, a personal message, or an internal company tool.
Before sharing:
- Close tabs you do not need.
- Move the tab you need into a separate browser window.
- Use a clean browser window for the presentation.
- Avoid logging into personal accounts while sharing.
- Close password manager pop-ups before you start.
- Check whether your bookmarks bar is visible.
- Make sure autofill suggestions are not about to appear on screen.
If you are presenting from a web app, keep only the necessary tab open in that browser window. It makes it much easier to choose the correct tab or window in Zoom, Google Meet, or Teams.
Clean up your desktop
#Your desktop can give away a surprising amount of information without you noticing.
Visible filenames, client folders, screenshots, personal photos, invoices, school documents, tax files, downloaded forms, and random saved images can all appear during a screen share.
You do not need to fully organize your computer before every call. Nobody has time for that. Just hide what is visible.
A quick method:
- Create one temporary folder on your desktop.
- Move loose files, screenshots, and downloads into it.
- Rename the folder something boring, like Temp or Desktop Cleanup.
- Sort it out later.
On Windows, you can also right-click the desktop, choose View, and uncheck Show desktop icons. If you do this, remember to turn the icons back on after the call if you need them.
Also take a quick look at your wallpaper. If it includes personal information, family photos you do not want to show, or anything distracting, switch to something plain before sharing your full screen.
Platform Notes: Google Meet, Zoom, and Microsoft Teams
#Each platform works a little differently, but the safest approach stays the same:
Choose the narrowest sharing option that still lets you present properly.
Google Meet: present a tab, window, or entire screen
#Google Meet usually lets you present:
- A browser tab
- A window
- Your entire screen
For privacy, choose a tab when you are showing one website, online slide deck, or web-based document.
Choose a window when you need to show one app.
Choose entire screen only when you need to move between multiple apps during the same presentation.
For the common question, Google Meet present tab vs window, use this simple rule:
Tab for one webpage. Window for one app. Entire screen for multi-app demos.
Zoom: screen, desktop, window, and content sharing
#Zoom gives you several sharing choices, including your whole screen or desktop, specific windows, and other content-sharing options.
When you click Share, slow down for a second and check what you are selecting. It is very easy to choose the wrong thing when you are rushing.
For better Zoom screen sharing privacy:
- Avoid choosing your full desktop unless you need it.
- Pick the exact window or content you want to show.
- Watch for Zoom’s sharing indicators and alerts.
- Stop sharing before opening private files, messages, or accounts.
- If you are unsure, stop sharing and restart with a safer option.
Zoom gives you useful controls, but it cannot protect you from every accidental click. Your pre-share cleanup still matters.
Microsoft Teams: screen, desktop, window, and content sharing
#Microsoft Teams supports screen or desktop sharing, window sharing, and content-sharing options, including presenting files.
For Teams share window vs screen, choose a window when you only need one app. Choose screen or desktop only when you need to move between apps during a live walkthrough.
If you are presenting a file through Teams content options, check what participants will see before you continue. This can reduce desktop exposure, but you should still close private apps and silence notifications.
A Calm Pre-Meeting Routine
#Here is a simple routine you can repeat before almost any call.
First, open only what you need. If you are presenting slides, open the slide deck and close the extra stuff. If you are showing a website, put that website in its own tab or browser window.
Second, silence notifications. Turn on Do Not Disturb, Focus, or Focus Assist. Close chat apps if they are not part of the meeting.
Third, clean the visible area. Move desktop files, close personal windows, and check your browser tabs.
Fourth, choose the right share option. Prefer a tab or window. Use your entire screen only when necessary.
Finally, pause before you start talking. Look at the meeting app’s sharing banner or preview. Make sure it says what you think it says.
That tiny pause can save you from a very awkward minute.
Safety Disclaimers
#This checklist is meant to reduce accidental visual privacy leaks during normal video calls. It does not guarantee complete privacy or security.
These tips do not replace broader safety habits, such as:
- Using trusted meeting links
- Keeping your apps updated
- Using strong passwords
- Verifying meeting participants
- Being careful with screen control requests
- Avoiding suspicious downloads or remote access tools
Do not share your screen with unknown callers or random tech-support contacts.
If someone asks you to install software, reveal codes, open banking pages, share passwords, or give remote control, stop and verify who they are through a trusted channel.