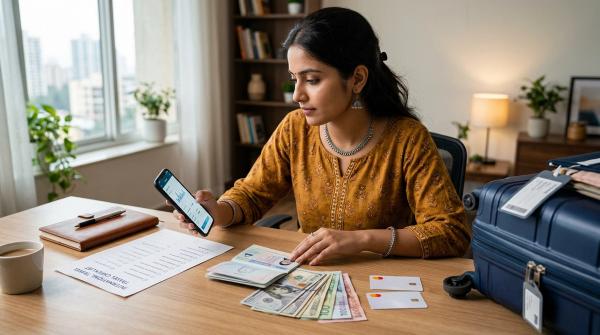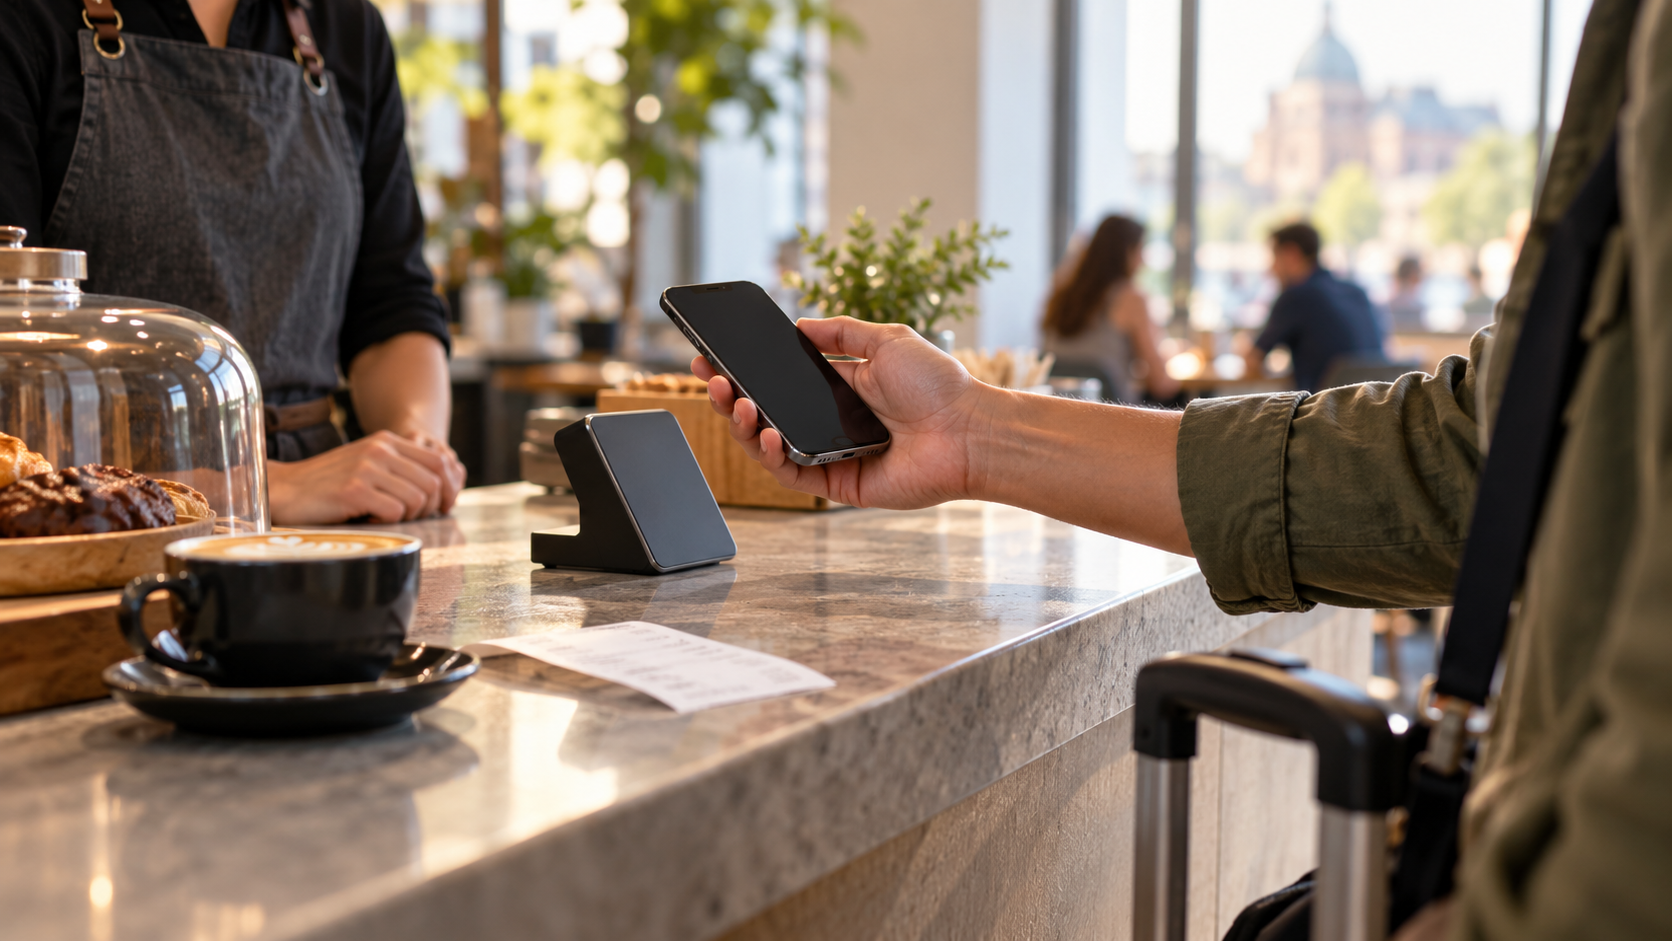
You can use UPI at some overseas shops, provided your bank account, payment app and the merchant support the international service. Check that combination before you travel. A familiar QR code shape does not tell you whether your Indian UPI app can pay it.
For a practical travel setup, treat UPI International as another way to pay alongside a working card and some local cash. It can save you a payment hassle when accepted. It should not be the only thing standing between you and an airport taxi, dinner or your first hotel night.
The useful question is simple: can you pay this particular business, from this account, with clear costs and a way to recover if something goes wrong? Start there rather than with a long list of countries.
What UPI International actually does
#UPI International lets eligible users pay participating overseas merchants from an Indian bank account through a supported UPI app. You approve a payment in the app, while the international payment process handles the foreign-currency amount and the corresponding rupee debit.
That means you need to understand two amounts: what the shop is charging in its currency, and what the payment will cost from your account. The fact that you normally use UPI for small purchases in India does not establish the overseas exchange rate or the fees your bank applies.
Several different services use the words UPI and international. Keep their purposes separate when you check your options.
| Your situation | What you need to check |
|---|---|
| Paying a shop outside India | International merchant acceptance for your bank and app |
| Paying an Indian merchant while you happen to be abroad | Your ordinary UPI access and the merchant's Indian payment arrangement |
| Sending money across borders to a person | A supported remittance service and its own conditions |
| Visiting India with an overseas phone number | Eligibility for the relevant visitor or NRI UPI service |
This guide focuses on the first situation. An account that works for one of the others does not prove that an overseas merchant can accept your payment.
Check support at three levels
#Your bank account
#Open the payment app you already use and check whether international payments are available for the actual account you intend to debit. Having an Indian bank account linked to UPI is only the starting point.
If you use several linked accounts, check each one separately. An option available for one account may be absent for another. Ask your bank about eligibility, applicable limits and overseas payment charges if the app does not make those clear. Keep the response somewhere you can find during the trip.
Your app
#Use the app's current help and settings. Providers can offer different activation routes and coverage, and an update can change the wording on a screen. A friend's successful payment through another app is useful context, but it does not verify your setup.
Google Pay's published help, checked on 24 October 2026, describes activation after scanning a participating merchant's QR code and choosing a supported bank account. PhonePe's terms describe activating chosen accounts with the UPI PIN, including activation within India or abroad. Follow the flow your provider actually offers.
The merchant
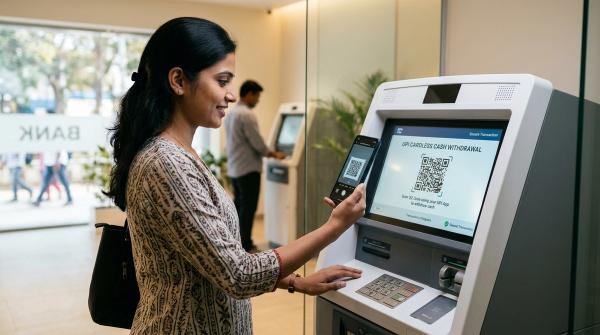
#Ask the business whether it accepts Indian UPI payments. A local QR system may look familiar while belonging to a different arrangement. Let the merchant show you the payment code they use for this service, then check the business details in your app.
A destination appearing on an acceptance list is a reason to investigate further. It is not a promise that every supermarket, cafe, taxi or attraction there accepts UPI. Build the first day's payment plan around confirmed options rather than country-level headlines.
Prepare before leaving India
#Make a short payment plan while you have time to solve problems. Confirm that you can open your bank and UPI apps, recognise the linked account and use the official support channels. Check for app updates through your usual trusted app store.
Next, check the bank's international merchant-payment terms. Look for the transaction limit, any daily limit, conversion or processing fees and conditions that could affect your trip. A large purchase deserves its own check; a daily limit is not necessarily a promise that a single payment of that size will work.
Keep your registered phone number usable for any verification your bank or provider may require. A data connection and access to your Indian mobile number solve different problems. If that part is unclear, read the eSIM and OTP guide for Indian travellers before changing SIM settings.
Also prepare the alternatives you intend to carry. Check card settings, expiry and relevant limits. Set aside enough local cash for immediate expenses you have identified, rather than guessing that a payment app will cover them. Keep backup access separate where practical.
Avoid making several account changes on departure day. If your current banking setup works, there is little benefit in changing phones, reinstalling payment apps and replacing your SIM just before you need to pay overseas.
Activate the account through the official app
#Find the international-payment option in your provider's own settings or supported checkout flow. Read which account you are enabling, what permission you are giving and whether the app states an activation period.
For example, PhonePe's current terms say the international feature remains active for three months unless you deactivate it earlier, after which it can be reactivated. That is a PhonePe condition checked for this guide, not a universal expiry period for all UPI apps.
If the option is absent, stop and check eligibility through official help. Do not install an app from a message, pay someone to unlock the feature or give a shop employee your PIN. Activation instructions should come from the provider you chose, not a stranger who offers to fix your phone.
Before your first purchase, make sure you know how to return to transaction history and support. Finding those screens in advance makes a failed payment easier to handle when you are tired or standing in a queue.
Pay at the counter without rushing the checks
#Agree on the bill and its currency with the merchant first. Then scan the appropriate code using your payment app. Confirm the merchant details and enter or check the amount as the supported flow requires.
Read the currency label beside the amount. A bill for 50 units of the local currency and a debit of ₹50 are different instructions. Take a moment to check decimal places, especially when the currency has a very different value from the rupee.
Before authorising, review the rupee amount and any rate or fee information the app provides. If you cannot tell what you are approving, ask the merchant to wait while you check. A faster checkout is not useful if you are guessing at the cost.
After approval, check your app's status and ask the merchant to confirm receipt in their own system. Save the receipt for purchases where you may need proof later. A screenshot on either person's phone should not replace resolving a disagreement about the actual transaction status.
Compare the total cost, not just the exchange rate
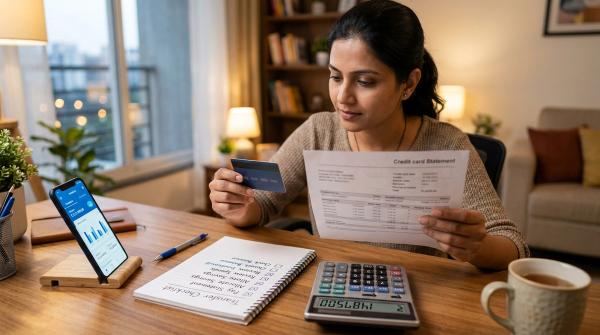
#An advertised rate gives you only part of the comparison. Depending on your provider and bank, the final cost can reflect the conversion rate, markup, processing fees or applicable taxes on charges. Read the bank's terms rather than assuming domestic UPI pricing carries over.
Here is an illustrative calculation, not a live quote. Suppose a meal costs 40 units of a foreign currency. Assume a hypothetical conversion rate of ₹22 for one unit. The starting rupee equivalent would be ₹880.
If one payment option quotes a final debit of ₹906 and another quotes ₹895 for the same bill at the same time, the second displayed total is ₹11 lower. You still need to check whether either option adds a separate charge later under its terms. Do not treat those example numbers as a forecast for any actual currency or bank.
The comparison gets more useful when you repeat it for the way you spend. A small difference on one coffee might not justify extra setup. A series of large purchases could make the fees more noticeable. Convenience, confirmed acceptance and a clear transaction record also matter.
For a wider payment plan, the forex card, debit card and credit card comparison explains what to check across those alternatives. Choose from actual terms, not a general claim that one method is always cheapest.
Use a simple first-day plan
#Imagine arriving in Singapore, collecting your bag and needing transport, lunch and a hotel check-in. This is a planning example, not a report of a tested payment route.
You have confirmed international UPI support for your bank and app. That still leaves three different merchants or services to check. The transport payment may use its own fare system. The cafe might accept UPI through its participating merchant arrangement. The hotel might require a specific card or deposit process.
So prepare those payments separately. Know how you will pay for transport before leaving the terminal. Use UPI at the cafe only after confirming acceptance and reviewing the amount. Follow the hotel's published payment and deposit terms instead of assuming an instant bank payment can replace a required card hold.
This small separation prevents a common planning mistake: taking one successful overseas payment as proof that the same method covers the whole trip. Keep the purchase in front of you specific.
If the merchant says it failed
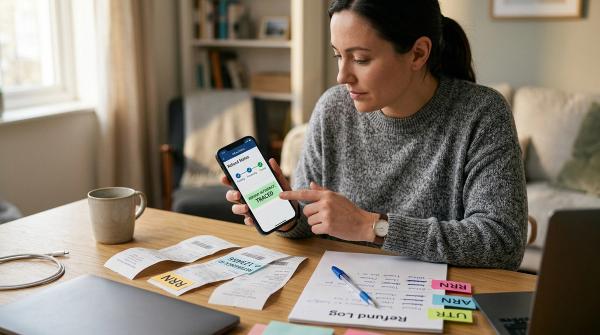
#Pause before repeating the payment. Open the original transaction and check its status, then look at the bank record if necessary. Ask the merchant what their system shows. Note the time, amount and transaction reference while the details are still clear.
| What you can establish | Useful next action |
|---|---|
| The app shows a clear failure and there is no apparent debit | Check the stated reason, then choose a supported way to pay |
| The transaction is pending or the debit is unclear | Keep the reference and ask official support how to track that transaction |
| Your app shows success but the merchant disputes receipt | Ask the merchant to check their payment records and escalate with the reference |
| You paid twice while resolving the problem | Preserve both records and the receipt; request the relevant merchant and bank review |
These checks do not establish a universal refund deadline. International merchant payments can involve conditions different from the domestic case you remember. Let the bank and provider identify the applicable process for the particular transaction.
If you must use a second method to settle the bill, make clear which purchase it covers and keep proof of both attempts. A useful support record includes the foreign-currency bill, rupee debit, merchant name, transaction ID, local date and time, and any written confirmation from the shop.
Handle refunds as a separate transaction problem
#For a return or cancelled purchase, ask the merchant how they will issue the refund and what evidence they will provide. Keep the original receipt and payment reference. Follow up through your bank or app if the promised credit does not appear.
Do not assume the rupee amount or timing will match a domestic refund. Ask whether currency conversion, retained charges or other terms affect your case. You need an answer for your actual purchase; a broad online timeline cannot settle that question.
Be careful with anyone asking you to scan a new code and enter your PIN to receive a refund. Google Pay's safety guidance says you do not need a UPI PIN to receive money. An approval that sends money is another payment, even if someone describes it as a reversal.
Keep your phone and support access under your control
#Enter the PIN yourself and keep it private. Do not share an OTP, allow remote access or hand over an unlocked phone because someone claims to work for the bank. Use the app's own support entry rather than a customer-care number supplied in an unsolicited message.
If the payment request shows an unexpected business name or amount, stop before authorising. Ask the merchant to explain the difference. Do not approve first because a queue is forming behind you.
If you see an unrecognised debit, contact your bank through its official channel promptly and follow the applicable fraud-reporting process. Save the complaint reference. If the phone itself is missing, use the bank's official route to protect account access and use your separate backup payment option.
Review the setup when the trip ends
#Check the statement against your receipts while you still remember the purchases. Separate completed payments, unresolved attempts and refunds you are waiting for. Follow up on each open case with its original reference.
Then review the international feature. If you no longer need it, use the provider's deactivation process. Check related card limits and travel settings as well, based on what you enabled before departure.
For the next trip, keep the parts that worked and check the changing details again: supported bank, supported app, merchant acceptance and total cost. With those four checks and a usable backup, UPI International can be a practical part of your travel money plan.