Cleaning your dog’s ears at home doesn’t have to be a big production. With the right cleaner, a few cotton balls, and a little patience, it can become a normal part of your dog’s grooming routine.
The key is to keep things gentle. Use a dog-safe ear cleaner, massage the base of the ear, let your dog shake, and wipe only the parts you can see. Don’t dig around inside the ear canal, and don’t use cotton swabs deep in the ear.
And just as important: know when not to clean. If your dog’s ear smells bad, looks red or swollen, has discharge, seems painful, or your dog is shaking their head a lot, stop and call your vet.
Why dog ear cleaning needs a gentle touch
#Dog ears are not shaped like human ears. Their ear canal goes down and then turns inward, which means wax, dirt, and moisture can get trapped more easily.
That’s why some dogs need regular ear care, especially if they:
- Have floppy ears
- Swim often
- Spend a lot of time outdoors
- Have allergies or sensitive skin
- Get waxy ears easily
But more cleaning is not always better. Cleaning too often, using harsh products, or poking too far into the ear can irritate the skin and make things worse.
This guide is for routine ear cleaning only. It is not meant to diagnose or treat ear infections, ear mites, allergies, or other medical problems. If your dog’s ear looks sore, smells bad, or seems unusual, check with your veterinarian before cleaning.
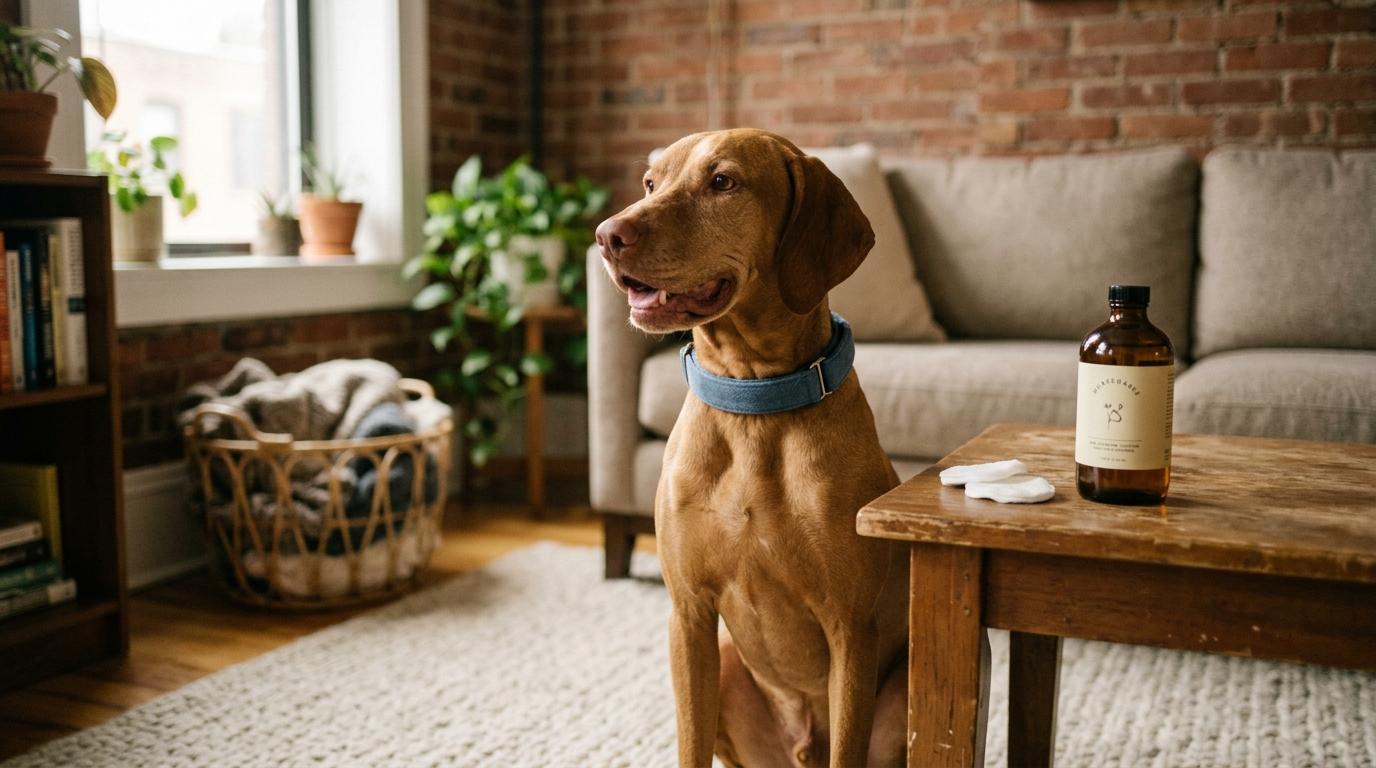
What you’ll need
#Before you start, gather everything in one place. Once your dog is sitting still, you don’t want to be running around looking for supplies.
You’ll need:
- A dog-specific ear cleaner
- Cotton balls or soft gauze
- A towel
- Treats
- Good lighting
- A calm, easy-to-clean area
Use an ear cleaner made for dogs. Avoid hydrogen peroxide, rubbing alcohol, essential oils, vinegar mixtures, human ear drops, and homemade remedies unless your vet specifically recommends them.
A bathroom, laundry room, balcony, or tiled area is ideal. Your dog will probably shake their head, and ear cleaner may spray a little. That’s normal.
Step-by-step checklist for cleaning your dog’s ears
#1. Look at the ear first
#Before adding any cleaner, gently lift your dog’s ear flap and take a look.
A healthy ear is usually light pink, though this can vary depending on your dog’s skin color. A small amount of wax can be normal. The ear should not smell bad or look angry and inflamed.
Do not clean the ear at home if you notice:
- Strong redness
- Swelling
- Heavy discharge
- Bleeding
- Scabs or sores
- A bad odor
- Obvious pain when touched
If the ear already looks irritated, cleaning may hurt. Your vet should check it first.
2. Help your dog settle
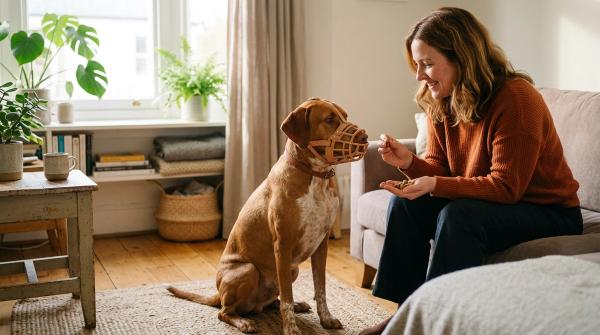
#Have your dog sit or stand somewhere they feel safe. Speak calmly and offer a treat before you begin, especially if they are unsure about ear handling.
If your dog wiggles, another adult can gently help keep them steady. But don’t force the process if your dog is panicking, growling, snapping, or trying to bite. That can be a sign of fear, pain, or both.
It’s better to stop and try again later than to turn ear cleaning into a fight.
3. Lift the ear flap gently
#Hold the ear flap up so you can see the ear opening. This helps the cleaner flow into the ear canal.
Keep the bottle tip close to the ear opening, but try not to touch the ear with the tip. If the bottle touches the ear, bacteria or debris can get on the nozzle.
4. Add the ear cleaner
#Squeeze the dog-safe ear cleaner into the ear canal. Follow the product label or your vet’s instructions for how much to use.
You don’t need to stick anything down into the ear. The cleaner and massage will do most of the work.
5. Massage the base of the ear
#With the ear flap still lifted, gently massage the base of your dog’s ear where it meets the head.
Do this for about 20 to 30 seconds. You may hear a soft squishing sound. That usually means the cleaner is moving around and helping loosen wax and dirt.
If your dog cries, pulls away sharply, growls, or seems painful, stop right away.
6. Let your dog shake
#Now step back and let your dog shake their head.
This part is messy, but helpful. Shaking helps bring loosened wax, debris, and extra cleaner toward the outer ear, where you can wipe it away safely.
Have a towel nearby for your clothes, the floor, or the wall.
7. Wipe only what you can see
#Use cotton balls or soft gauze to wipe the visible outer ear and the entrance to the ear canal.
Do not push cotton swabs deep into your dog’s ear. They can push wax and debris farther in and may injure the ear.
If you use a cotton swab at all, use it only on the visible folds of the outer ear flap. Never insert it down into the canal.
8. Praise and reward your dog
#Give your dog lots of praise and a treat. If the other ear needs cleaning, repeat the same steps on that side.
Ending with something positive helps your dog feel more relaxed the next time you clean their ears.
Dog ear cleaning do’s and don’ts
#What not to put in your dog’s ears
#For normal ear care, stick with a cleaner made specifically for dog ears.
Avoid using:
- Hydrogen peroxide
- Rubbing alcohol
- Essential oils
- Vinegar mixtures unless your vet recommends them
- Human ear drops
- Medicated drops not prescribed for your dog
- Random home remedies
- Plain water as your main cleaning method
Water does not break down wax well, and it can leave moisture behind in the ear canal. A dog ear cleaner is designed for the job and is usually the safer choice.
When to stop and call your vet
#Routine cleaning is only for healthy ears. It will not fix infections, ear mites, allergies, or deeper ear problems.
Stop cleaning and contact your veterinarian if you notice:
- Pain when the ear is touched
- Whining, yelping, snapping, or pulling away
- A strong or unpleasant odor
- Yellow, green, black, or thick brown discharge
- Redness
- Swelling
- Bleeding
- Scabs or sores
- Frequent scratching
- Head shaking that keeps coming back
- Rubbing the ear on the floor or furniture
- Head tilt
- Loss of balance
- Ear problems that keep returning
Also call your vet if your dog gets ear infections often. Repeated ear trouble can be linked to allergies, skin conditions, moisture, ear shape, or other issues that need proper treatment.
How often should you clean your dog’s ears?
#There is no one-size-fits-all schedule.
Some dogs rarely need ear cleaning. Others, especially dogs with floppy ears or dogs who swim often, may need more regular care.
A good rule is: check the ears regularly, but clean only when needed or when your vet recommends it.
If your dog’s ears look clean, smell normal, and your dog is not scratching or shaking their head, you probably don’t need to clean them right now.
Common mistakes to avoid
#Cleaning too often
#It’s easy to think frequent cleaning means better care, but over-cleaning can irritate the delicate skin inside the ear.
Using the wrong product
#Alcohol, peroxide, essential oils, and homemade mixes can sting or irritate the ear, especially if the skin is already inflamed.
Going too deep
#Wiping the visible outer ear is fine. Digging deep into the canal is not.
Ignoring pain
#If your dog suddenly hates having their ears touched, don’t assume they’re just being stubborn. Pain is a warning sign.
Trying to treat an infection at home
#Bad odor, discharge, redness, swelling, and head tilt are not normal grooming issues. They need veterinary advice.
Quick safe ear care checklist
#Use this short version when you’re ready to clean your dog’s ears.
- Choose a calm, easy-to-clean area.
- Gather dog ear cleaner, cotton balls or gauze, a towel, and treats.
- Look inside the ear before cleaning.
- Stop if you see redness, swelling, discharge, bad smell, bleeding, or pain.
- Lift the ear flap gently.
- Apply dog-specific ear cleaner without touching the bottle tip to the ear.
- Massage the base of the ear for about 20 to 30 seconds.
- Let your dog shake their head.
- Wipe only the visible outer ear with cotton or gauze.
- Avoid cotton swabs deep inside the ear canal.
- Reward your dog.
- Call your vet if symptoms appear or keep coming back.