Your Google Account is probably connected to more than you think: Gmail, Drive, Photos, YouTube, Android, contacts, purchases, documents, and maybe even work or school tools.
That is why it is worth spending a little time securing it.
The good news? You do not need to be a tech expert. A solid Google Account security checklist is mostly about a few simple habits: run Google’s Security Checkup, turn on stronger sign-in options, keep your recovery details updated, save backup codes, and remove devices or apps you no longer use.
Do that, and your account becomes much harder for someone else to break into. Just as importantly, you also reduce the chance of locking yourself out.
Note: This guide from allblogs is for general education only. For account-specific steps, always follow the latest instructions inside your Google Account and Google Account Help.
The goal is simple: make it harder for strangers to get in, and easier for you to recover your account if something goes wrong.
Let’s go through it step by step.
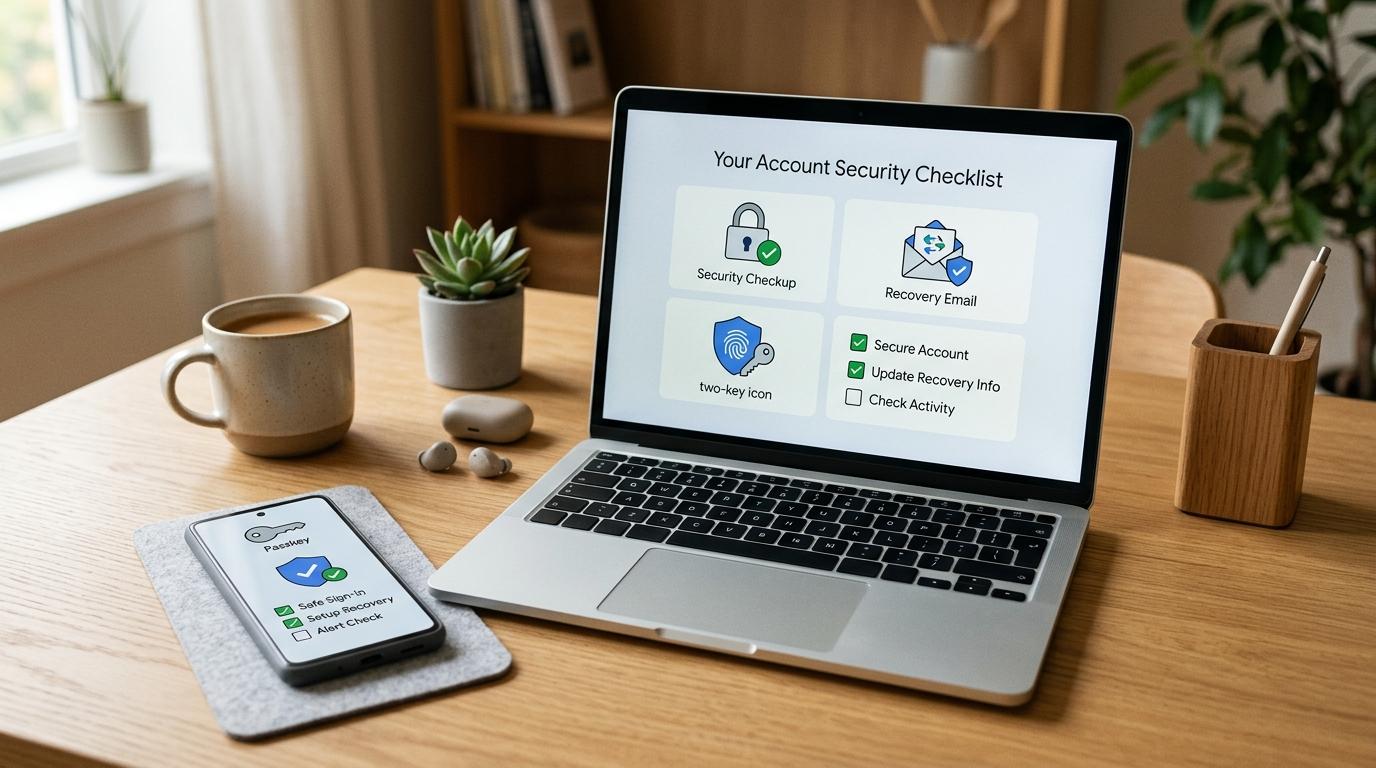
Quick Google Account Security Checklist
#Step 1: Start With Google’s Security Checkup
#The easiest place to begin is Google’s own Security Checkup. It looks at your actual account and shows recommendations based on your settings, devices, and recent activity.
To find it:
- Go to your Google Account.
- Open the Security section.
- Look for Security Checkup or security recommendations.
- Review each item Google shows you.
- Follow the prompts for anything that needs attention.
You may see warning icons or recommendations. Don’t panic if something is highlighted. Most of the time, Google is simply saying, “You should take a look at this.”
Security Checkup may ask you to review:
- Recent security activity
- Your sign-in methods
- 2-Step Verification settings
- Recovery email and phone
- Devices signed in to your account
- Third-party apps and services connected to your account
If everything looks good, great. But it is still worth checking the rest of this list, especially your recovery email, recovery phone, and backup codes.
Step 2: Use Google Passkeys Where You Can
#Passwords are easy to reuse, forget, leak, or accidentally type into fake login pages. Passkeys are designed to make sign-in safer and simpler.
A Google passkey lets you sign in using the way you already unlock a trusted device, such as:
- Fingerprint
- Face unlock
- Screen lock PIN
- Device password
- Pattern unlock, depending on the device
In simple terms, your trusted device helps prove that you are really you.
Why passkeys are useful
#Passkeys can protect you from many phishing attempts because you are not typing your password into a page in the usual way. That makes it much harder for a fake sign-in page to steal your login details.
Passkeys can be especially helpful for:
- People who reuse passwords
- Families with shared or older devices
- Students who sign in from different places
- YouTube creators and business account owners
- People who depend on Gmail, Drive, or Calendar for work
- Seniors who want fewer passwords and codes to manage
Before you create a passkey
#Only create a passkey on a device you trust. Your phone, laptop, or tablet should already have a secure screen lock. If it does not, set that up first.
Also, do not depend on just one way to sign in. Passkeys are helpful, but recovery email, recovery phone, and backup codes still matter. Think of them as your safety net.
Step 3: Turn On 2-Step Verification
#2-Step Verification adds another layer of protection after your password. So even if someone gets your password, they still need a second way to prove they are you.
Depending on your account and device, Google may let you use:
- Google prompts
- Authenticator app codes
- Security keys
- Backup codes
- Text message or phone call codes, where available
If you are new to 2-Step Verification, Google prompts are often the easiest option. You try to sign in, then approve the prompt on your trusted phone.
Authenticator apps are also useful because they generate temporary codes. Security keys can be very strong, but you need to keep track of the physical key.
Text message codes are better than having no 2-Step Verification at all, but they are not the strongest option. Phone numbers can be affected by SIM swap scams, lost phones, carrier issues, or travel problems. That is why it is smart to set up more than one second-step method.
A simple way to set up 2-Step Verification
#Do this when you are not in a rush.
- Open your Google Account.
- Go to Security.
- Find 2-Step Verification.
- Follow Google’s setup steps.
- Add more than one second-step option if possible.
- Generate backup codes after setup.
- Test that you can still sign in on your usual device.
The point is not to make your account annoying to use. The point is to avoid depending on only one thing that could fail.
Step 4: Update Your Recovery Email
#Your recovery email is one of the most important parts of Google Account recovery. If you forget your password, lose your phone, or need to prove the account belongs to you, Google may use this email to help.
Choose a recovery email that:
- You can still access
- Is different from the account you are protecting
- Has its own strong password
- Has its own recovery information updated
- Is not shared with people you do not fully trust
For many people, this is another personal email account. In some families, it may be an email managed by a trusted spouse, parent, adult child, or caregiver.
Use good judgment here. Your recovery email can become very important if you ever need to get back into your account.
After adding it, check the spelling carefully. One small typo can cause a big problem later.
Step 5: Update Your Recovery Phone
#A recovery phone gives Google another way to help confirm your identity. It can be useful if you forget your password or need to go through account recovery.
Make sure your recovery phone number is:
- Current
- Yours, or controlled by someone you truly trust
- Able to receive calls or texts, where supported
- Updated whenever your number changes
If you switch carriers, move countries, stop using an old number, or give your number to someone else, update your Google Account recovery phone as soon as you can.
A recovery phone is helpful, but it should not be your only backup. Use it along with a recovery email and backup codes.
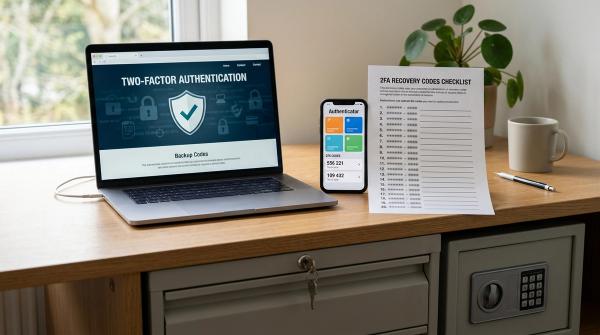
Step 6: Save Backup Codes
#Backup codes are easy to ignore until you really need them.
If 2-Step Verification is turned on and your normal second step is not available, backup codes may help you sign in.
They can be useful if:
- Your phone is lost
- Your phone is broken
- You are traveling and cannot receive texts
- Your authenticator app is unavailable
- Your trusted device is not with you
You can generate backup codes from your 2-Step Verification settings.
Once you create them:
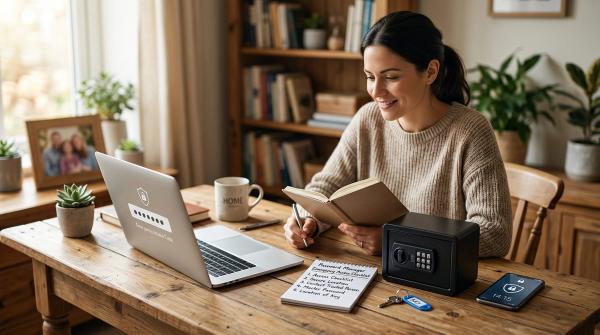
- Save them somewhere secure.
- Do not store them only inside the Google Account they protect.
- Consider printing them or writing them down.
- Keep them away from anyone who should not access your account.
- Replace them if you think someone else has seen them.
A password manager can be a good place for backup codes if you already use one safely. If not, a printed copy stored somewhere private may be easier.
Do not share backup codes through email, chat, screenshots, or messages. If someone has your password and a valid backup code, they may have a much easier time getting into your account.
Step 7: Review Signed-In Devices
#Google lets you see phones, tablets, laptops, and other devices where your account is signed in or was signed in recently. This is one of the most useful checks you can do.
To review your devices:
- Go to your Google Account.
- Open Security.
- Find Your devices or Manage all devices.
- Review the list.
- Sign out of devices you do not recognize or no longer use.
You can also visit google.com/devices while signed in.
Look for:
- Old phones you sold, gave away, or stopped using
- Shared computers
- School, office, hotel, or public computers
- Devices in places you do not recognize
- Activity that looks unusual
Do not worry if the device list looks a little messy. Sometimes the same phone or computer can appear more than once because of browsers, apps, or older sessions.
If you are unsure, open the details and check carefully. If a device is clearly not yours, sign it out and follow any extra security steps Google recommends.
Step 8: Review Third-Party App Access
#Over time, you may have used “Sign in with Google” or allowed apps to access parts of your Google Account. Some of these connections are useful. Others may be old, forgotten, or unnecessary.
To review third-party access:
- Open your Google Account.
- Go to Security.
- Look for Connections to third-party apps and services or similar wording.
- Review the connected apps and services.
- Remove access for anything you do not recognize, no longer use, or do not trust.
Examples may include:
- Old calendar apps
- Email tools you tried once
- Browser extensions
- Productivity apps
- Games
- Video or social media tools
- File conversion services
Removing unused third-party app access is a simple way to reduce risk. It does not mean every connected app is dangerous. It just means your account should not keep old doors open forever.
Step 9: Watch Out for Phishing
#Phishing is when someone tries to trick you into giving away your password, 2-Step Verification code, backup code, or other sensitive information.
It can happen through:
- Text messages
- Social media
- Search results
- Ads
- Fake support messages
- Fake login pages
Be careful if a message:
- Says your account will be closed unless you act immediately
- Asks for your password
- Asks for a 2-Step Verification code
- Requests backup codes
- Sends you to a strange-looking sign-in page
- Feels urgent and suspicious
- Offers unexpected rewards, payments, sponsorships, or warnings
YouTube creators should be extra careful with fake sponsorship emails and fake copyright claims.
Students and workers should watch out for fake school, job, payroll, document, or file-sharing links.
Families and seniors should be careful with messages pretending to be from relatives, banks, delivery companies, or support teams.
A simple rule helps: do not sign in from a link you do not trust. Open your browser and go directly to your Google Account or the official Google service you need.
A Practical Order for Beginners
#If you only have 20 minutes today, do this in order:
- Run Security Checkup.
- Update your recovery email.
- Update your recovery phone.
- Turn on 2-Step Verification.
- Save backup codes.
- Create a passkey on a trusted device.
- Review signed-in devices.
- Remove unused third-party app access.
If you are helping a parent, grandparent, child, or someone who is less comfortable with technology, go slowly. Write down what changed, where backup codes are stored, and which phone or email is used for recovery.
The best security setup is not always the most complicated one. It is the one the person can actually understand and use.
Final Checklist Before You Finish
#Use this quick list before closing your settings page.
- I ran Google Security Checkup.
- I reviewed Google’s recommended actions.
- I created at least one Google passkey on a trusted device.
- I turned on 2-Step Verification.
- I added more than one second-step option, where possible.
- I saved backup codes somewhere safe.
- I updated my recovery email.
- I updated my recovery phone.
- I reviewed signed-in devices.
- I signed out of devices I do not recognize or no longer use.
- I reviewed third-party app access.
- I removed apps and services I no longer use or trust.
- I reminded myself never to share passwords, 2-Step Verification codes, or backup codes.
You do not need to become a security expert. You just need a few strong habits and a backup plan.